Col. Wasp Firefly build guide
Step by step instructions to assemble your own.
Getting started
You'll need some basic items, as well as a Colonel Wasp Firefly kit.
- Silicone grease
- Philips-head screwdriver
- Rubber mallet or hammer
- Sandpaper
- Utility knife
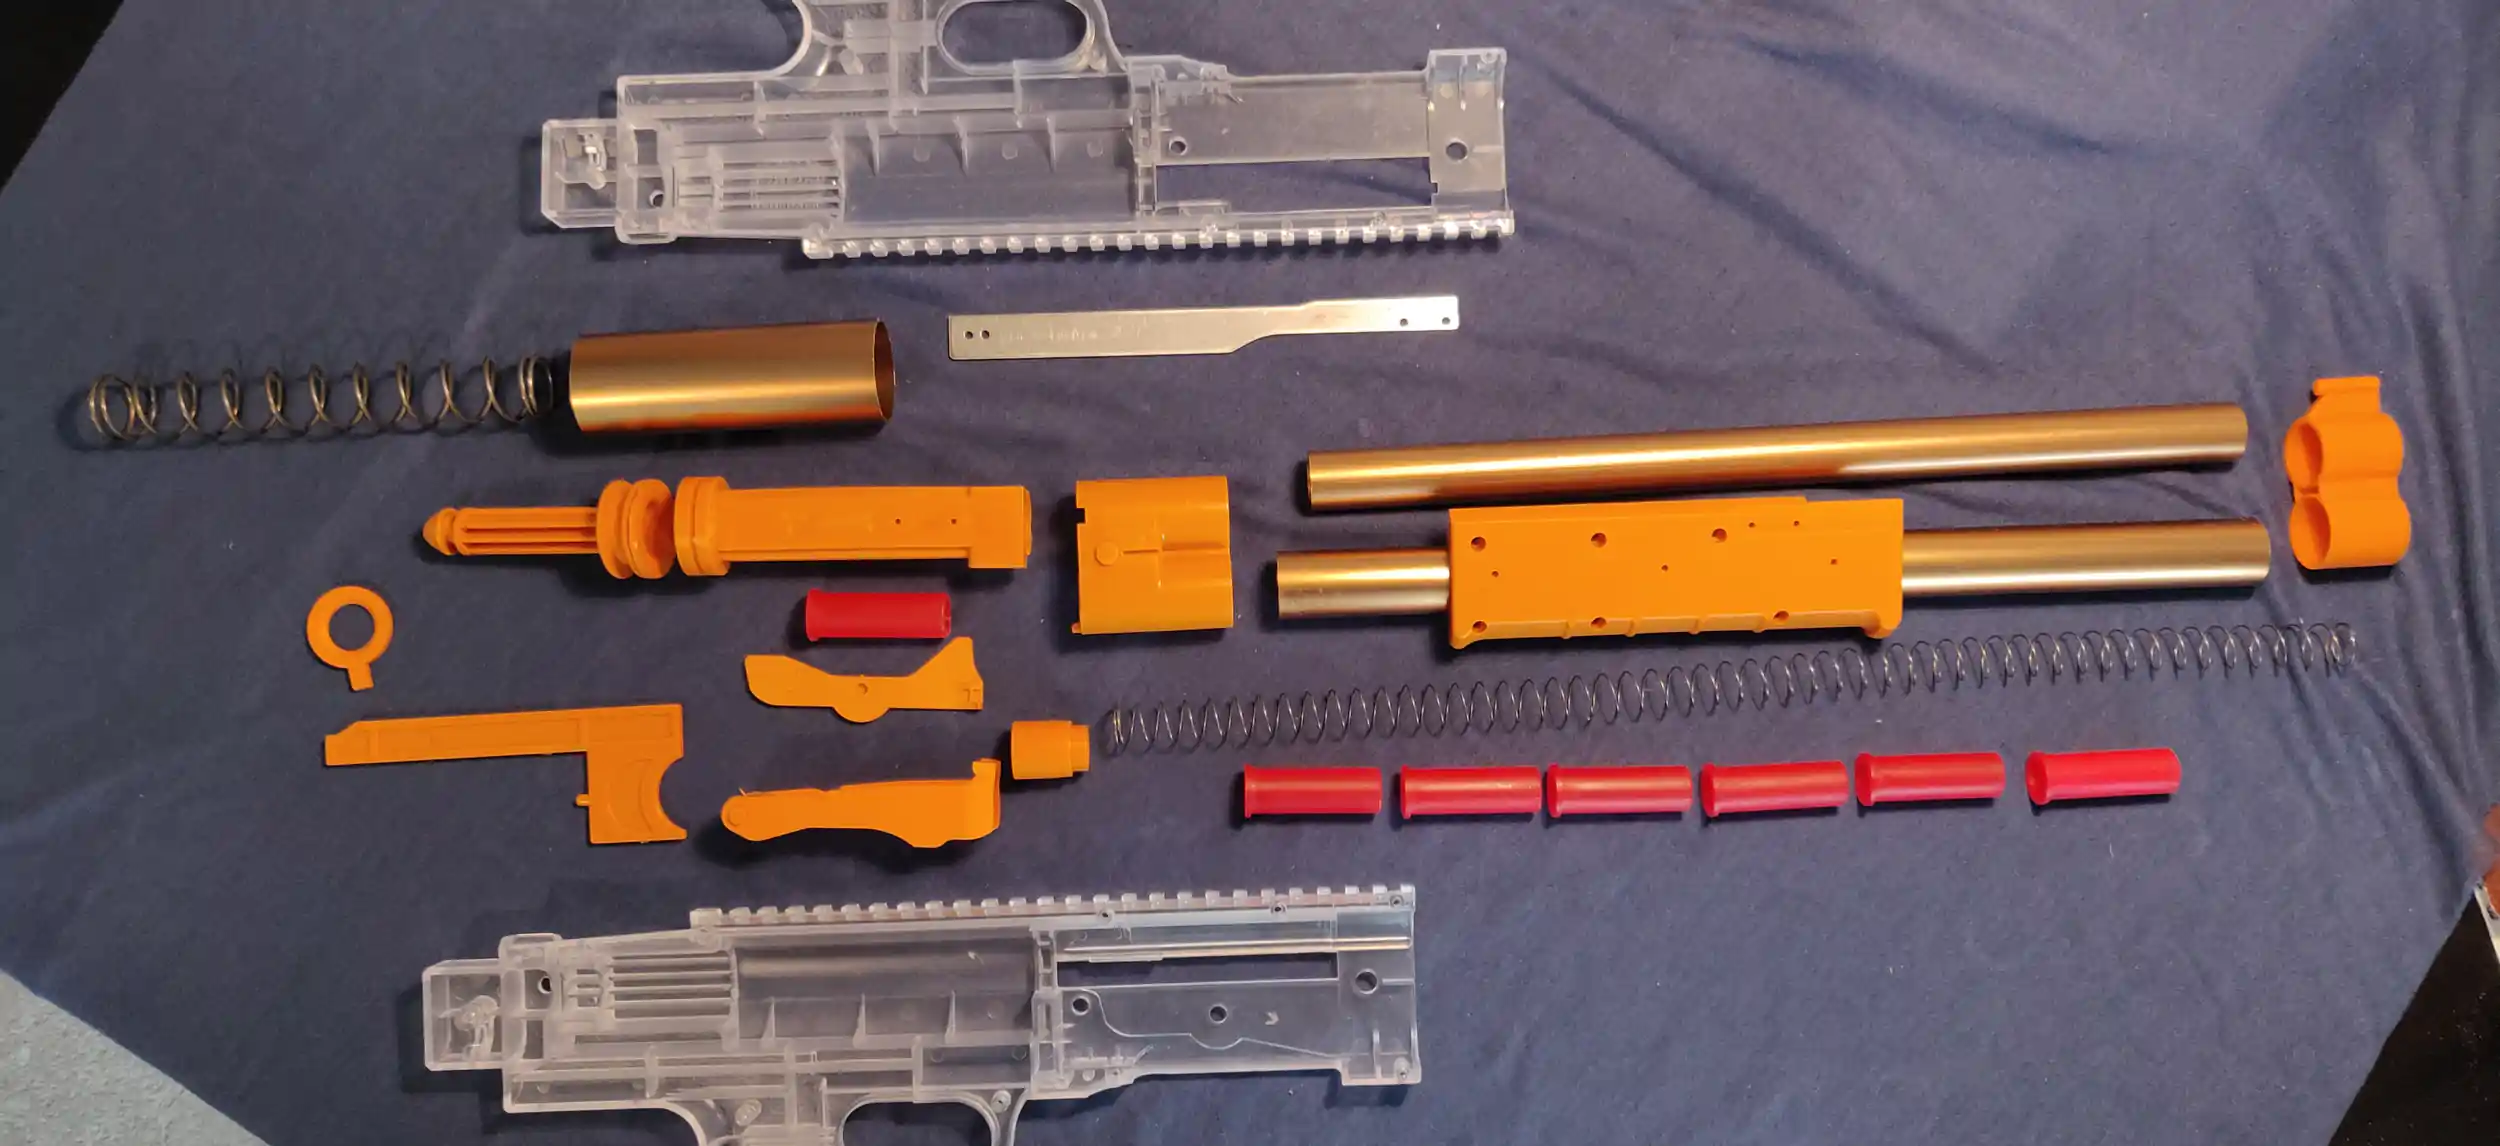
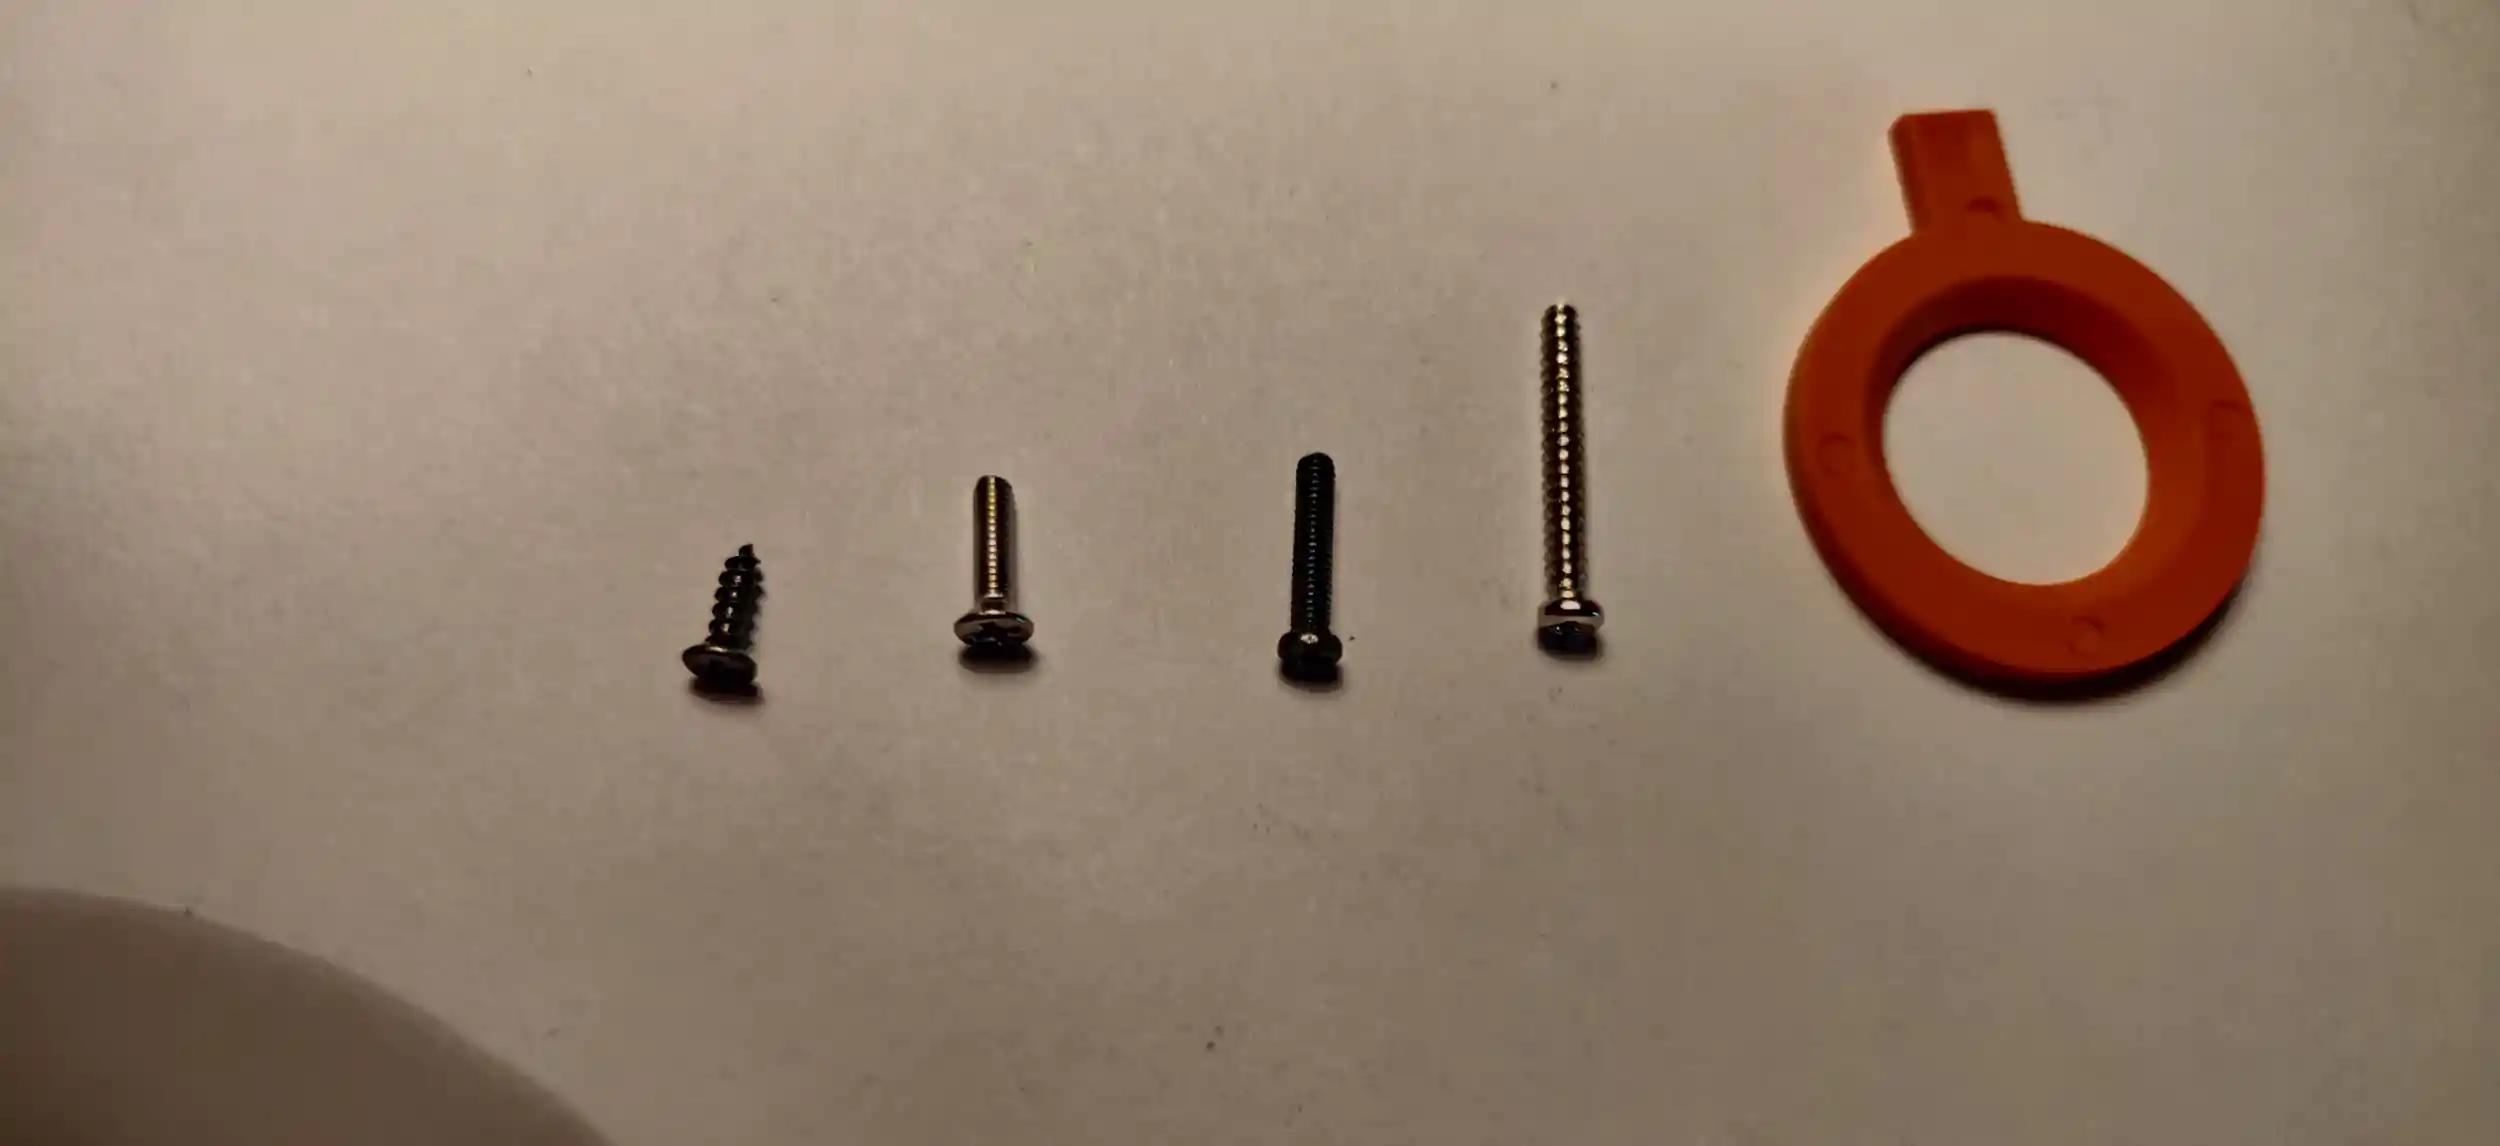
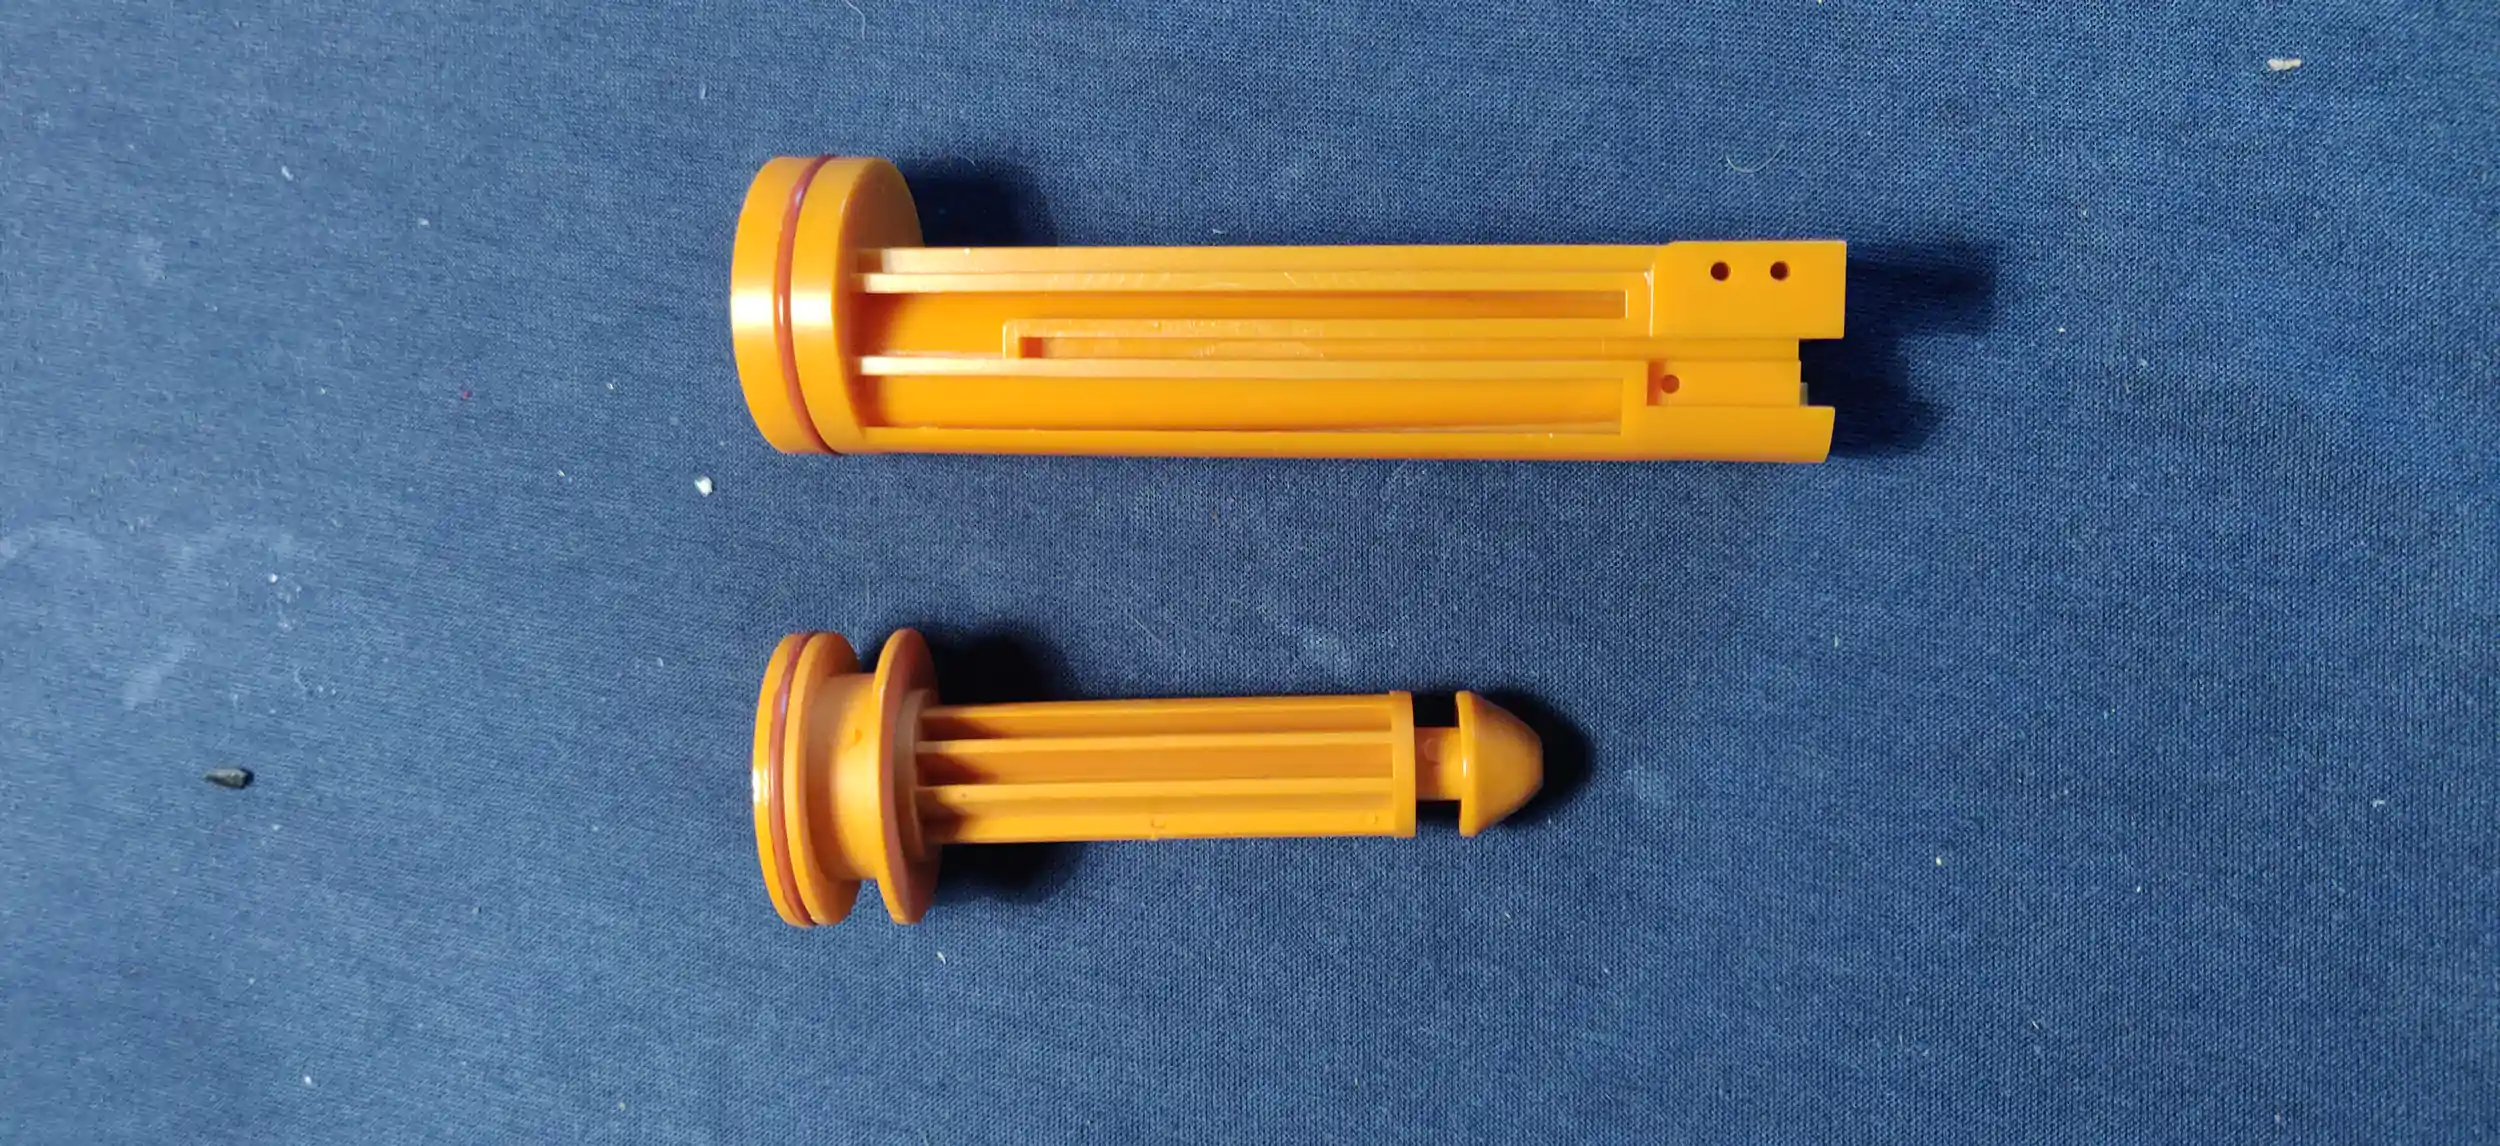
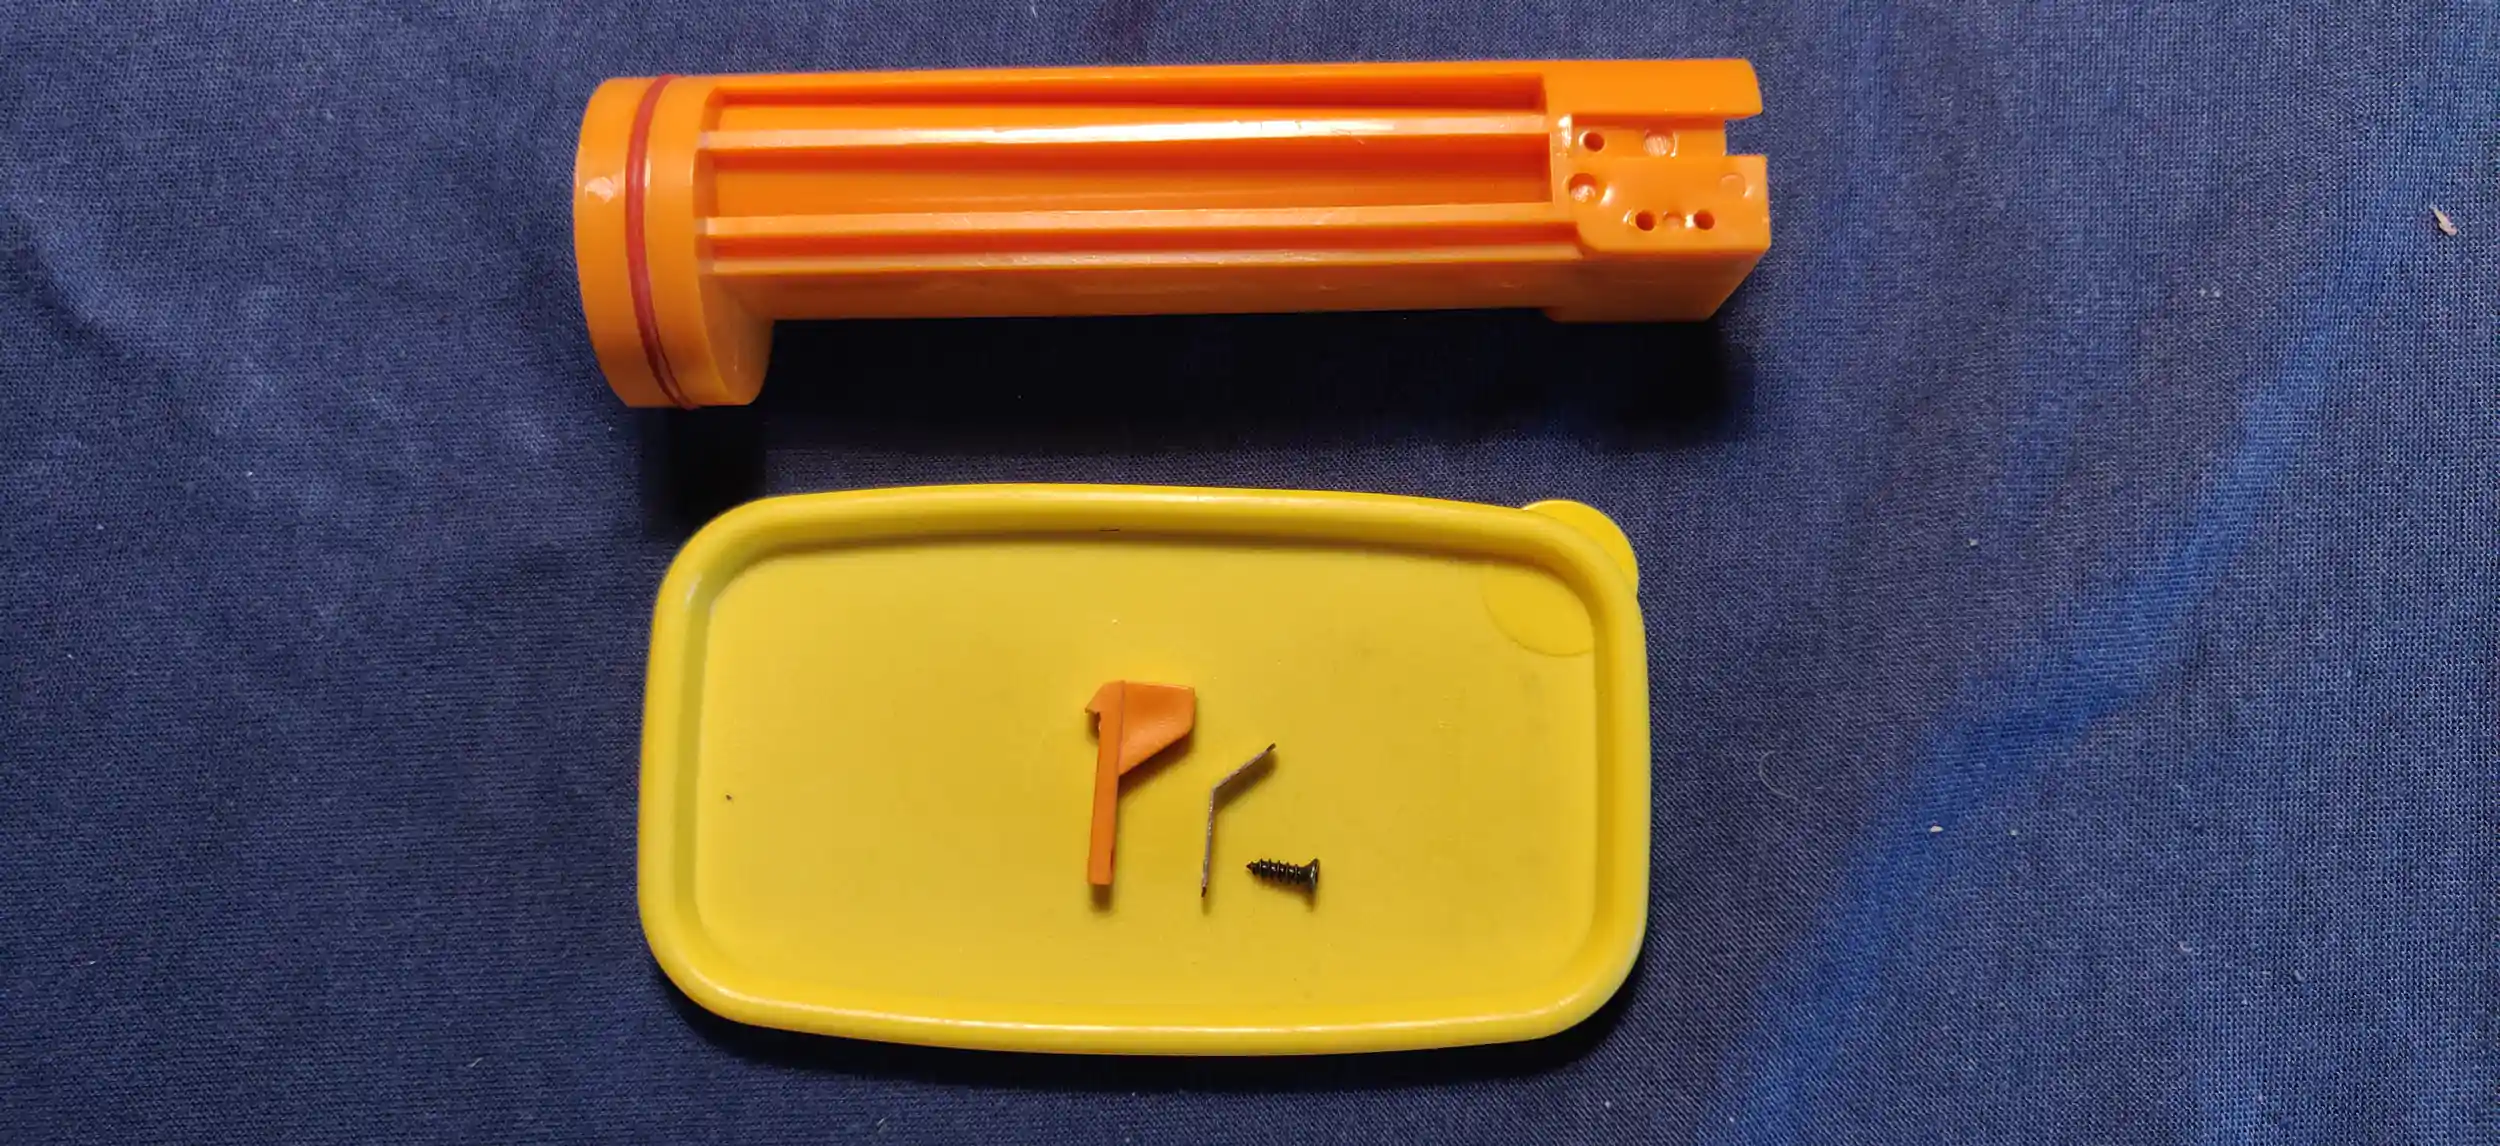
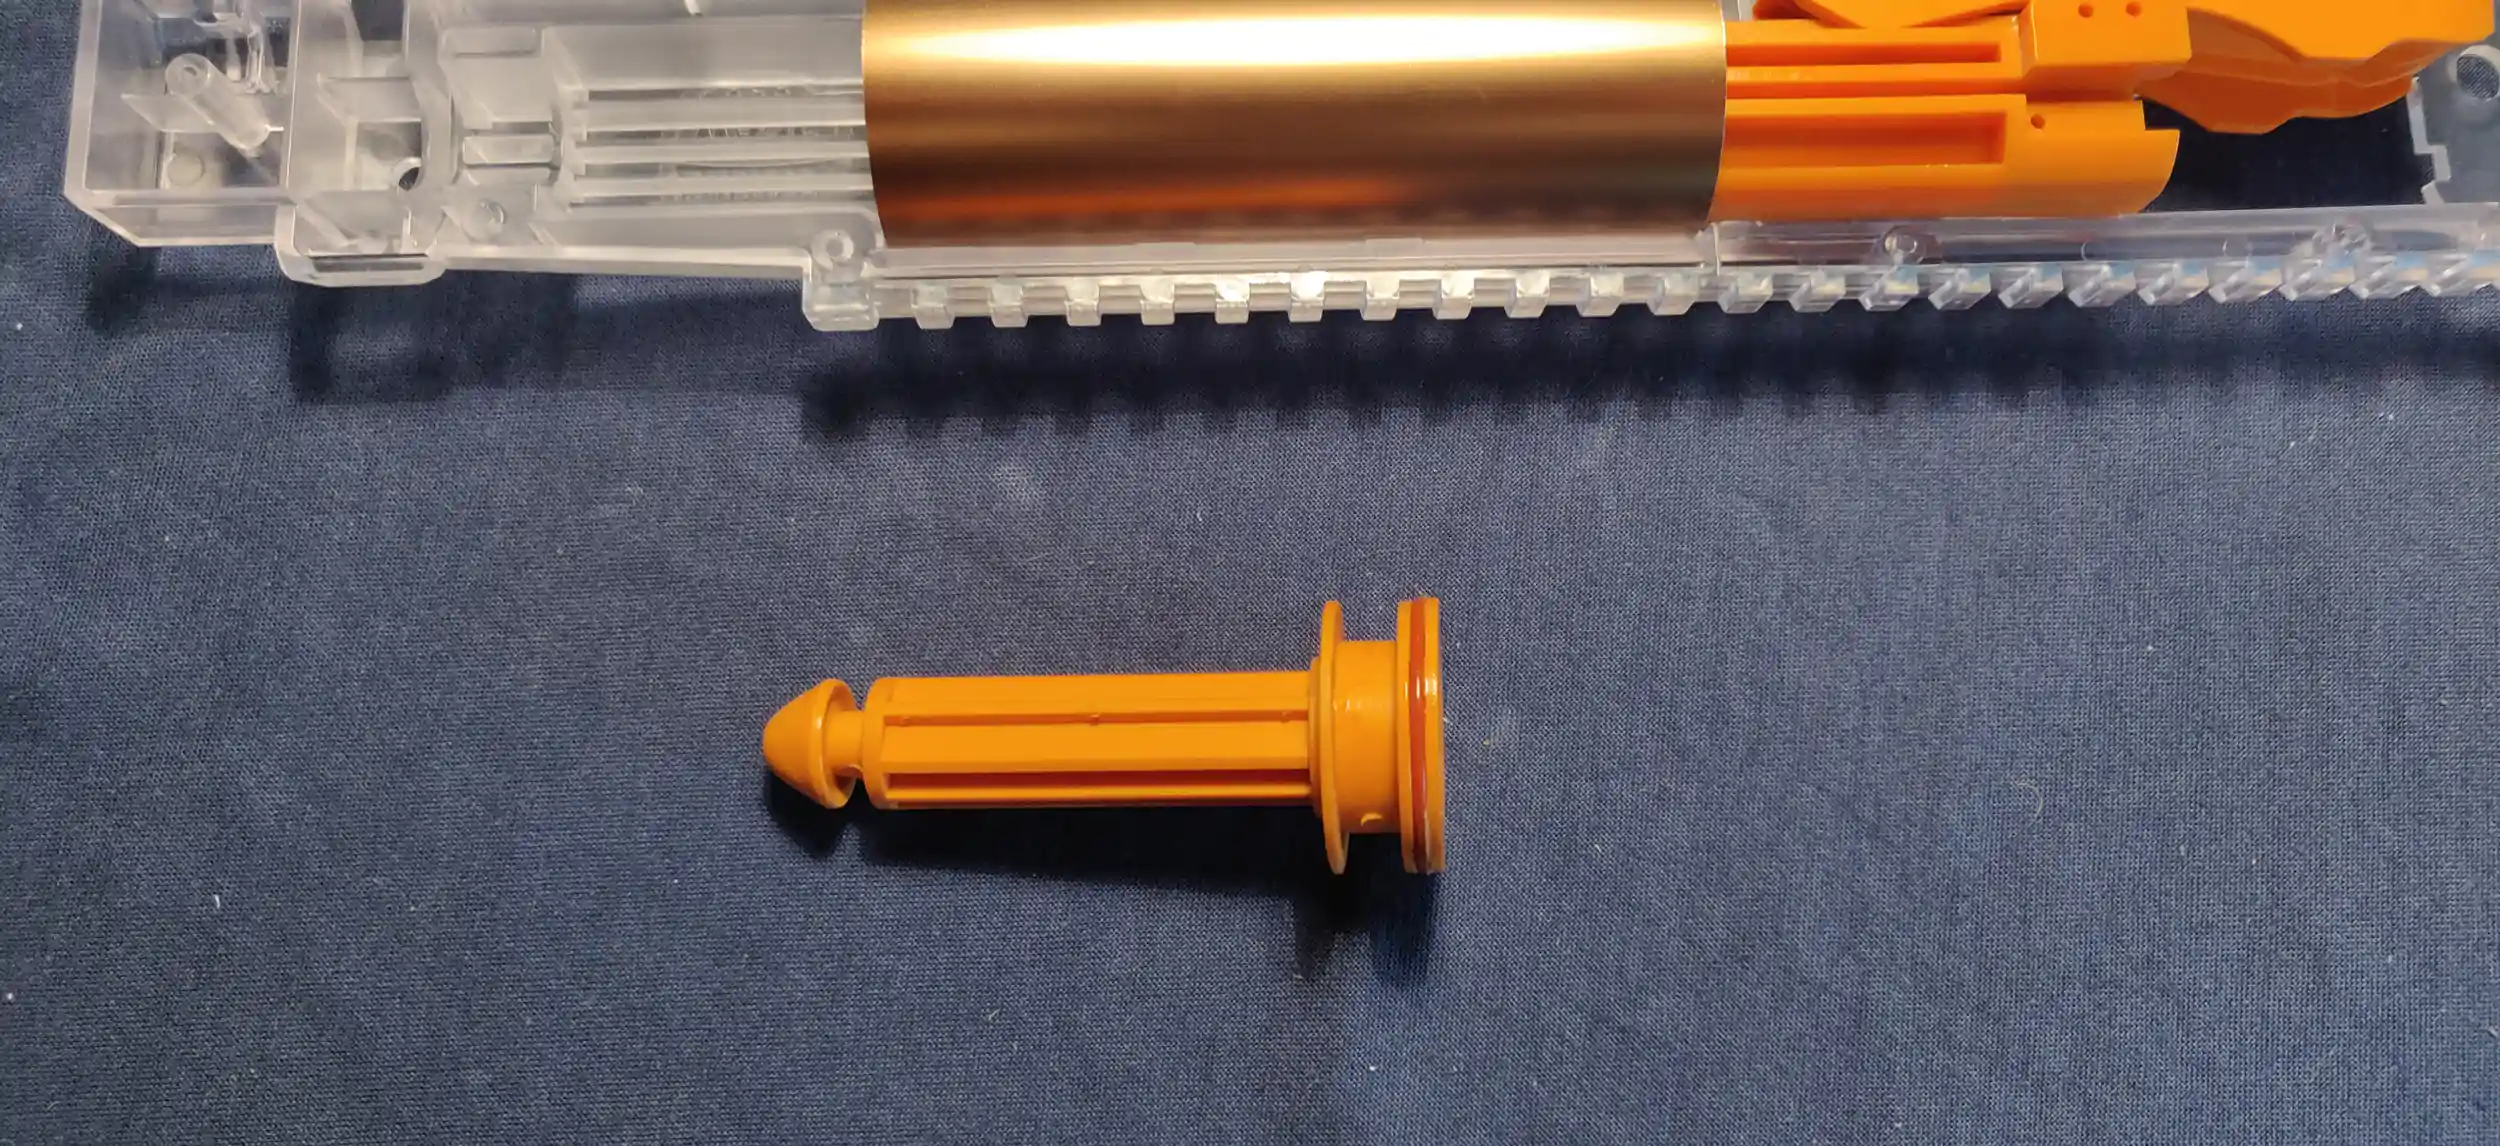
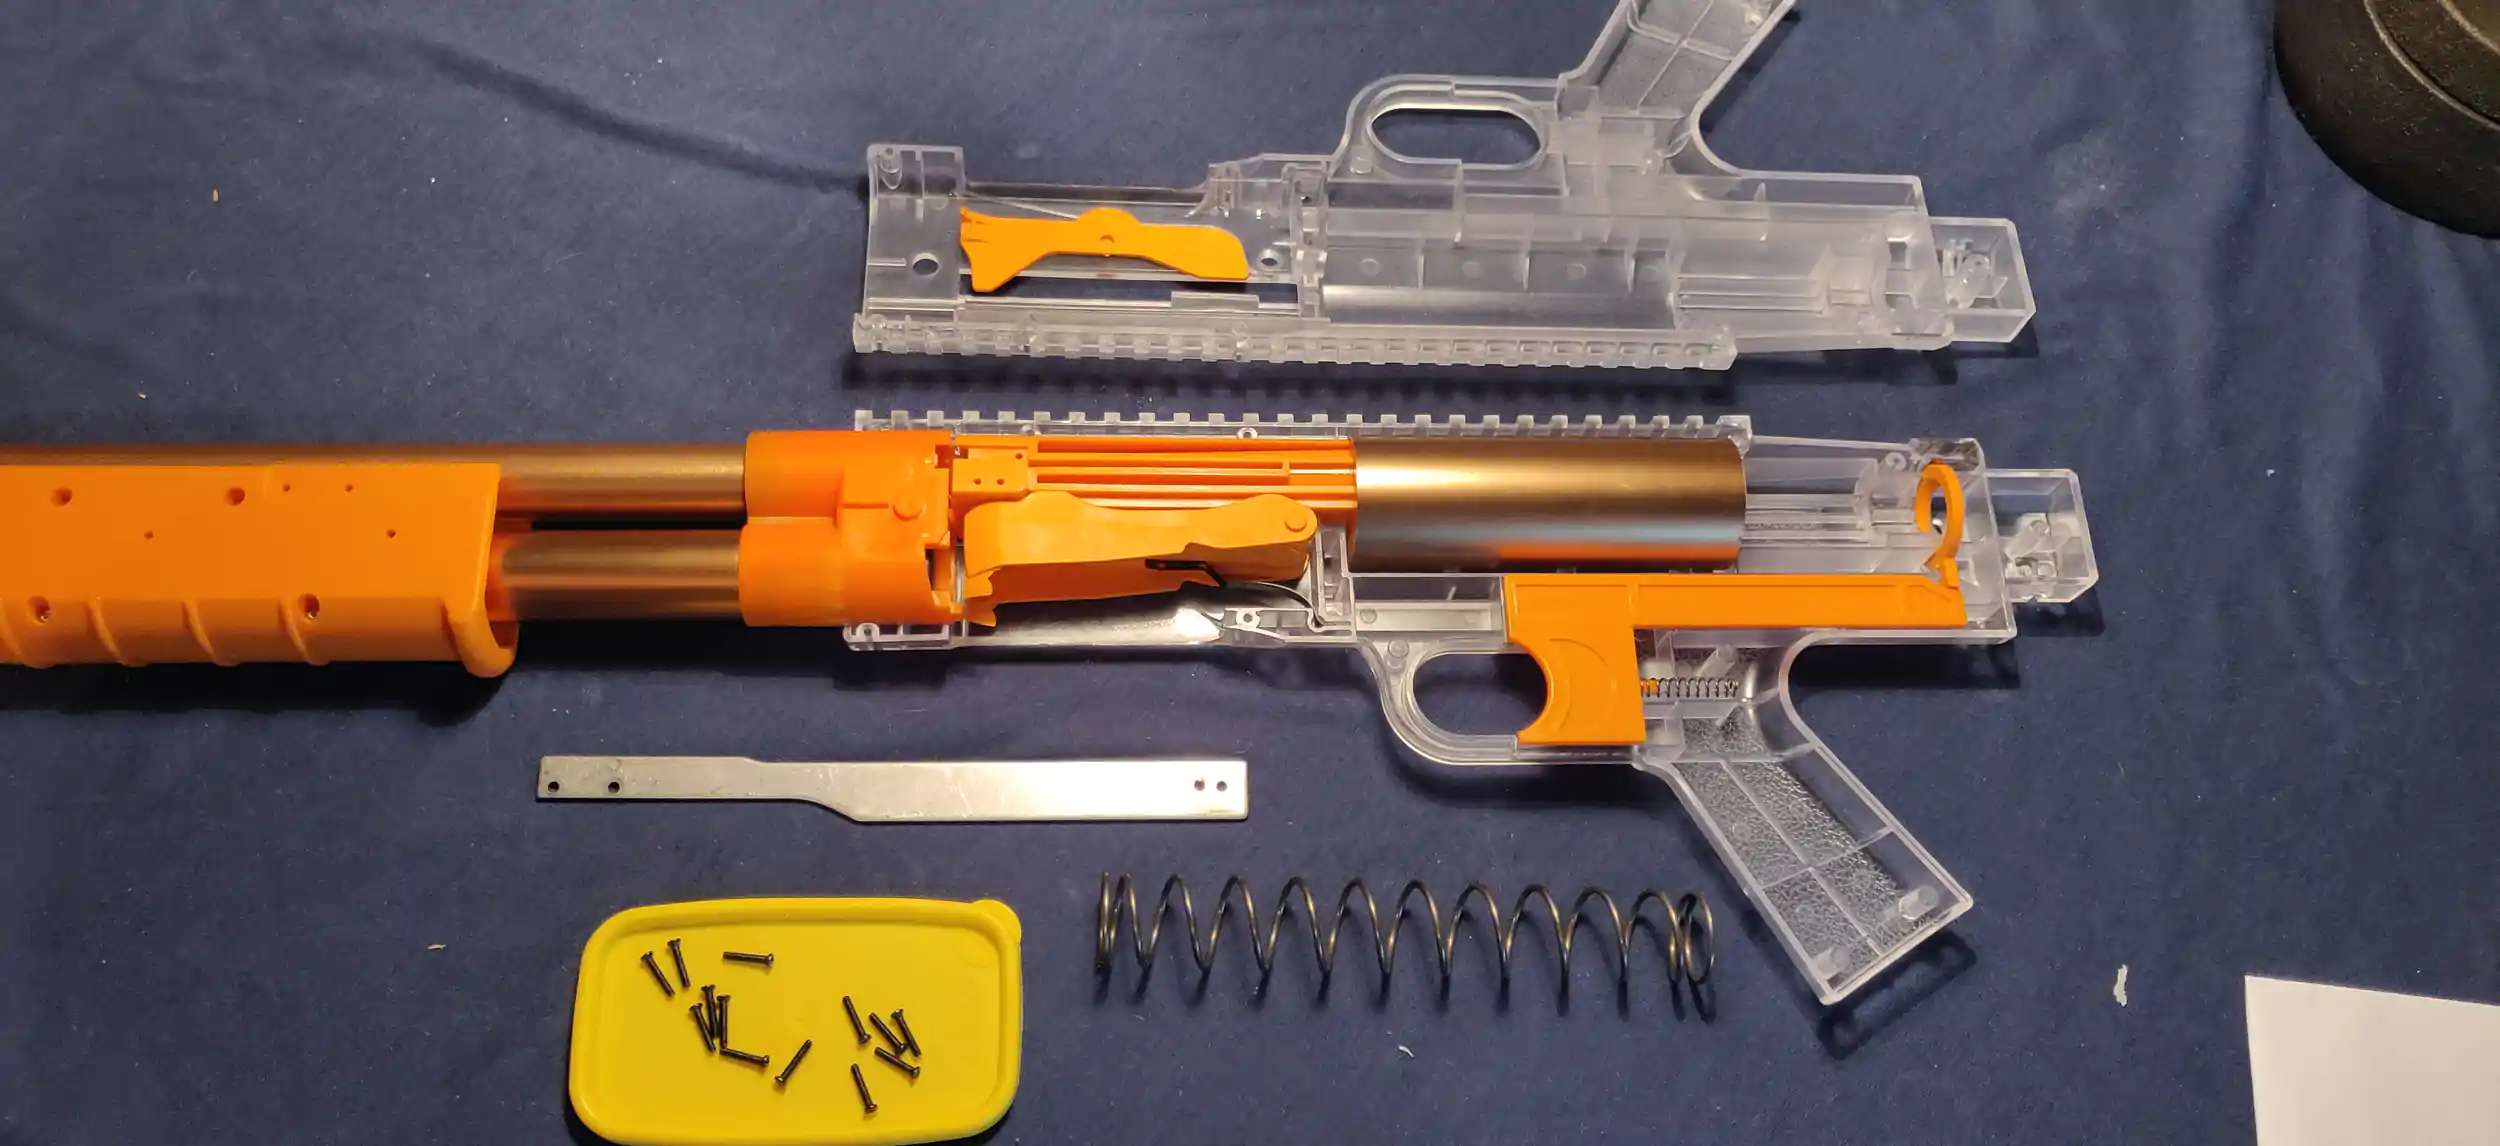
The first slide shows most of the parts and where they'll end up. The second slide shows us the various screws that we will use, and the plunger catch for scale. The black screws for the body (#3) are of poor quality and strip easily. It is recommended to use better quality screws instead.
You can make these instructions available offline
Barrel unit

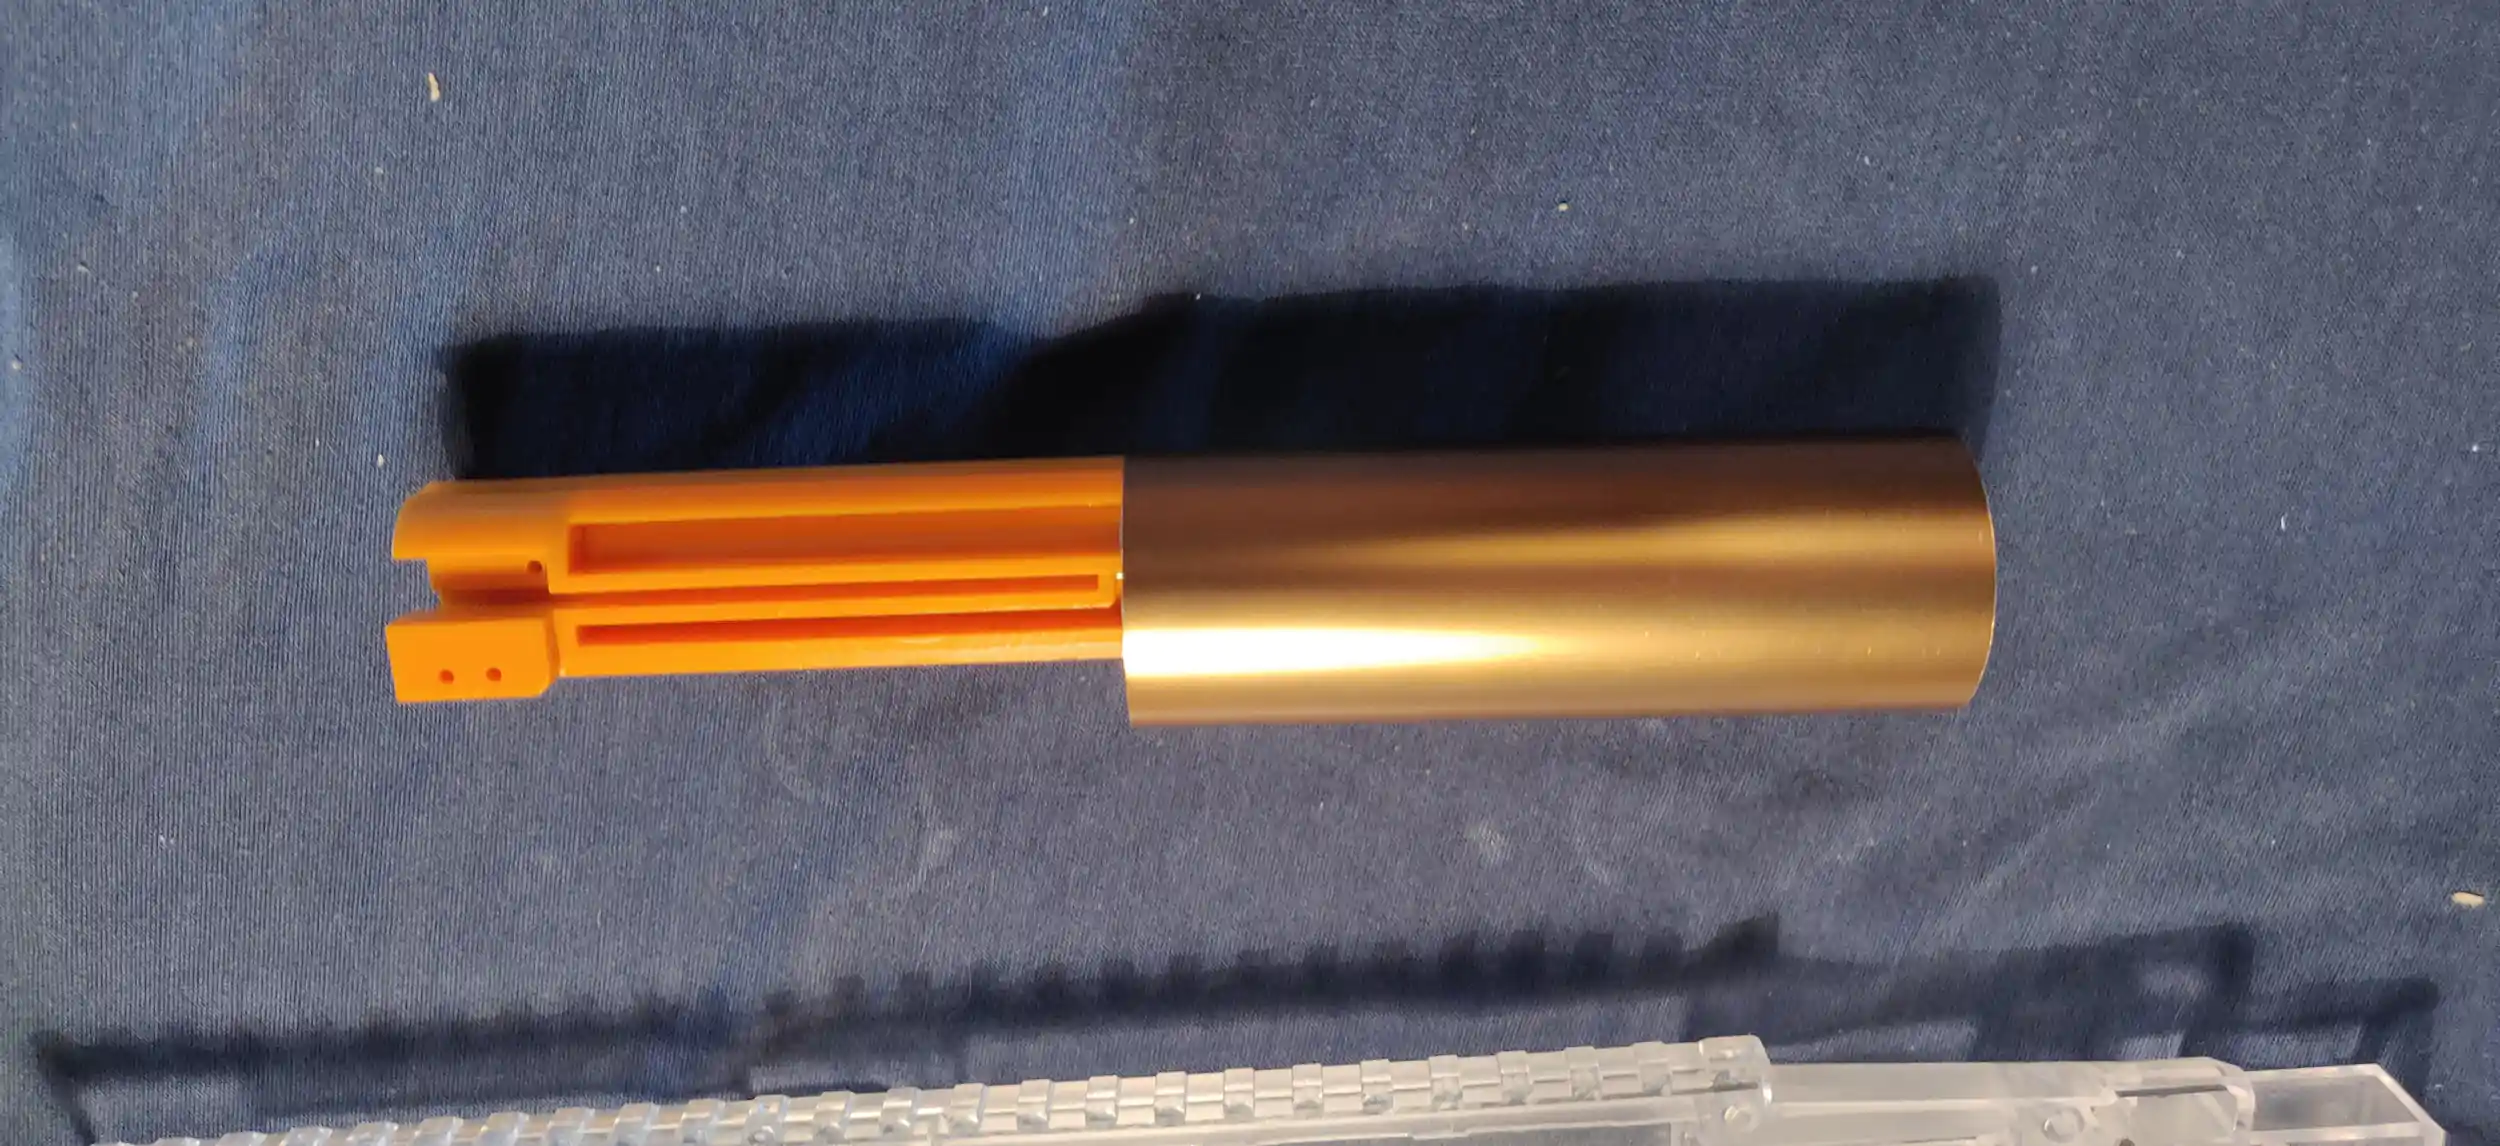
Left: Barrel, right: Magazine tube.
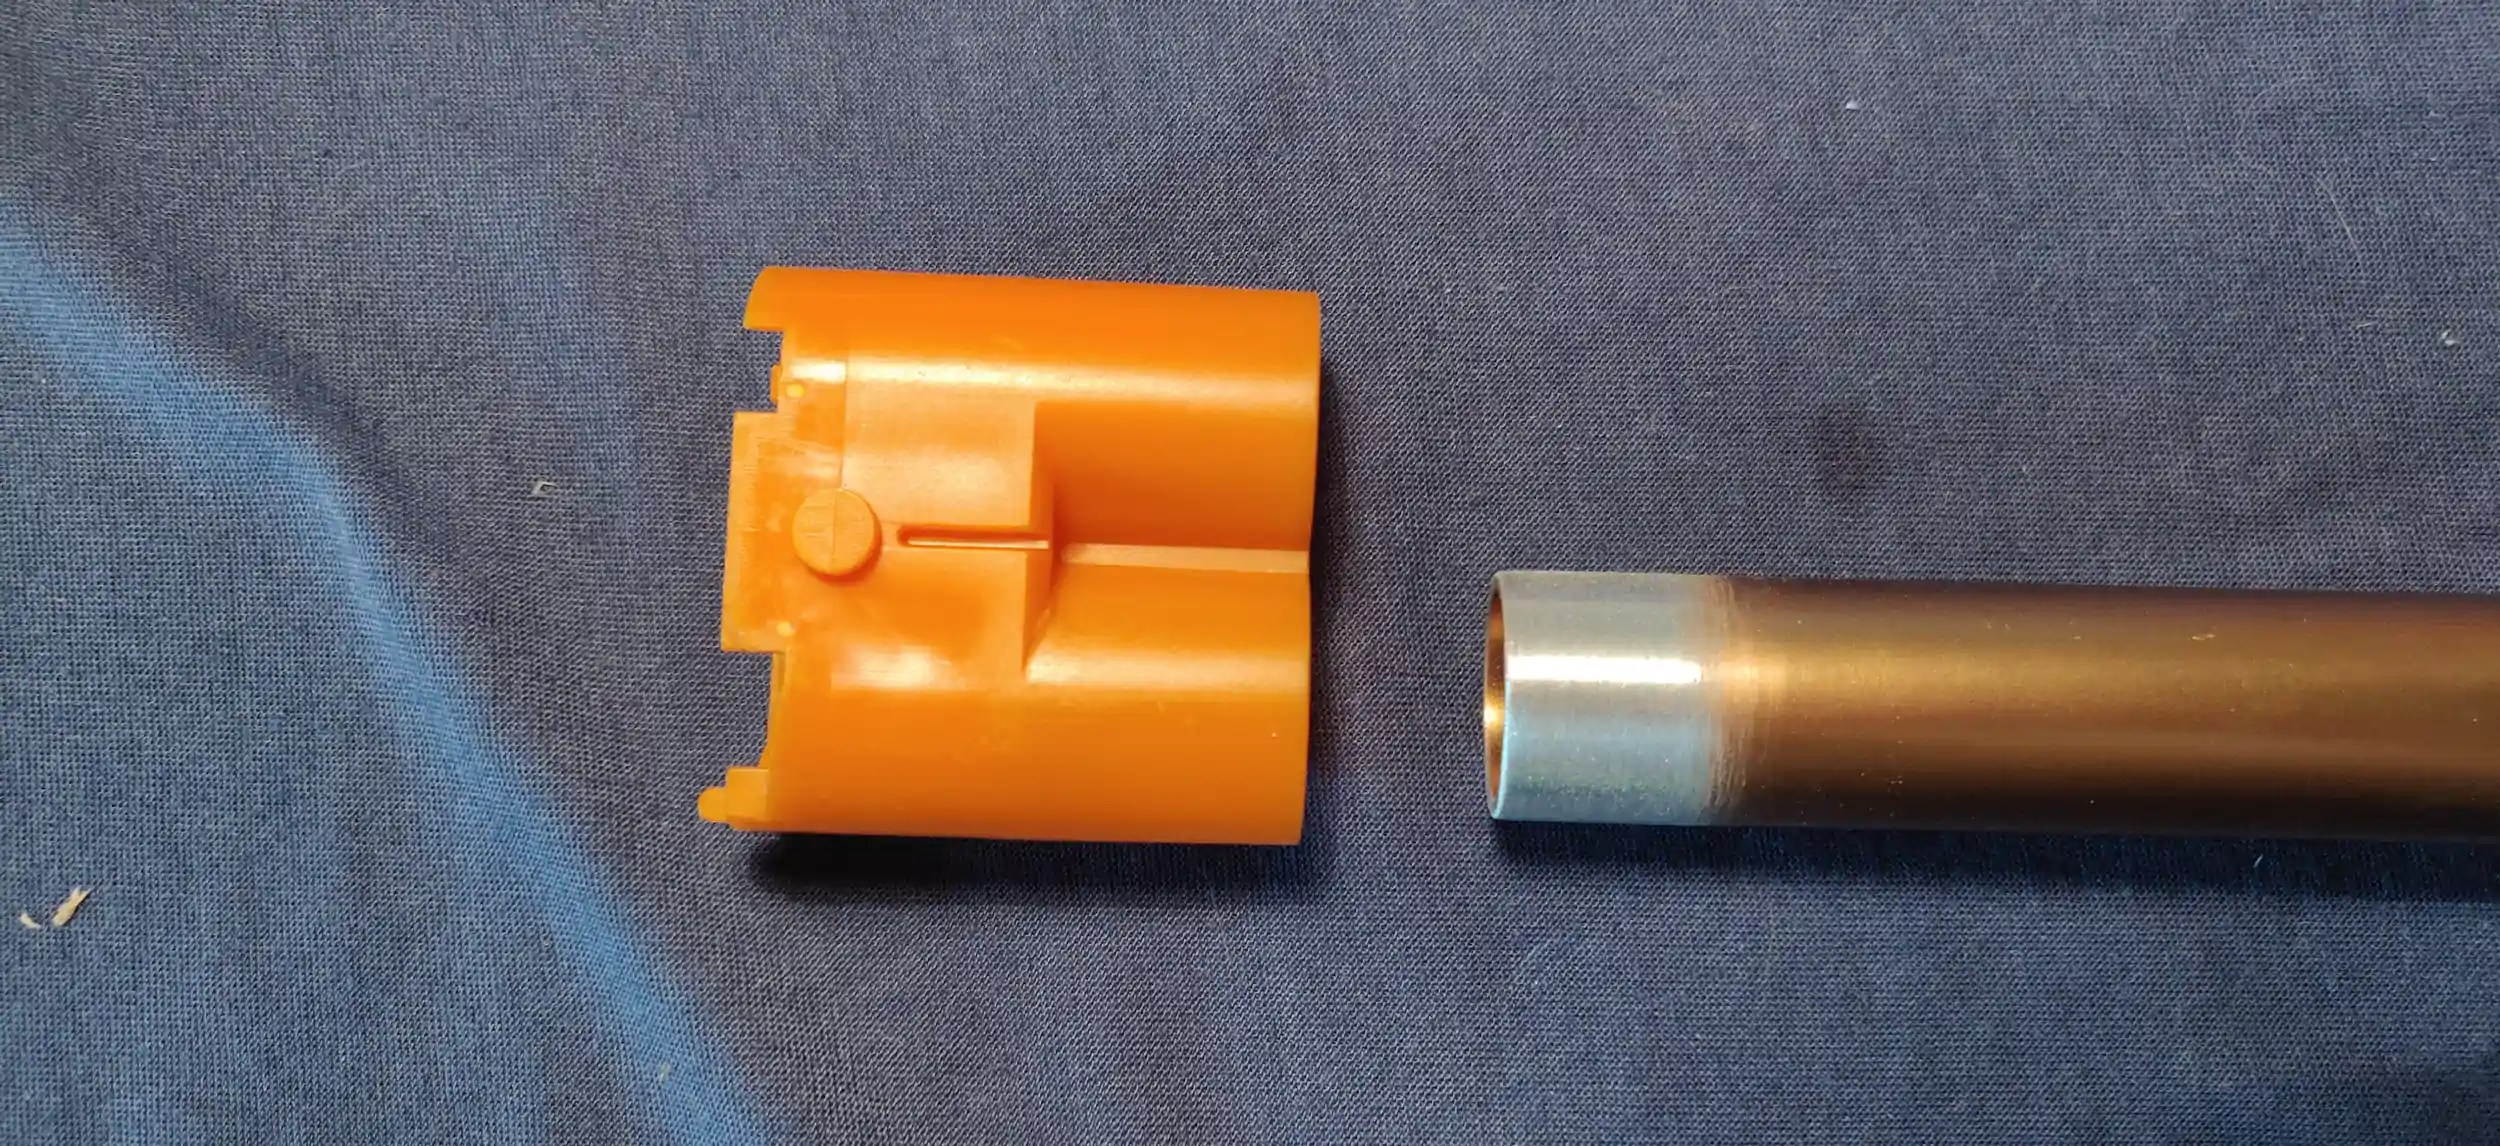
Take the magazine tube and the central barrel holder. The tube needs sanding to properly fit.
Insert it into the smooth hole of the barrel holder. It will be very tight, so I recommend to use some lube. If necessary, use a mallet to get the tube all the way in. Check that the tube connects to the barrel holder on the inside. If there is a gap, the ammo follower might jam when inserting shells.
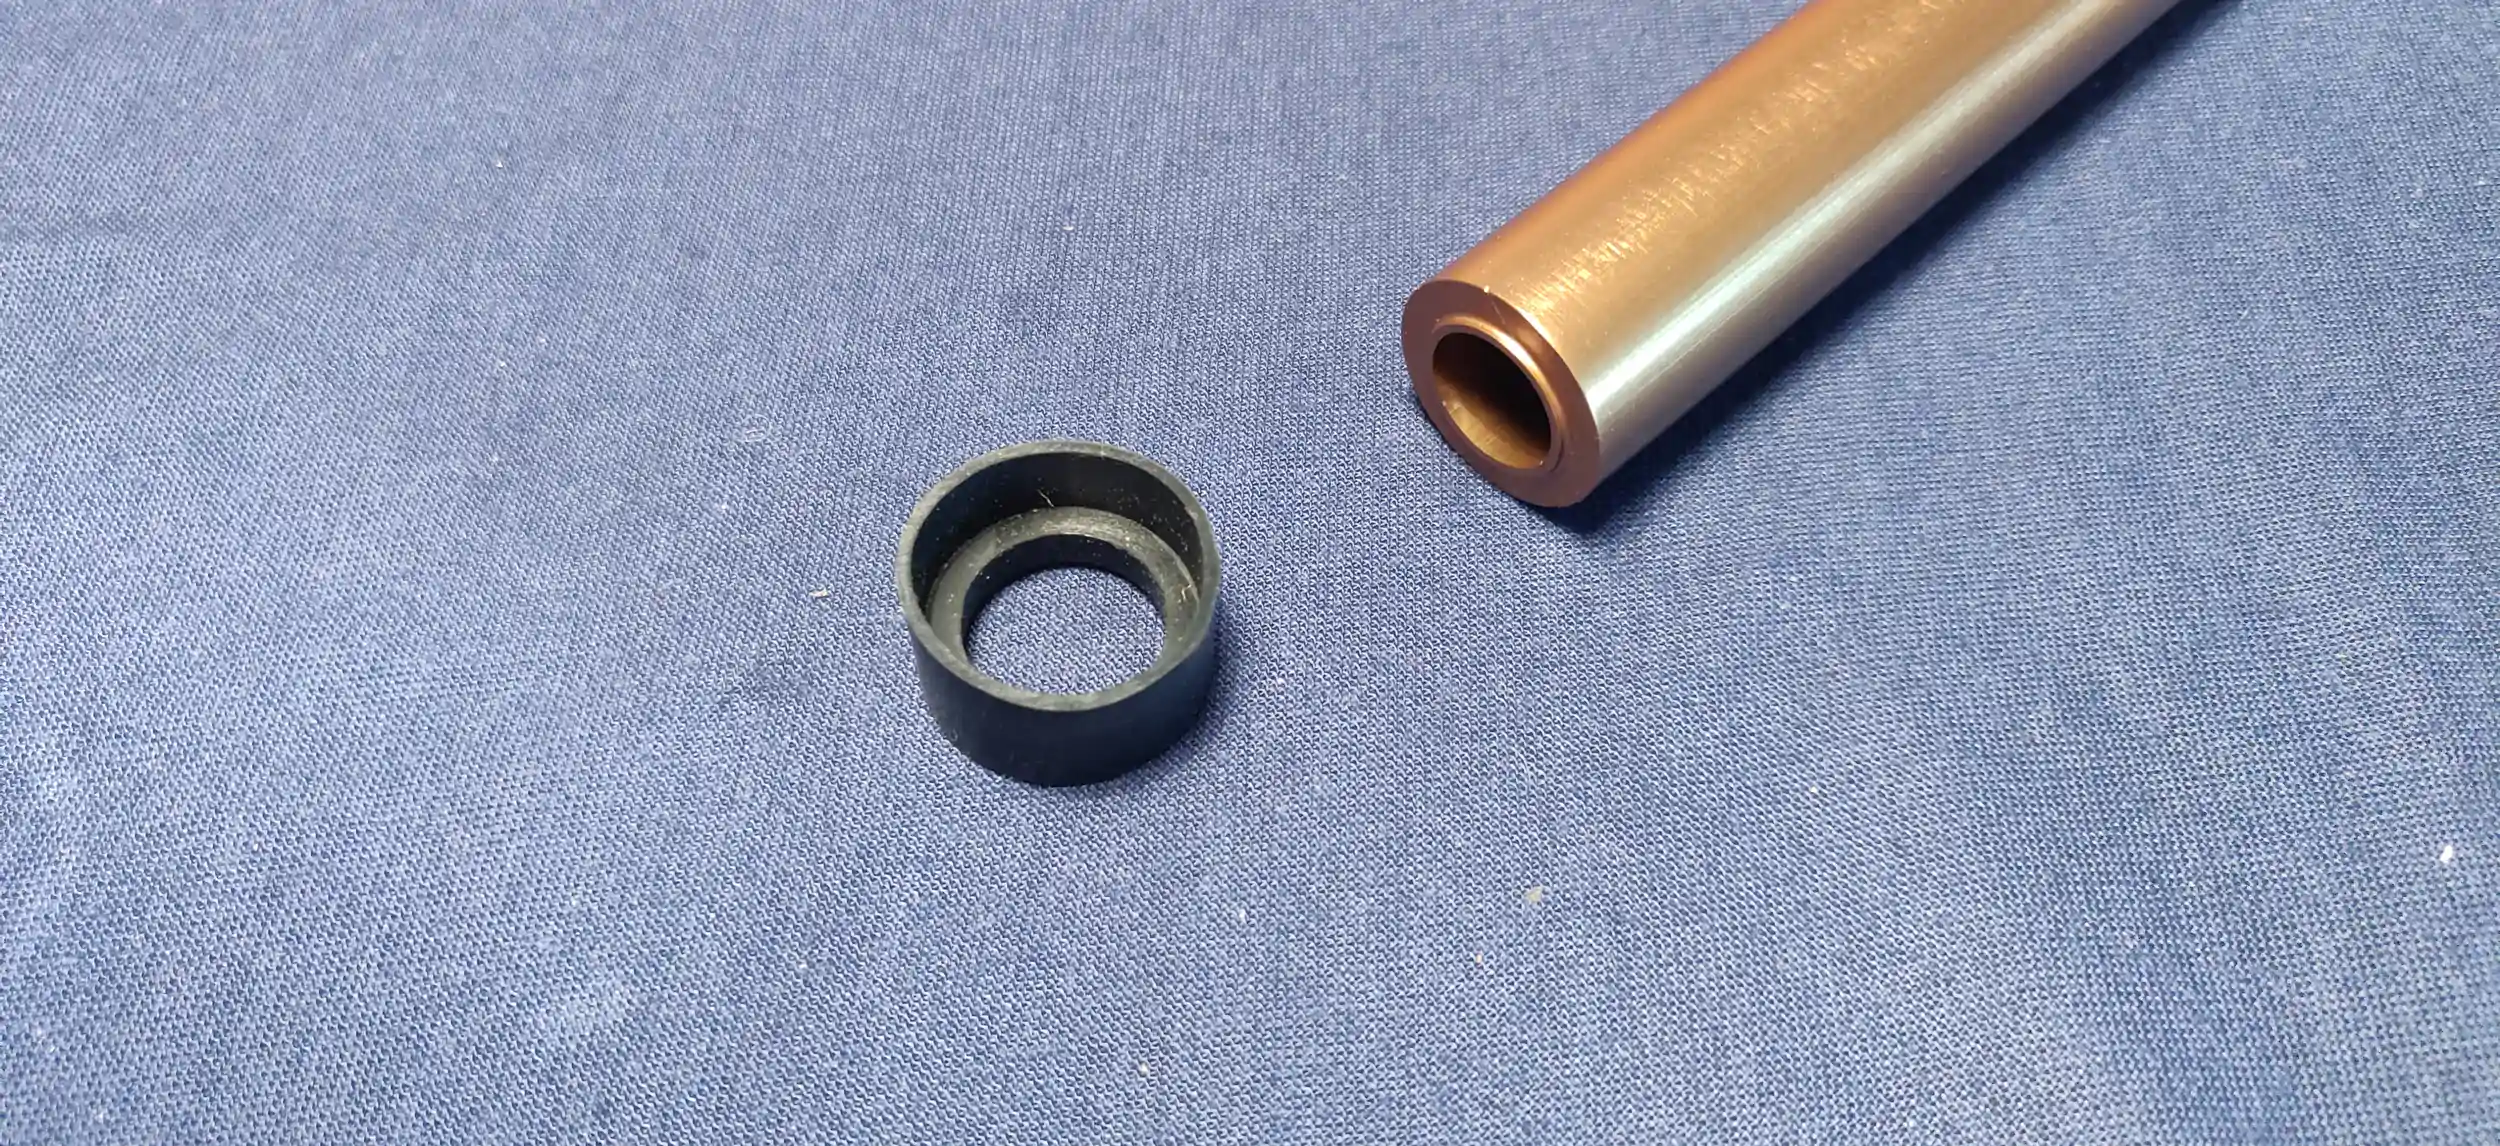
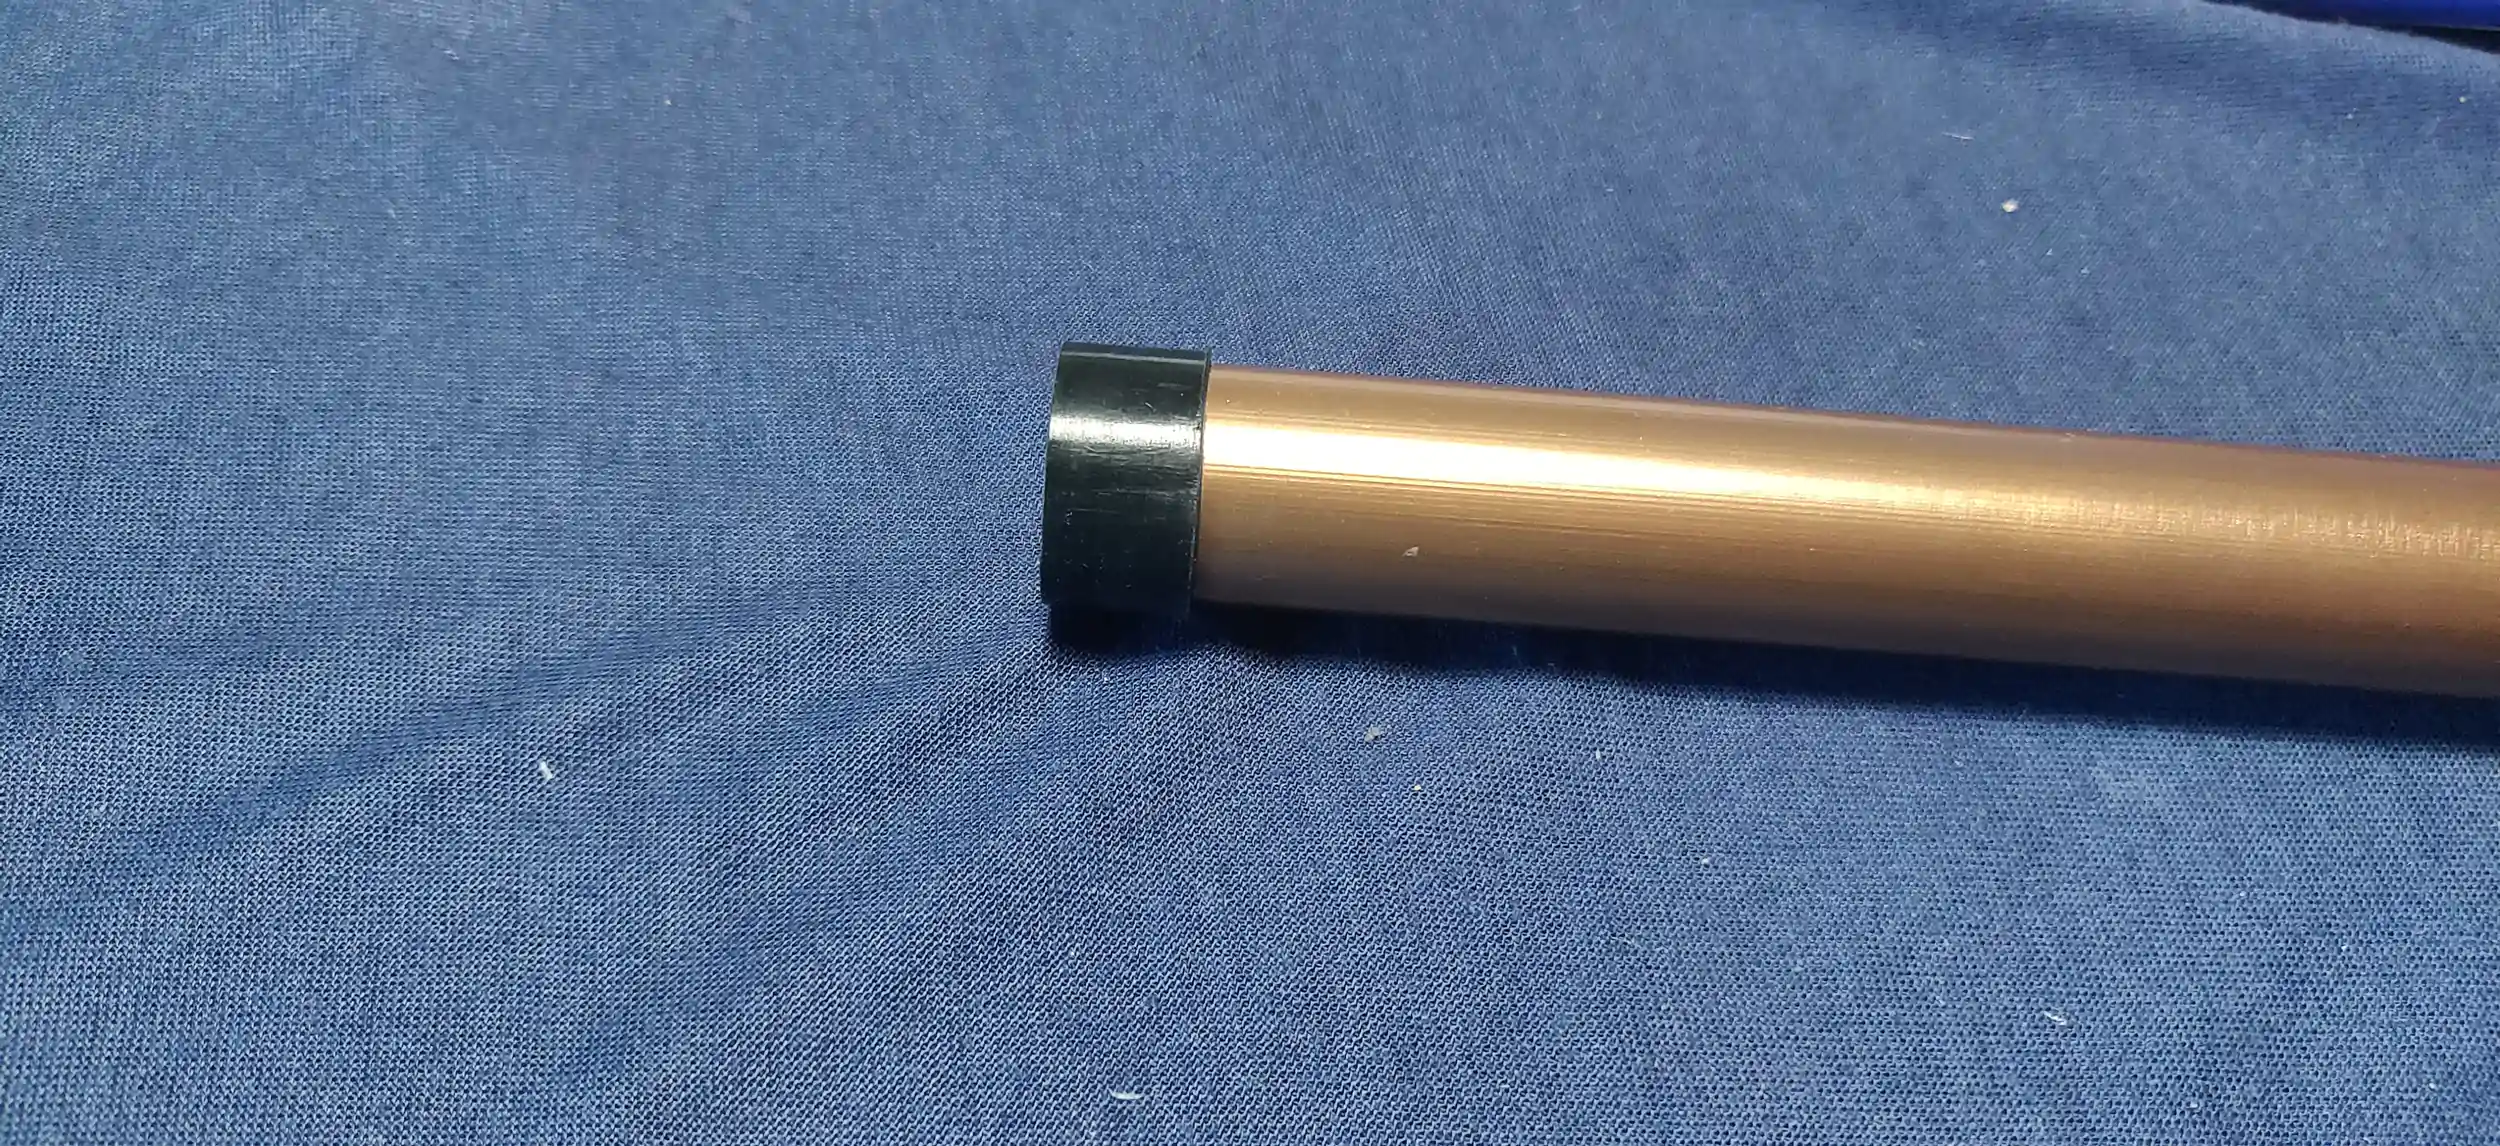

Take the barrel seal and the barrel. Put the seal on the barrel and insert into the central barrel holder.
As easy as the barrel goes in, it comes out. Check periodically if the barrel is still in place or fix it permanently with some glue.
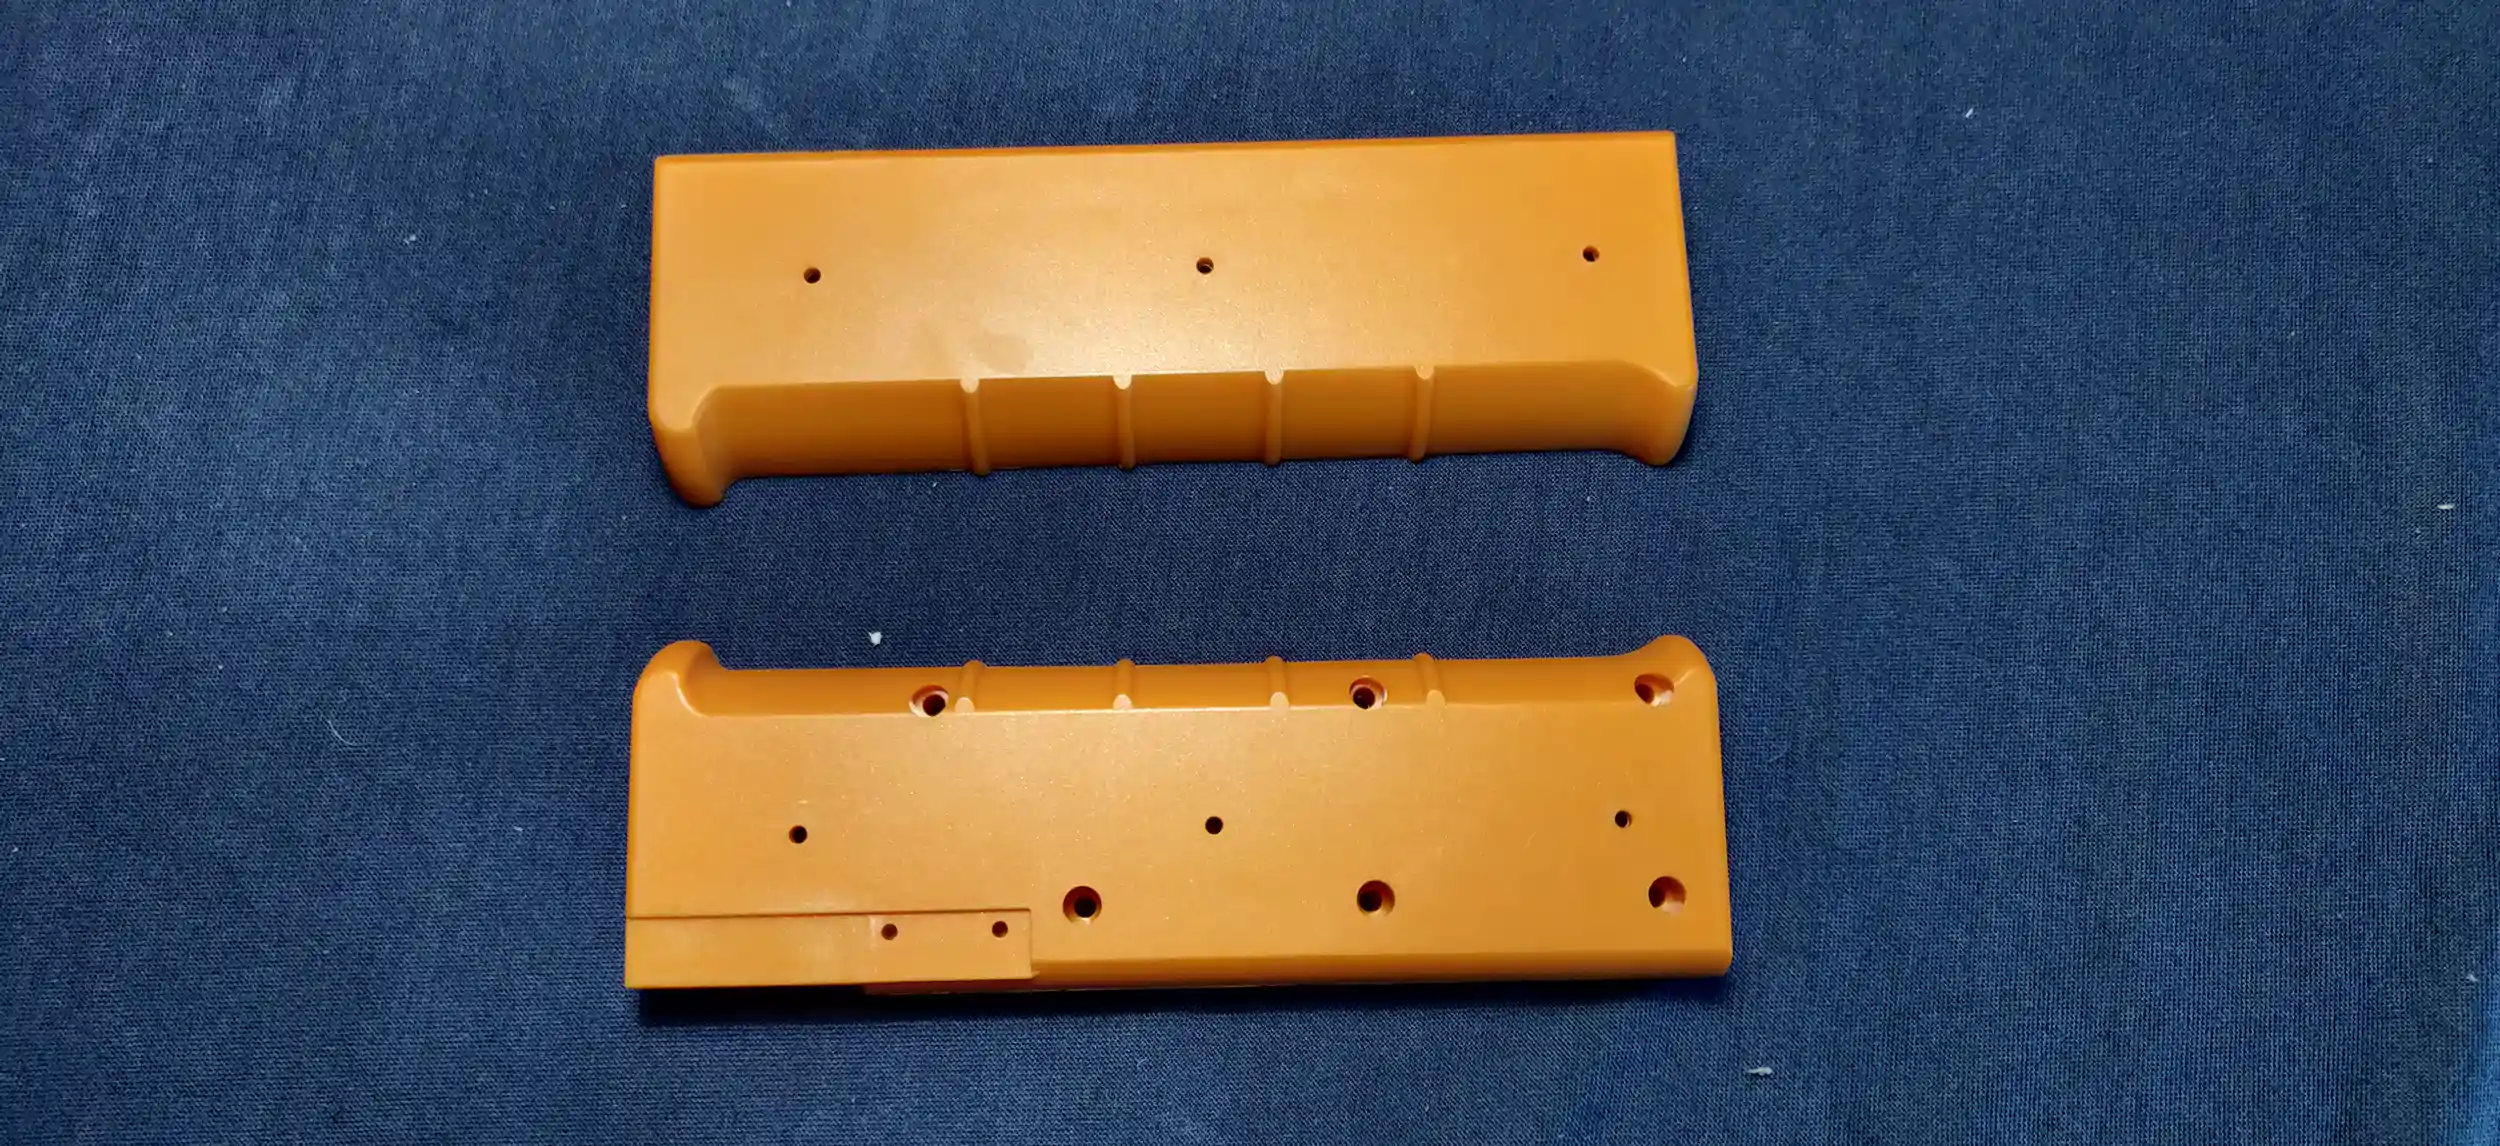
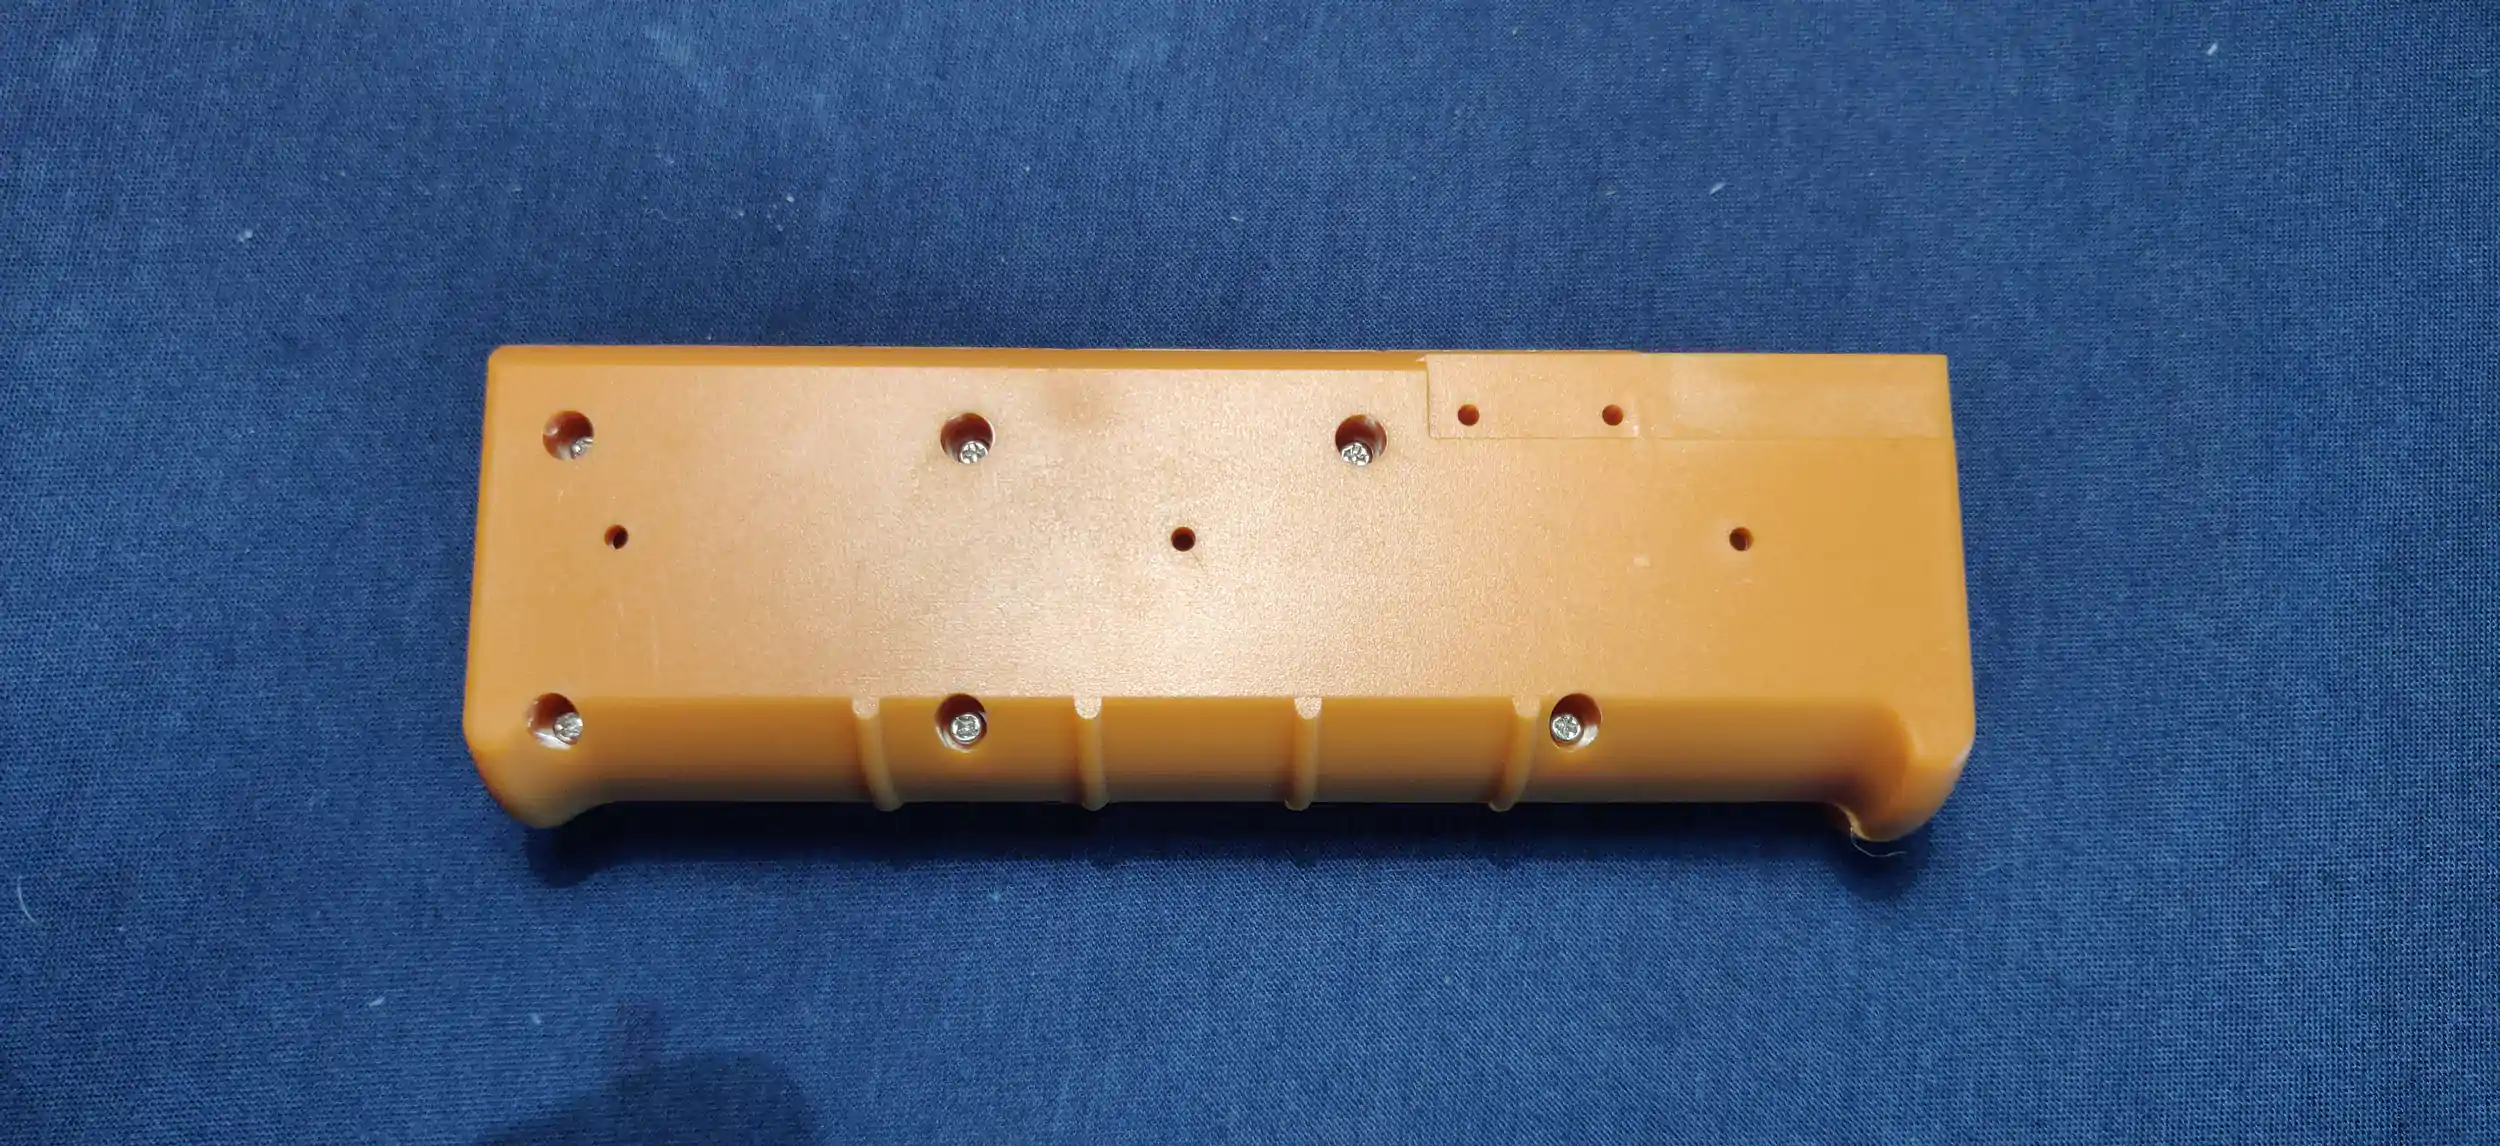
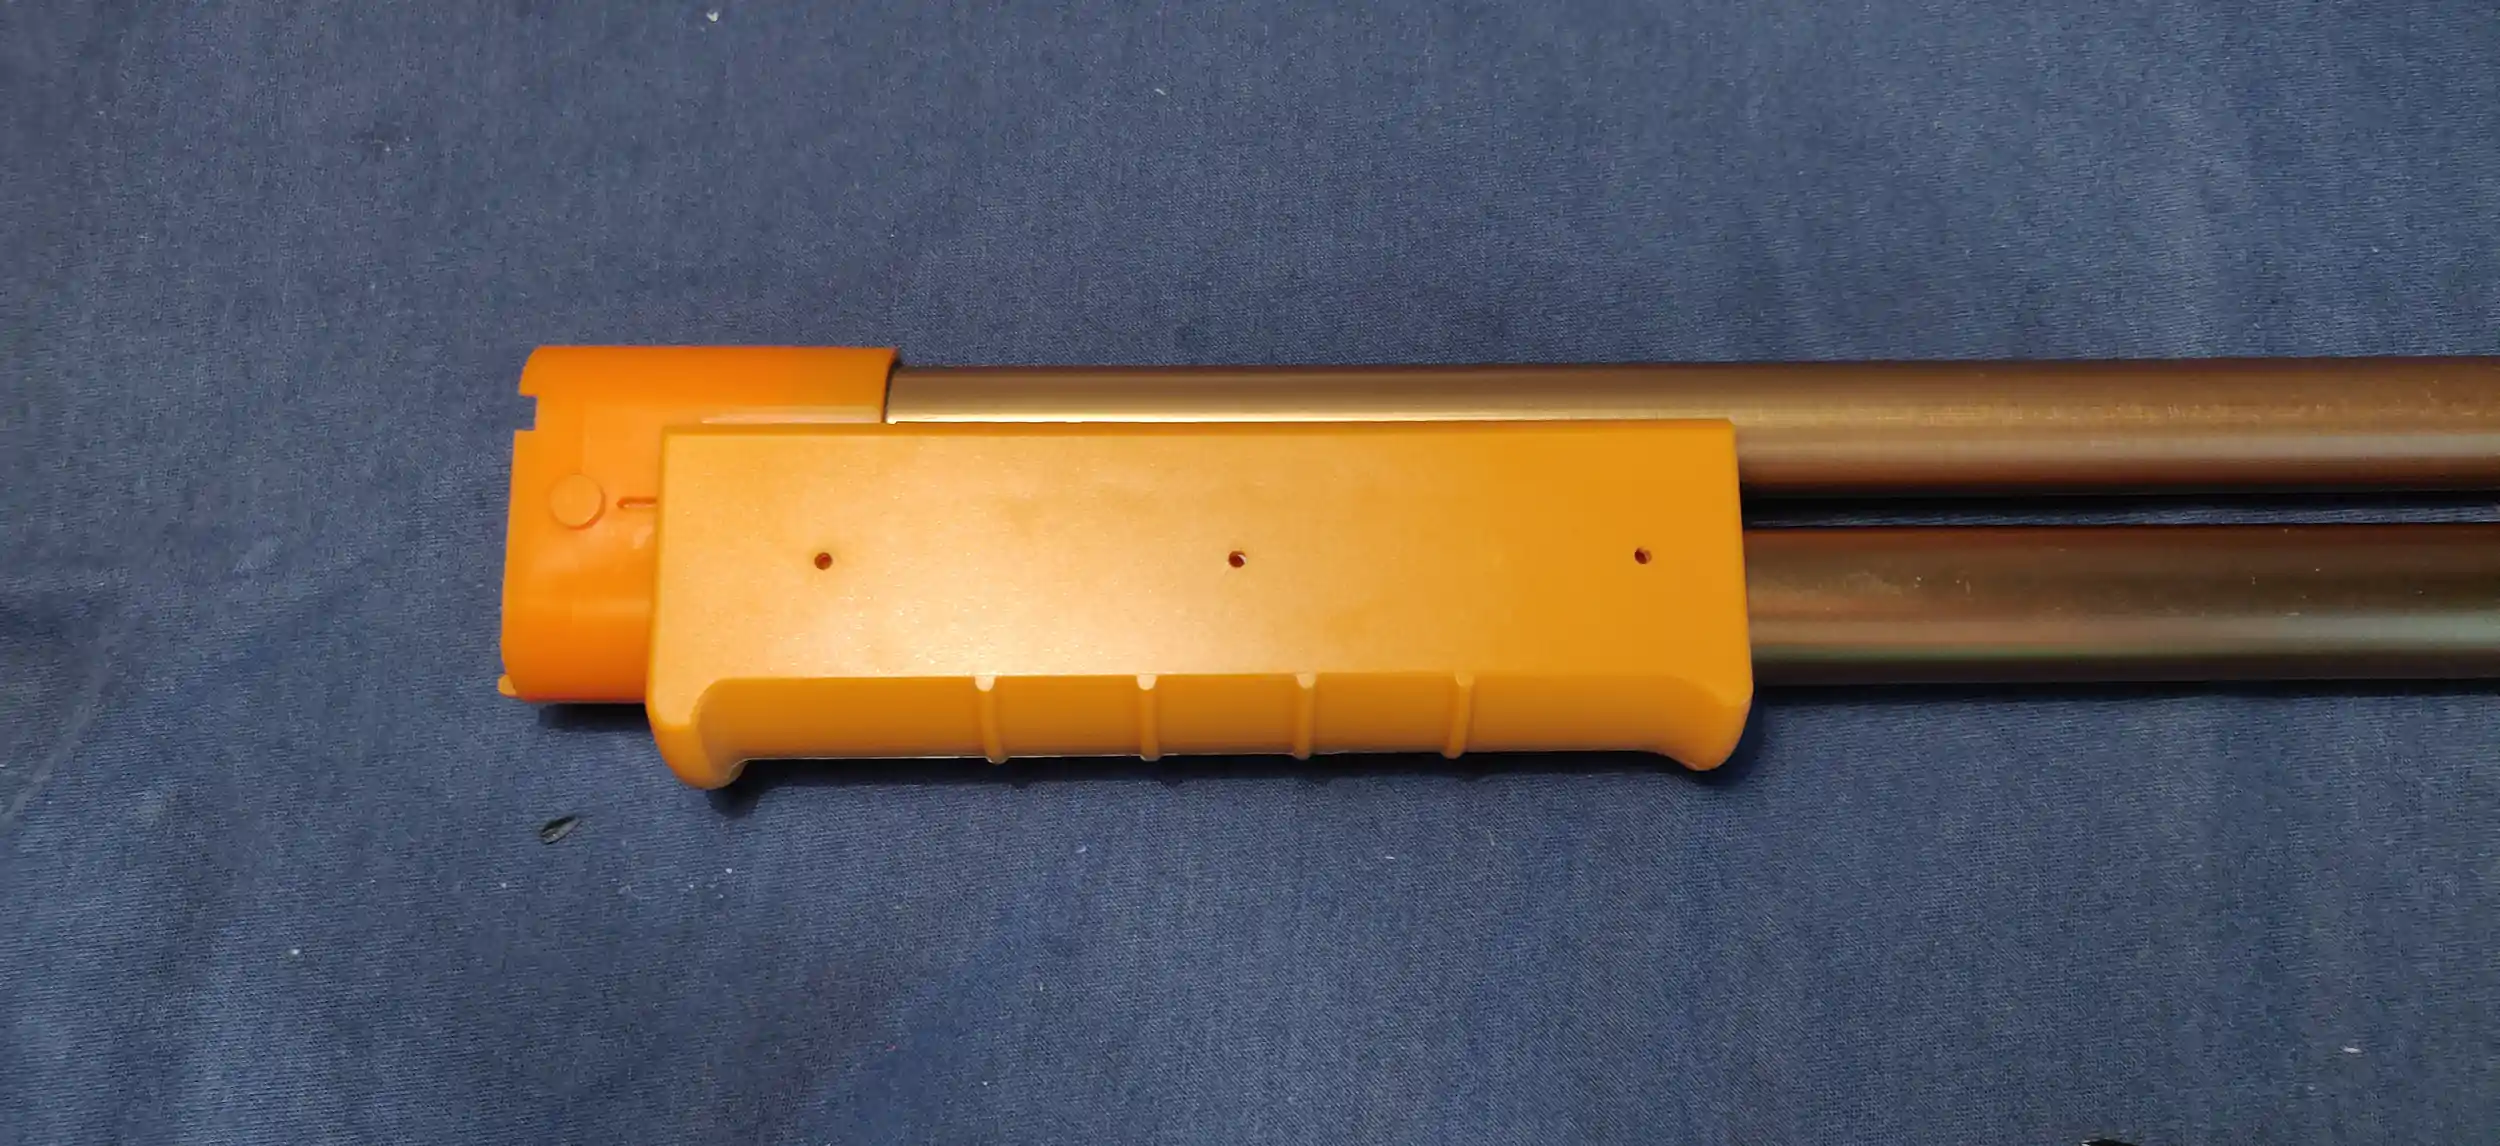
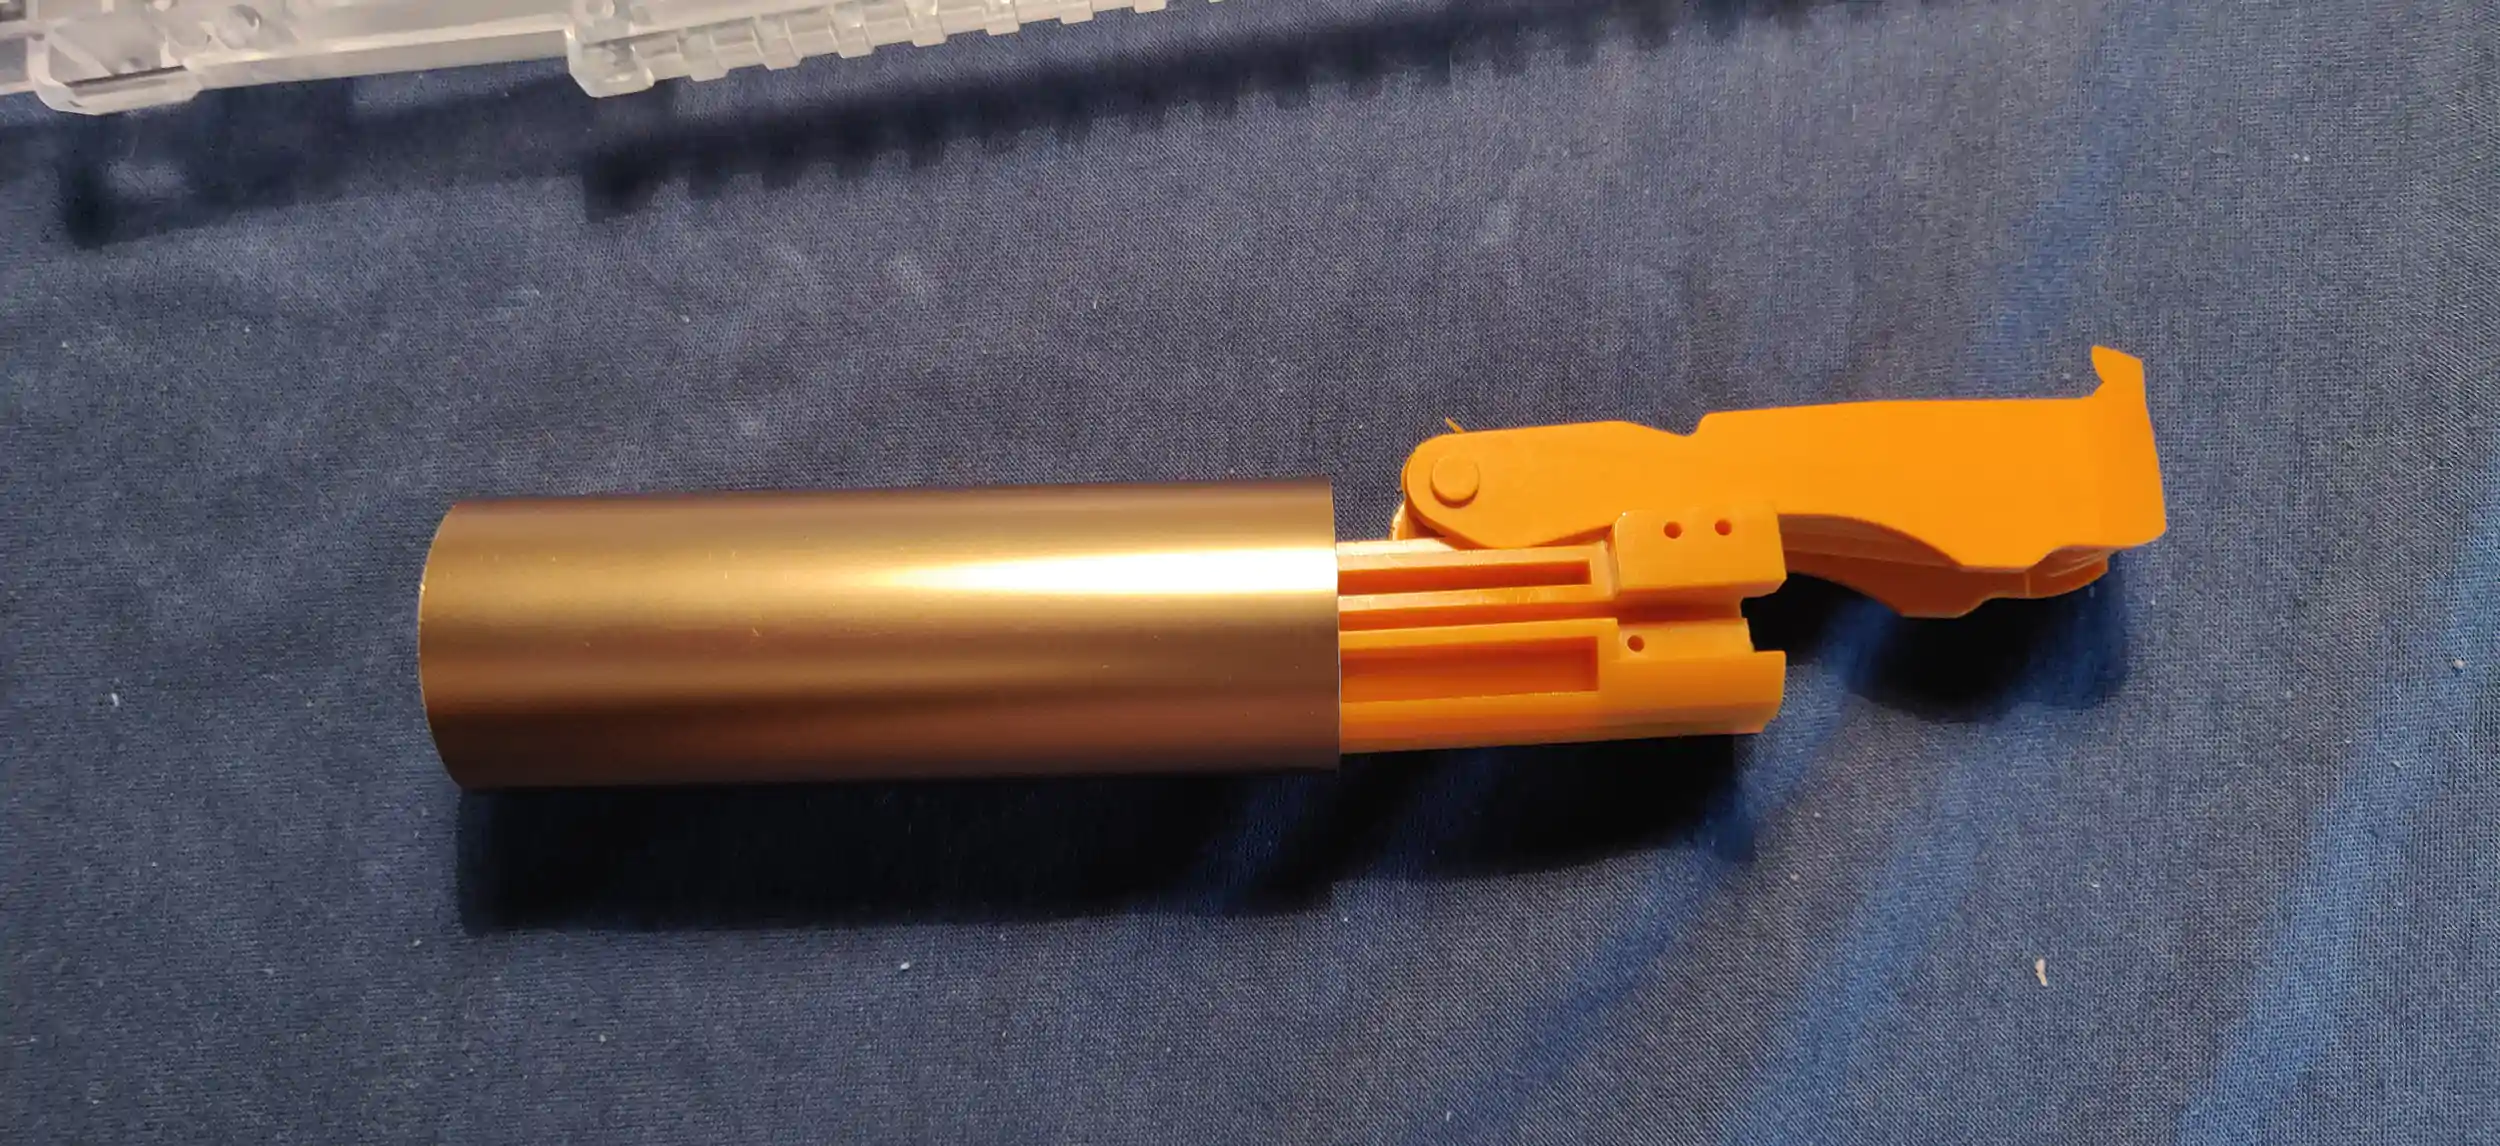
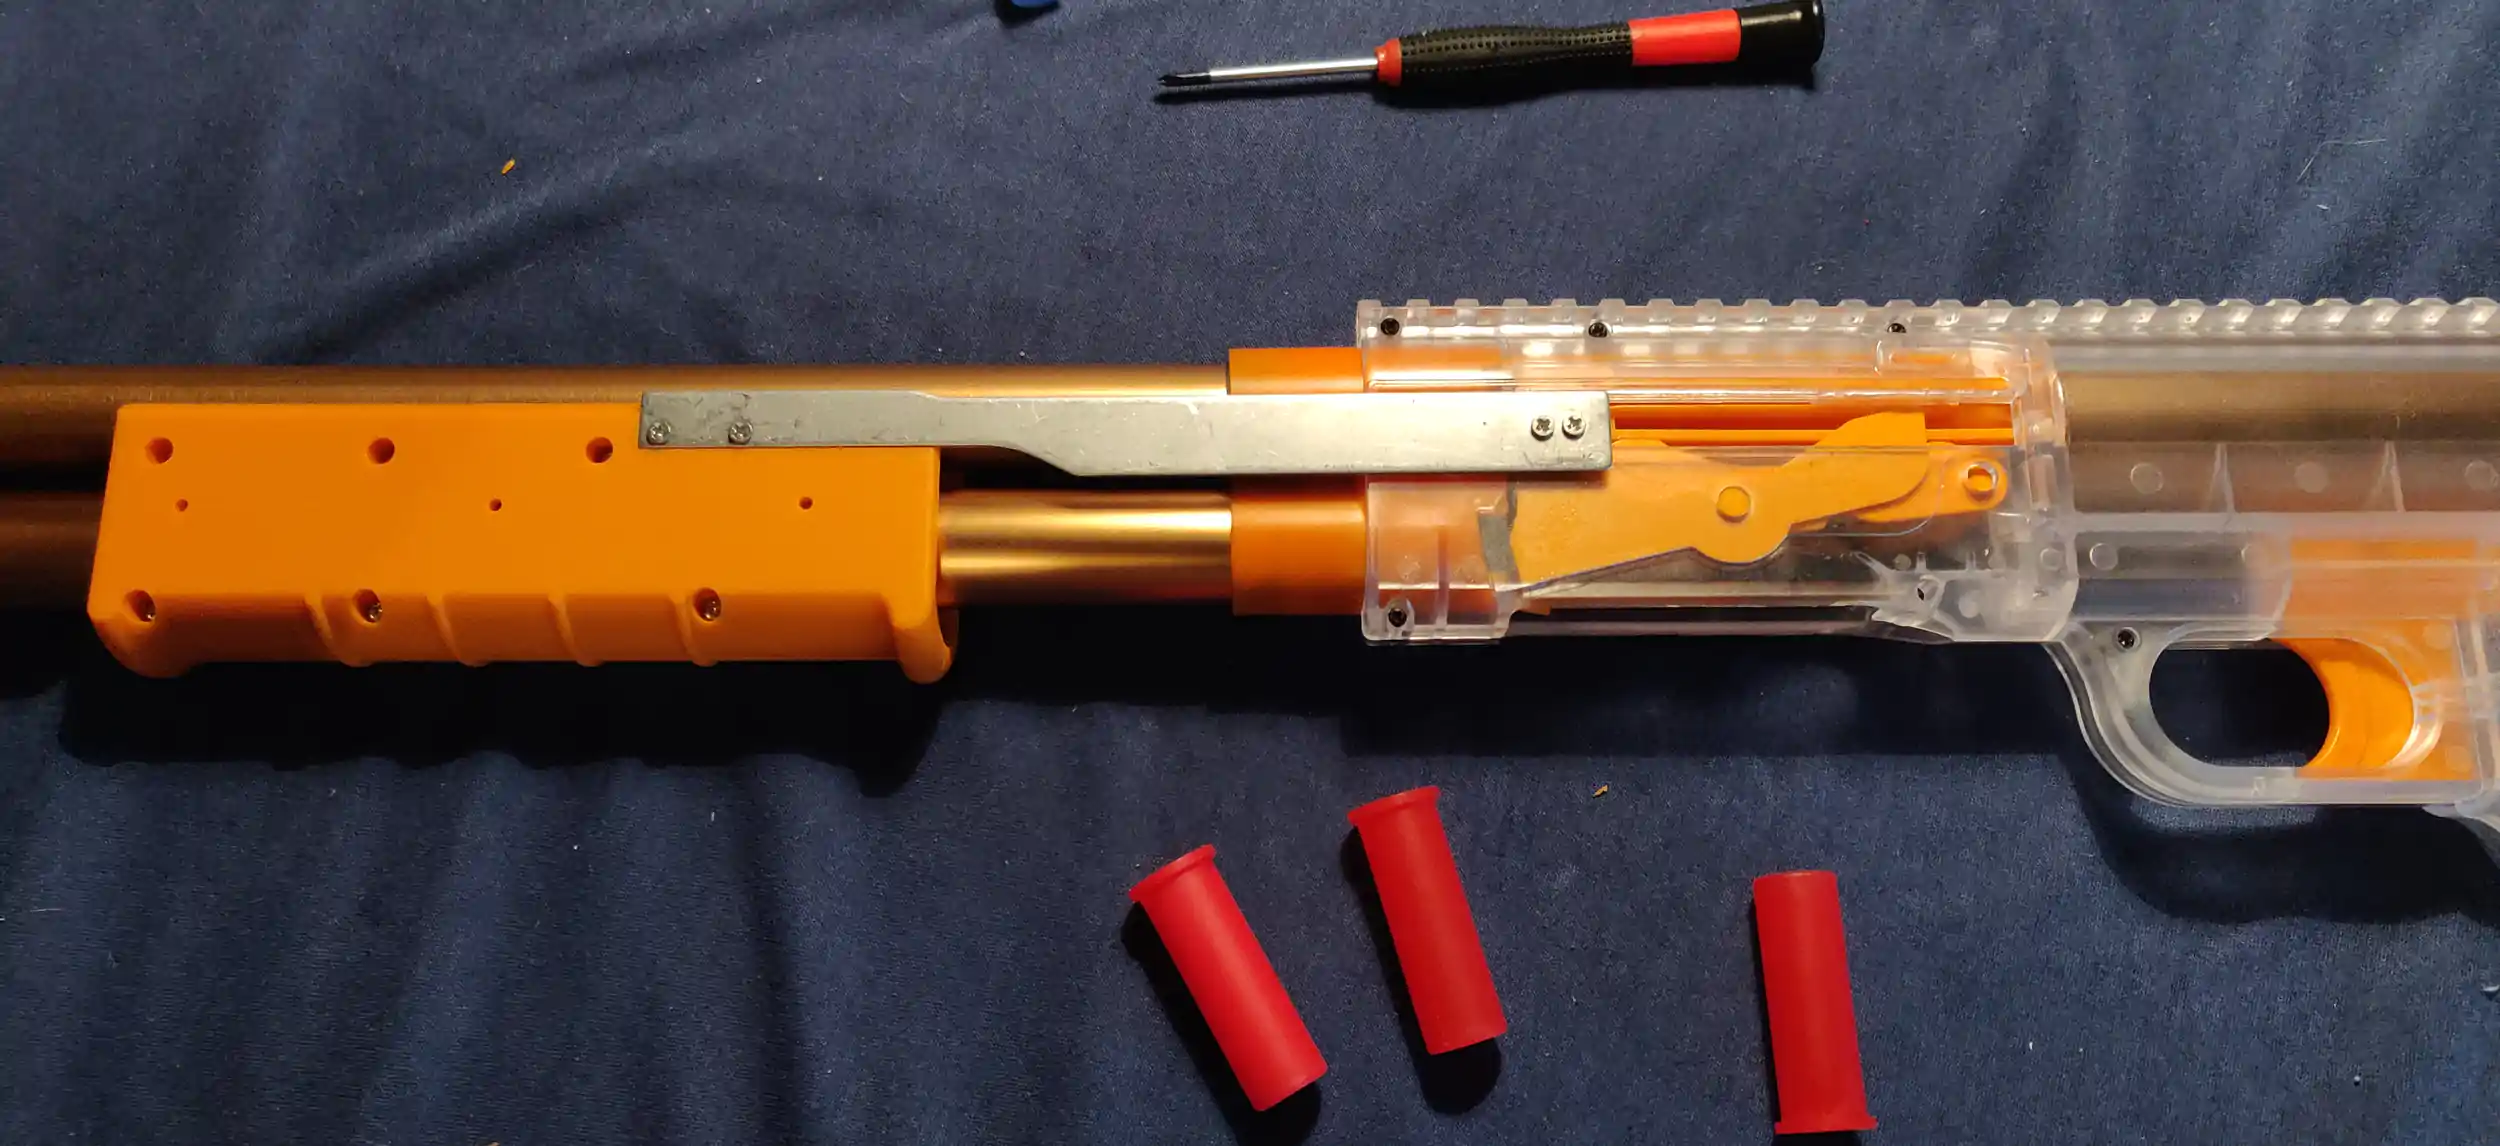
Take both halves of the pump grip and screw them together with six of the long silver screws (#4). Flip it over and slide onto the ammo tube. It should be able to cover part of the central barrel unit, as shown.
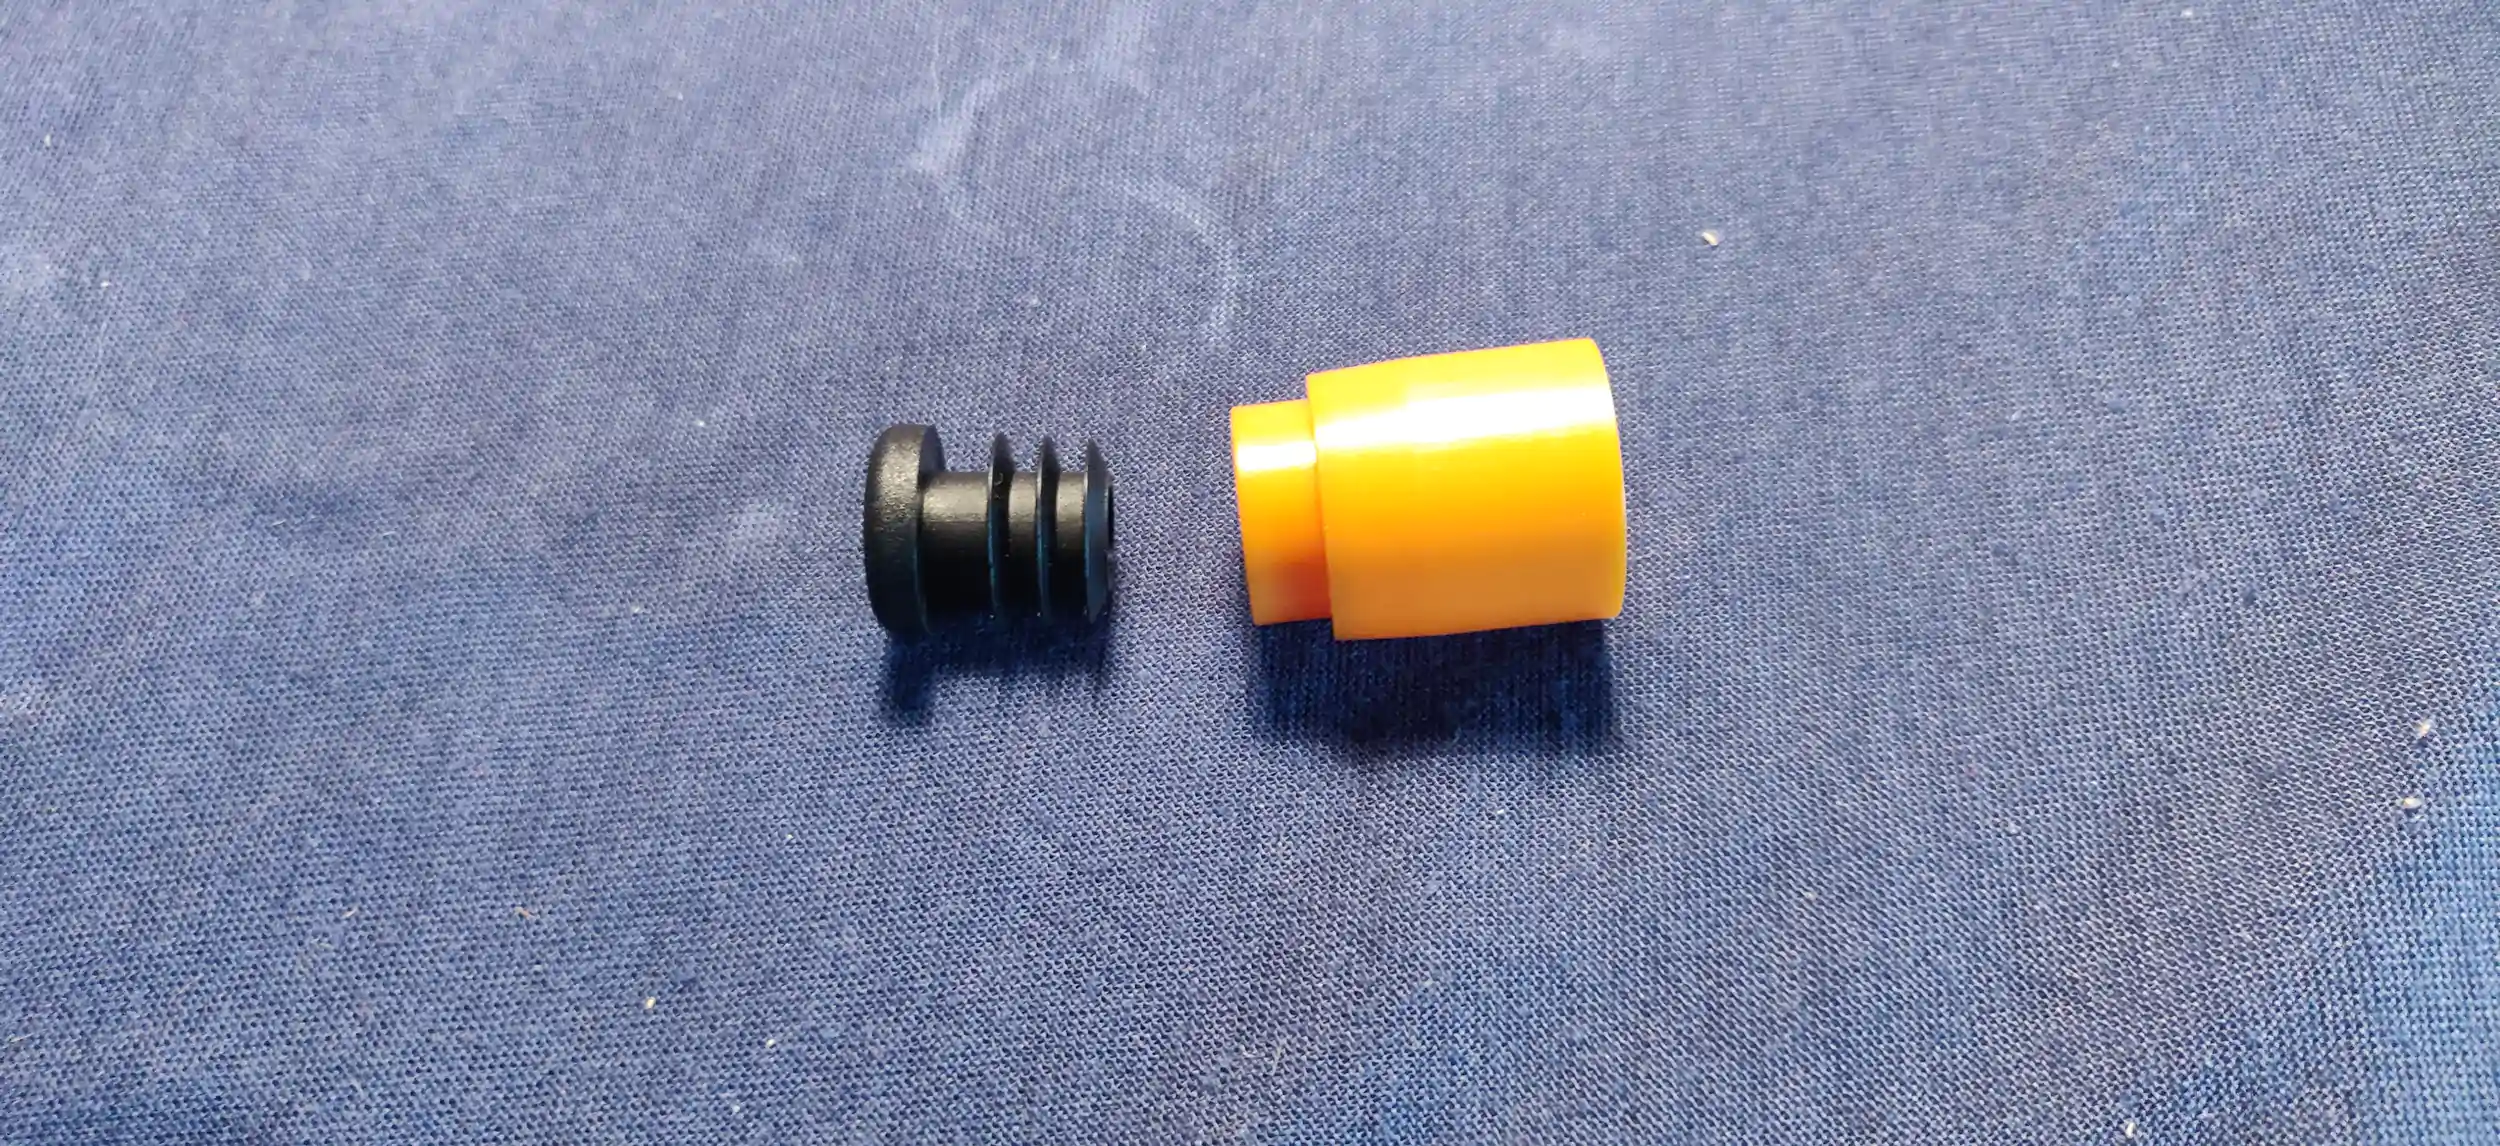
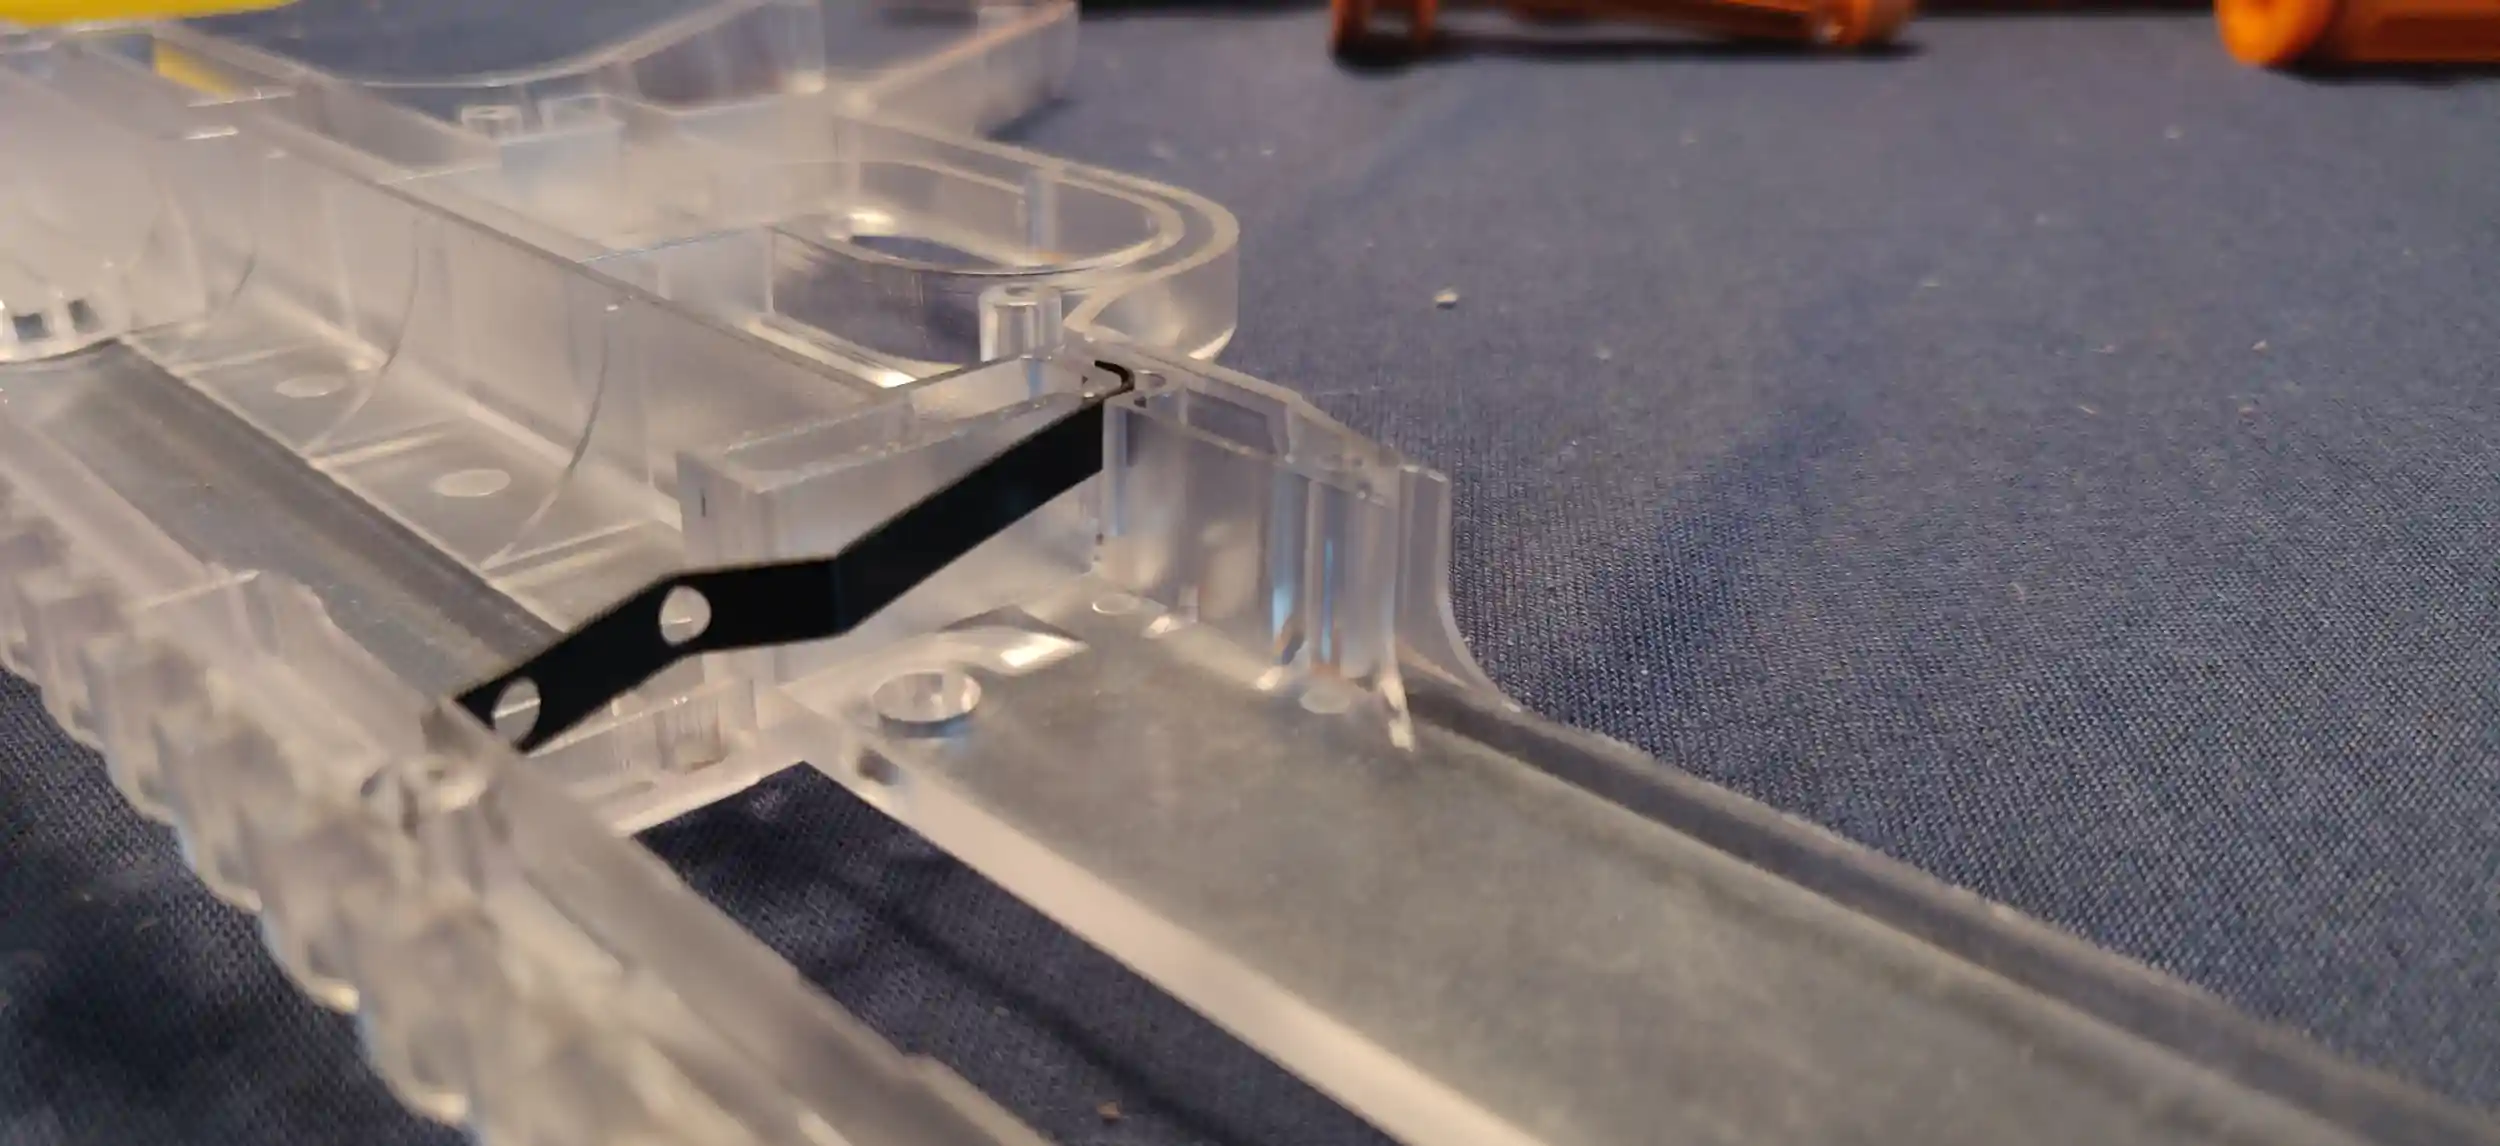
Next is the ammo follower. Insert the black piece into the orange piece.
It takes a lot of force to insert the black piece. However, the fins are easily crushed when the force is not completely in line with both pieces. If you do crush the fins, simply cut them off and glue both pieces together.

The final step of the barrel unit is to take the ammo follower and insert into the ammo barrel, black nose first. Then insert the ammo follower spring and close the barrel with the front barrel holder.
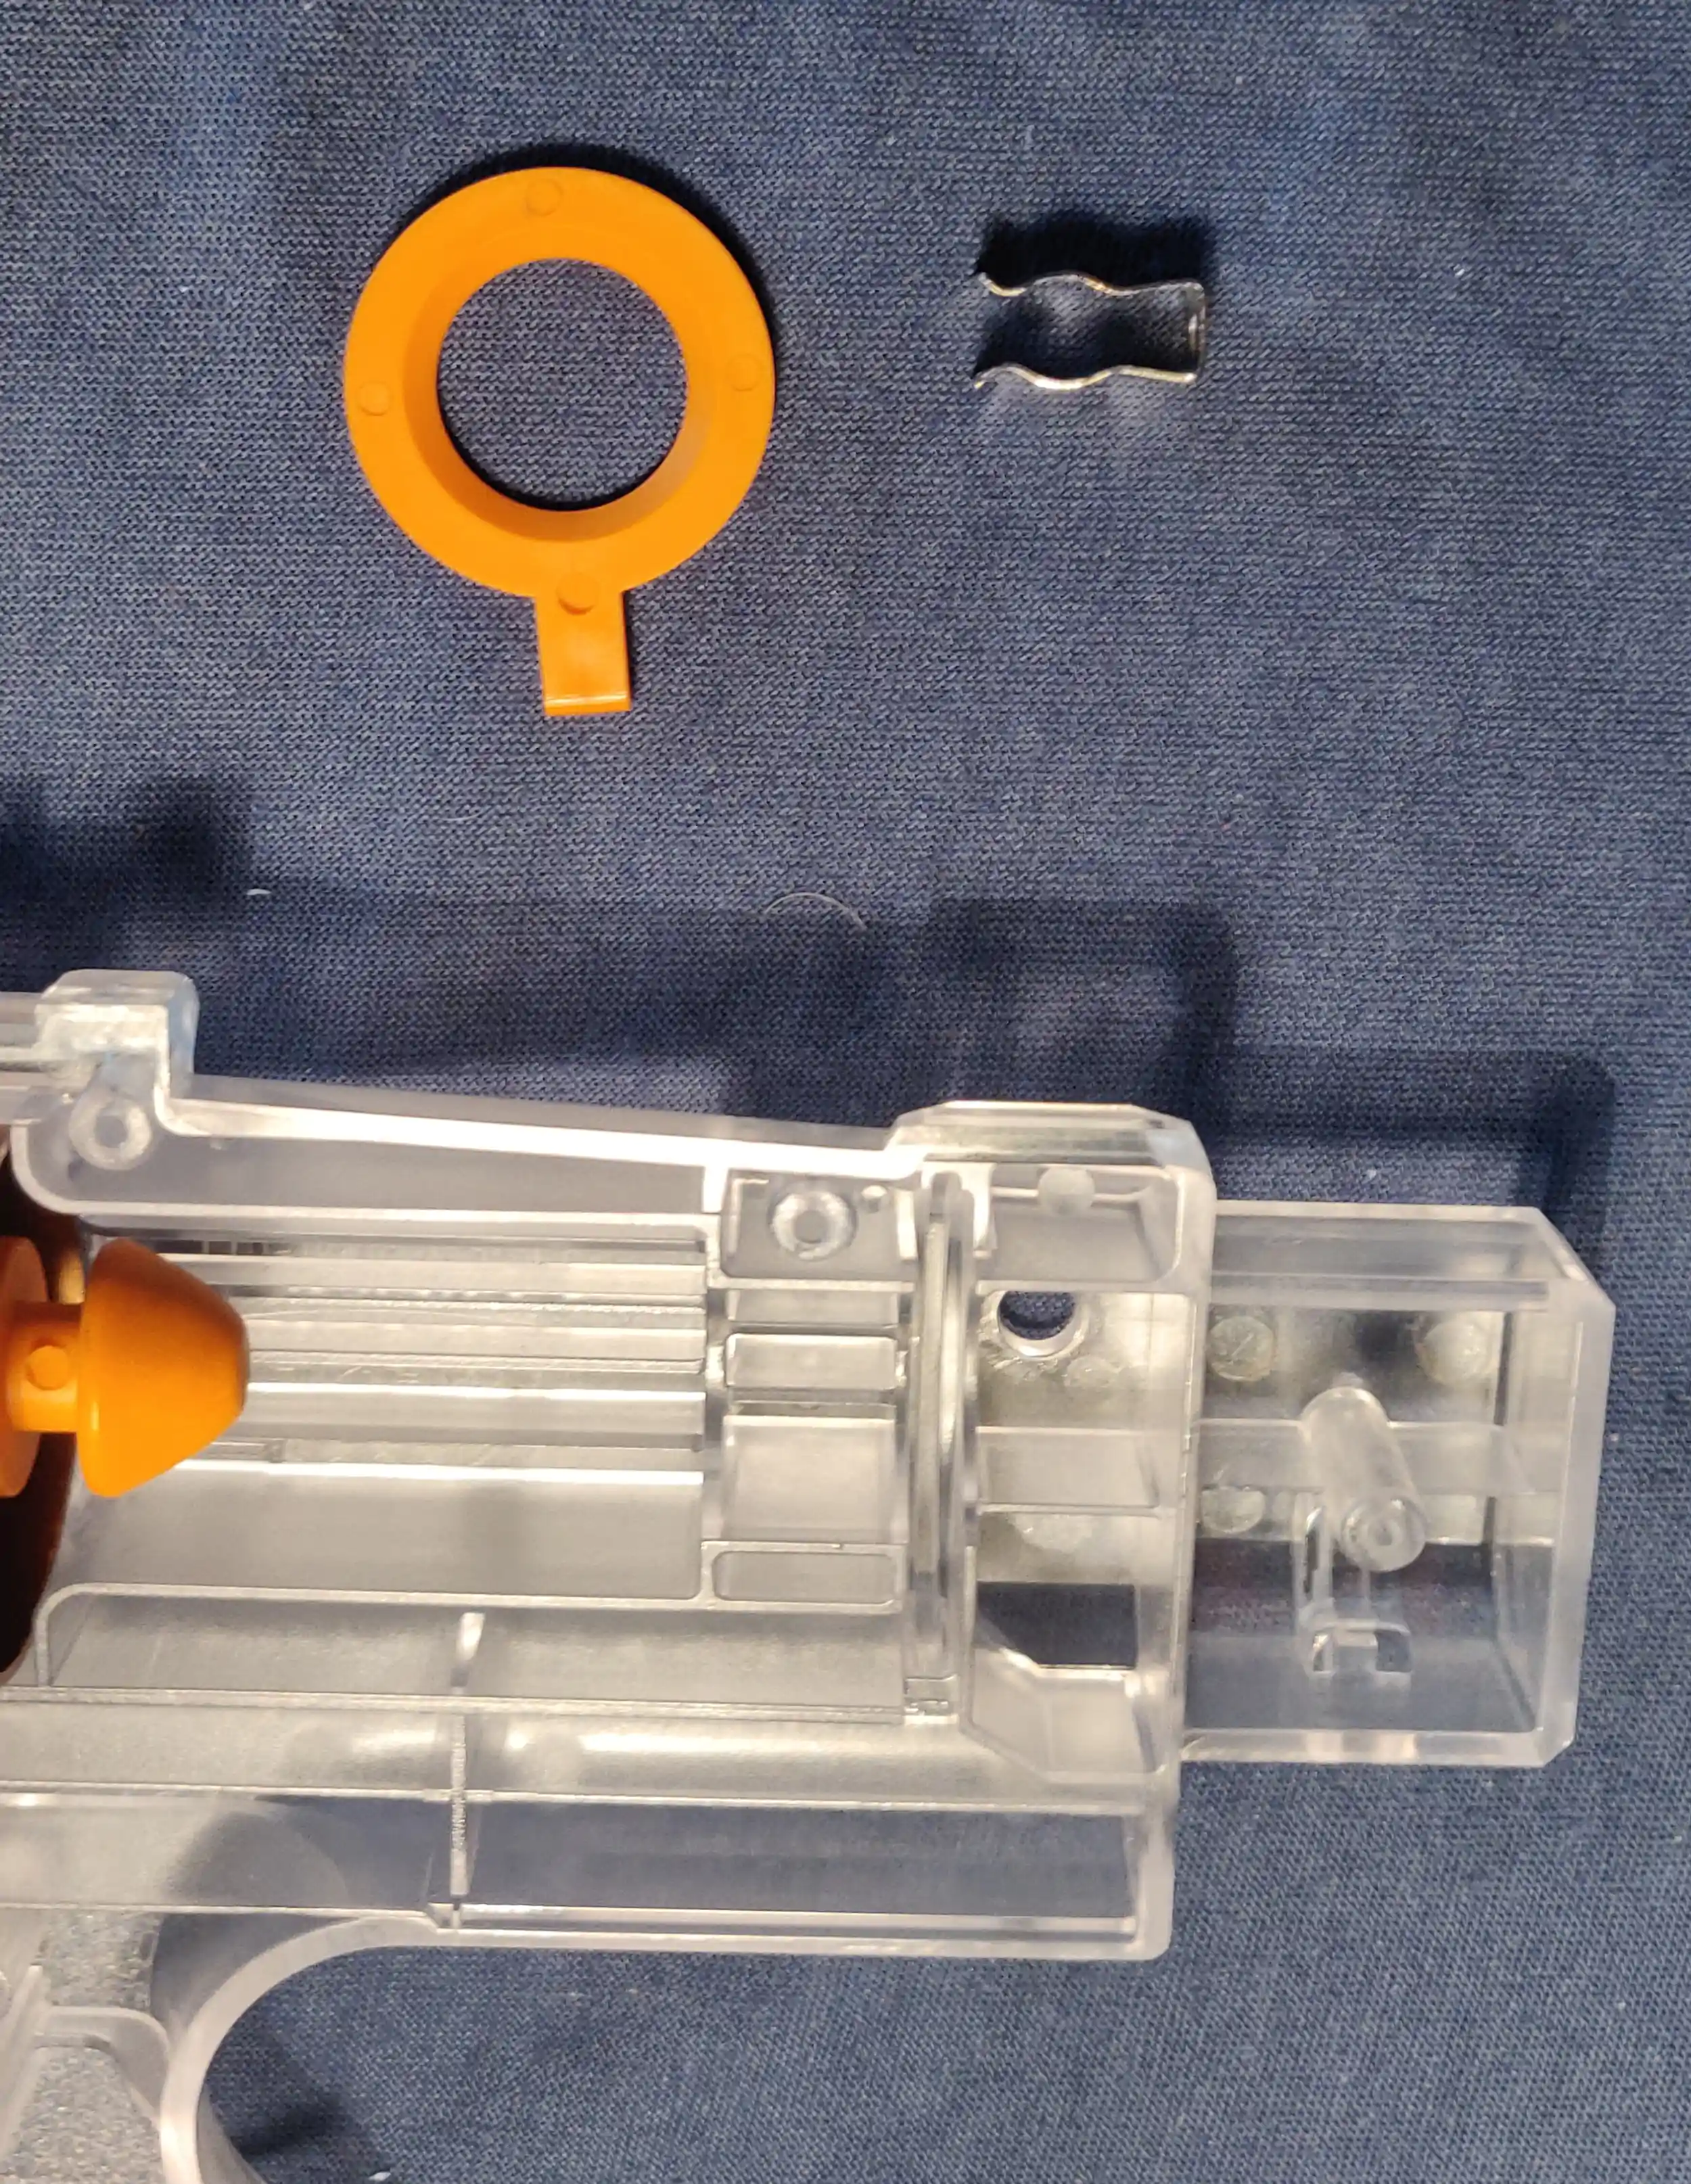
Internals
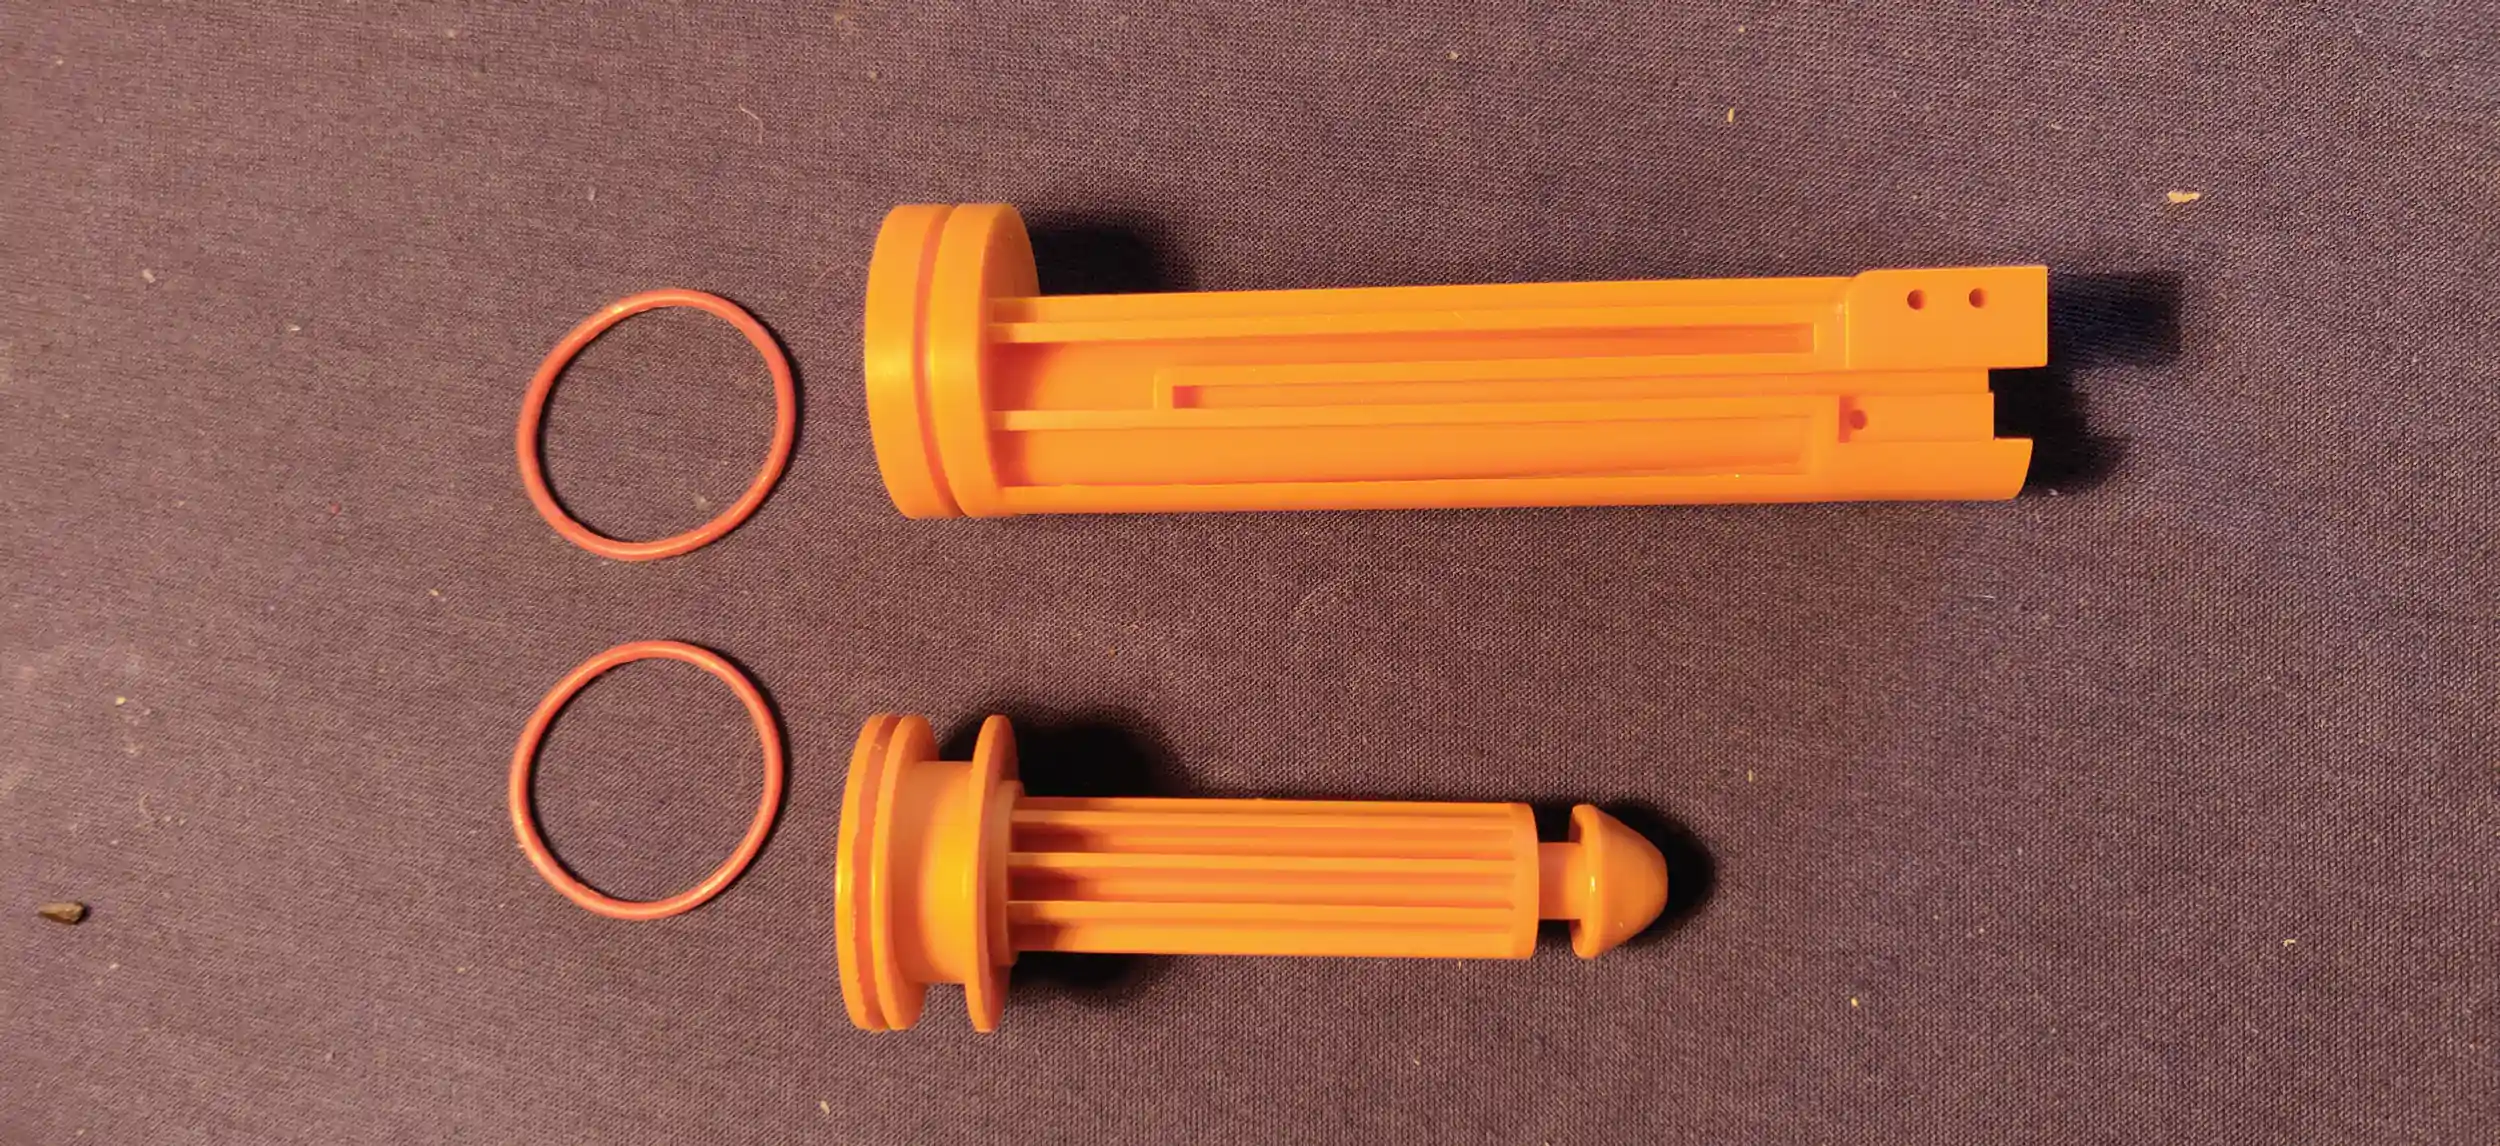
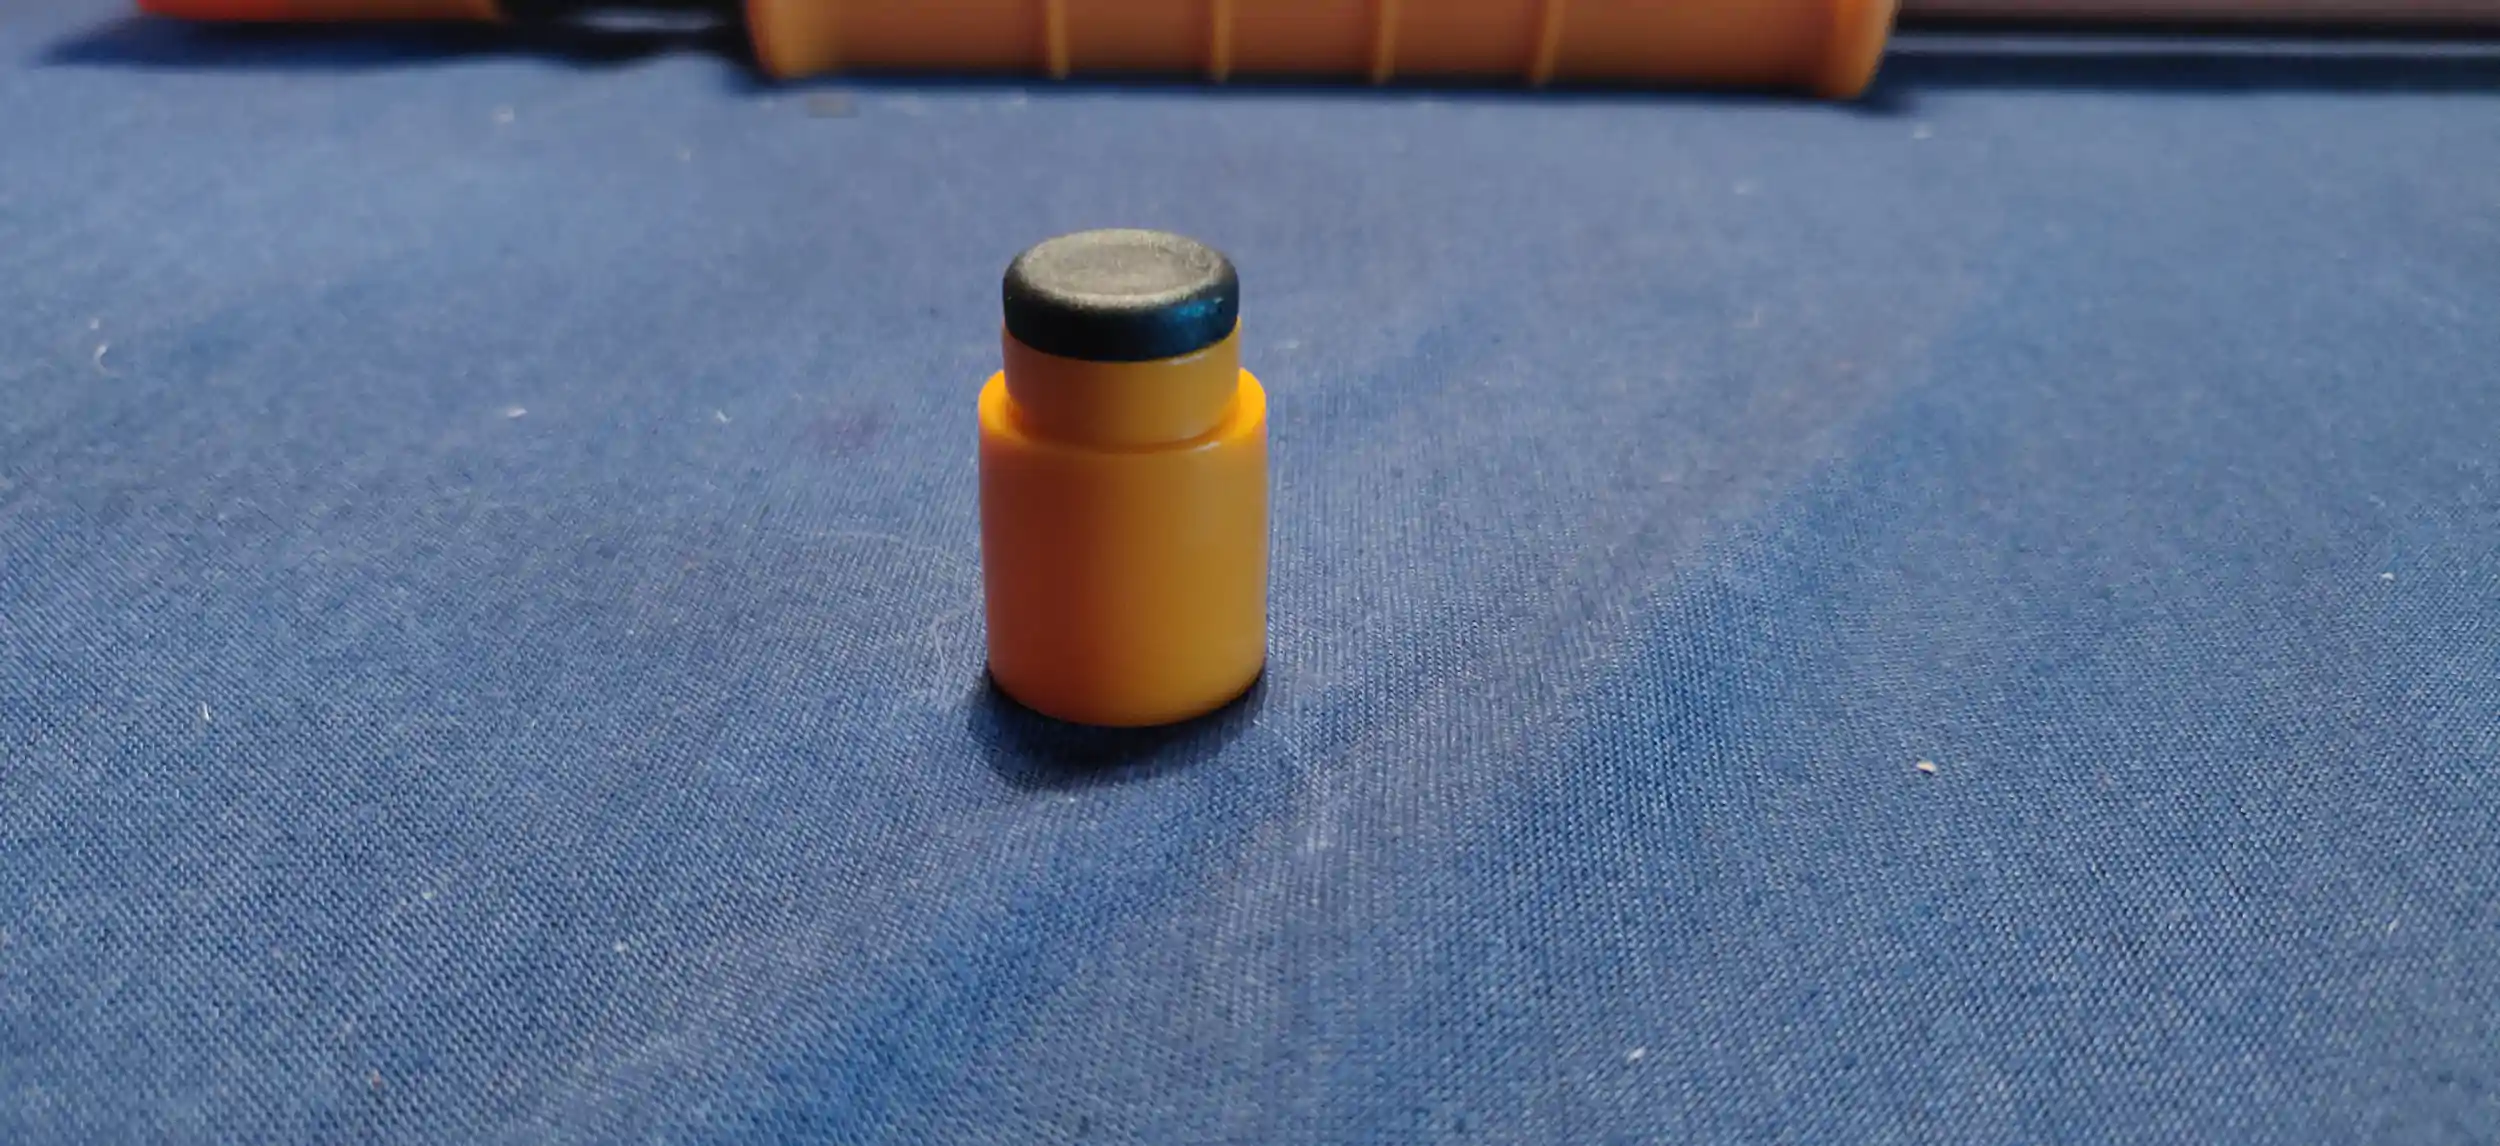
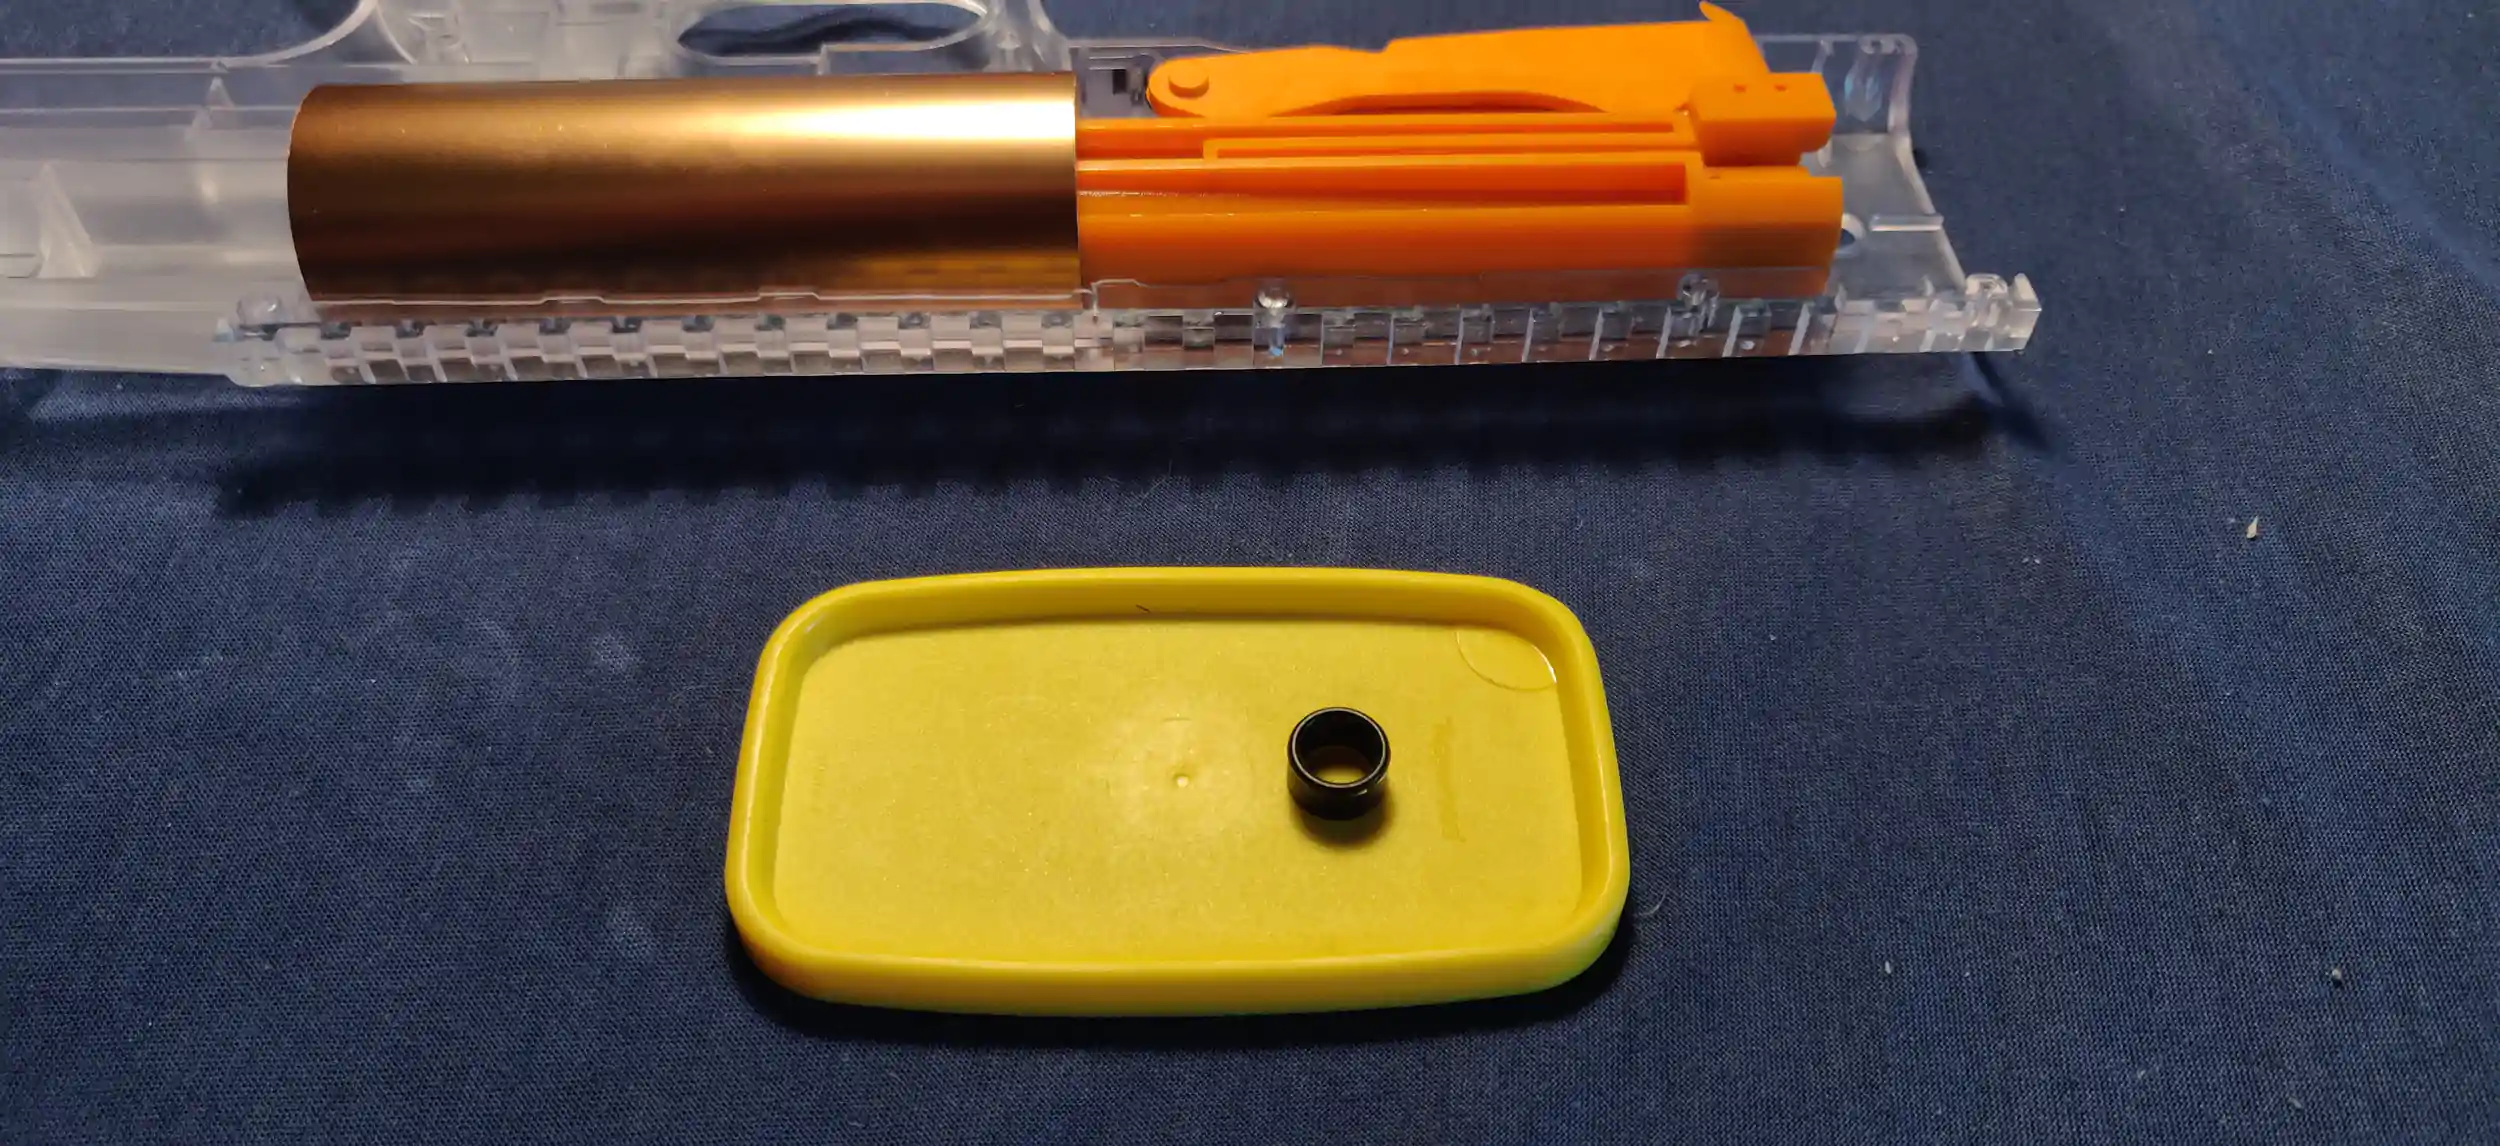
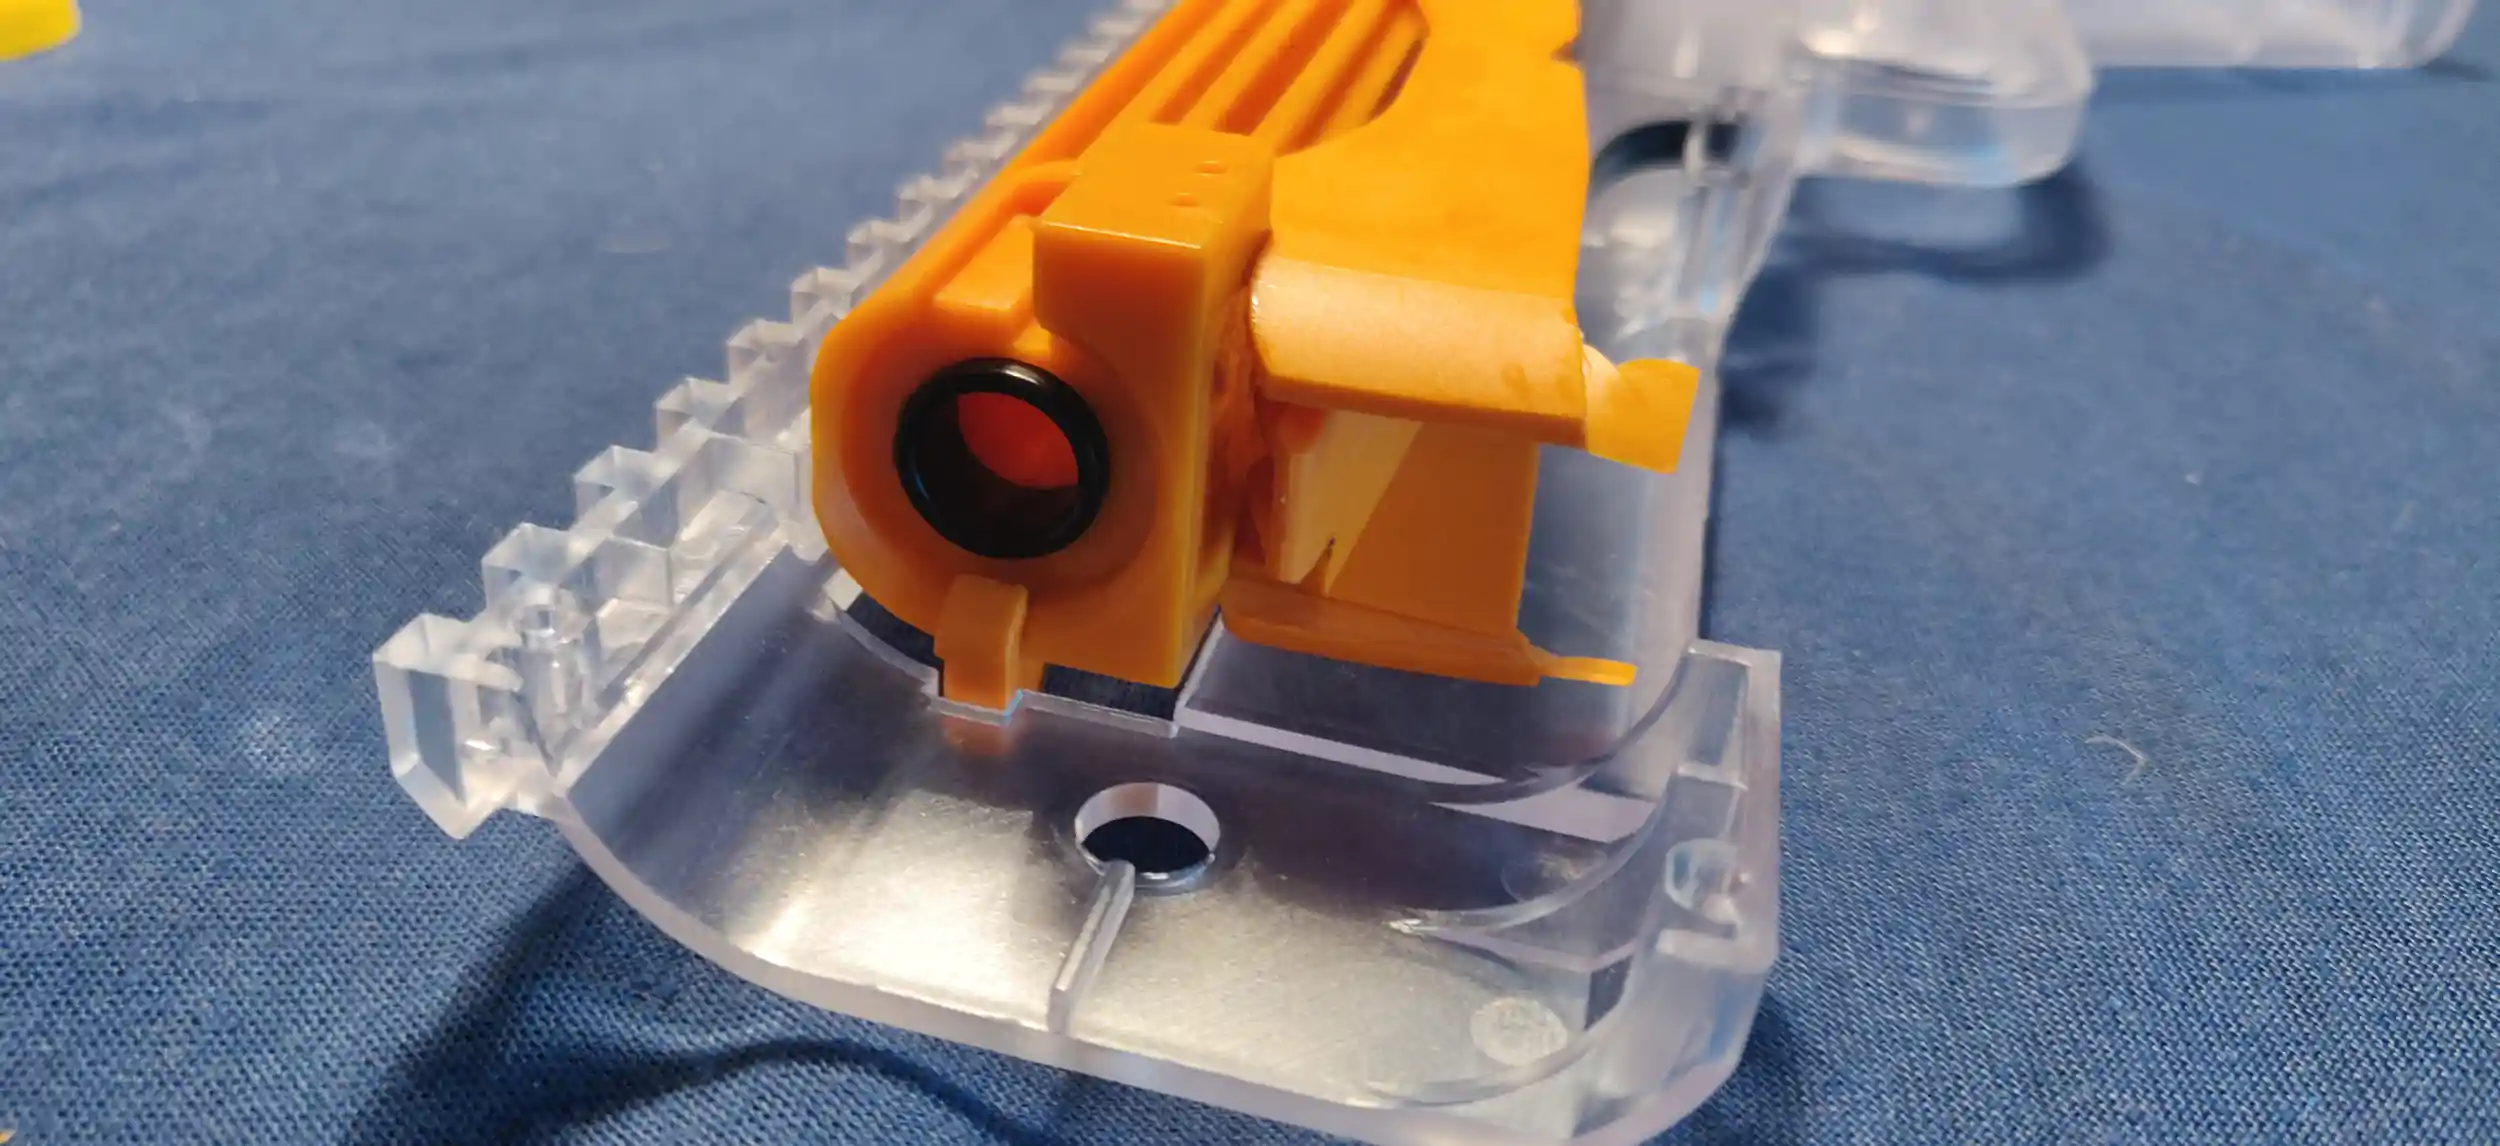
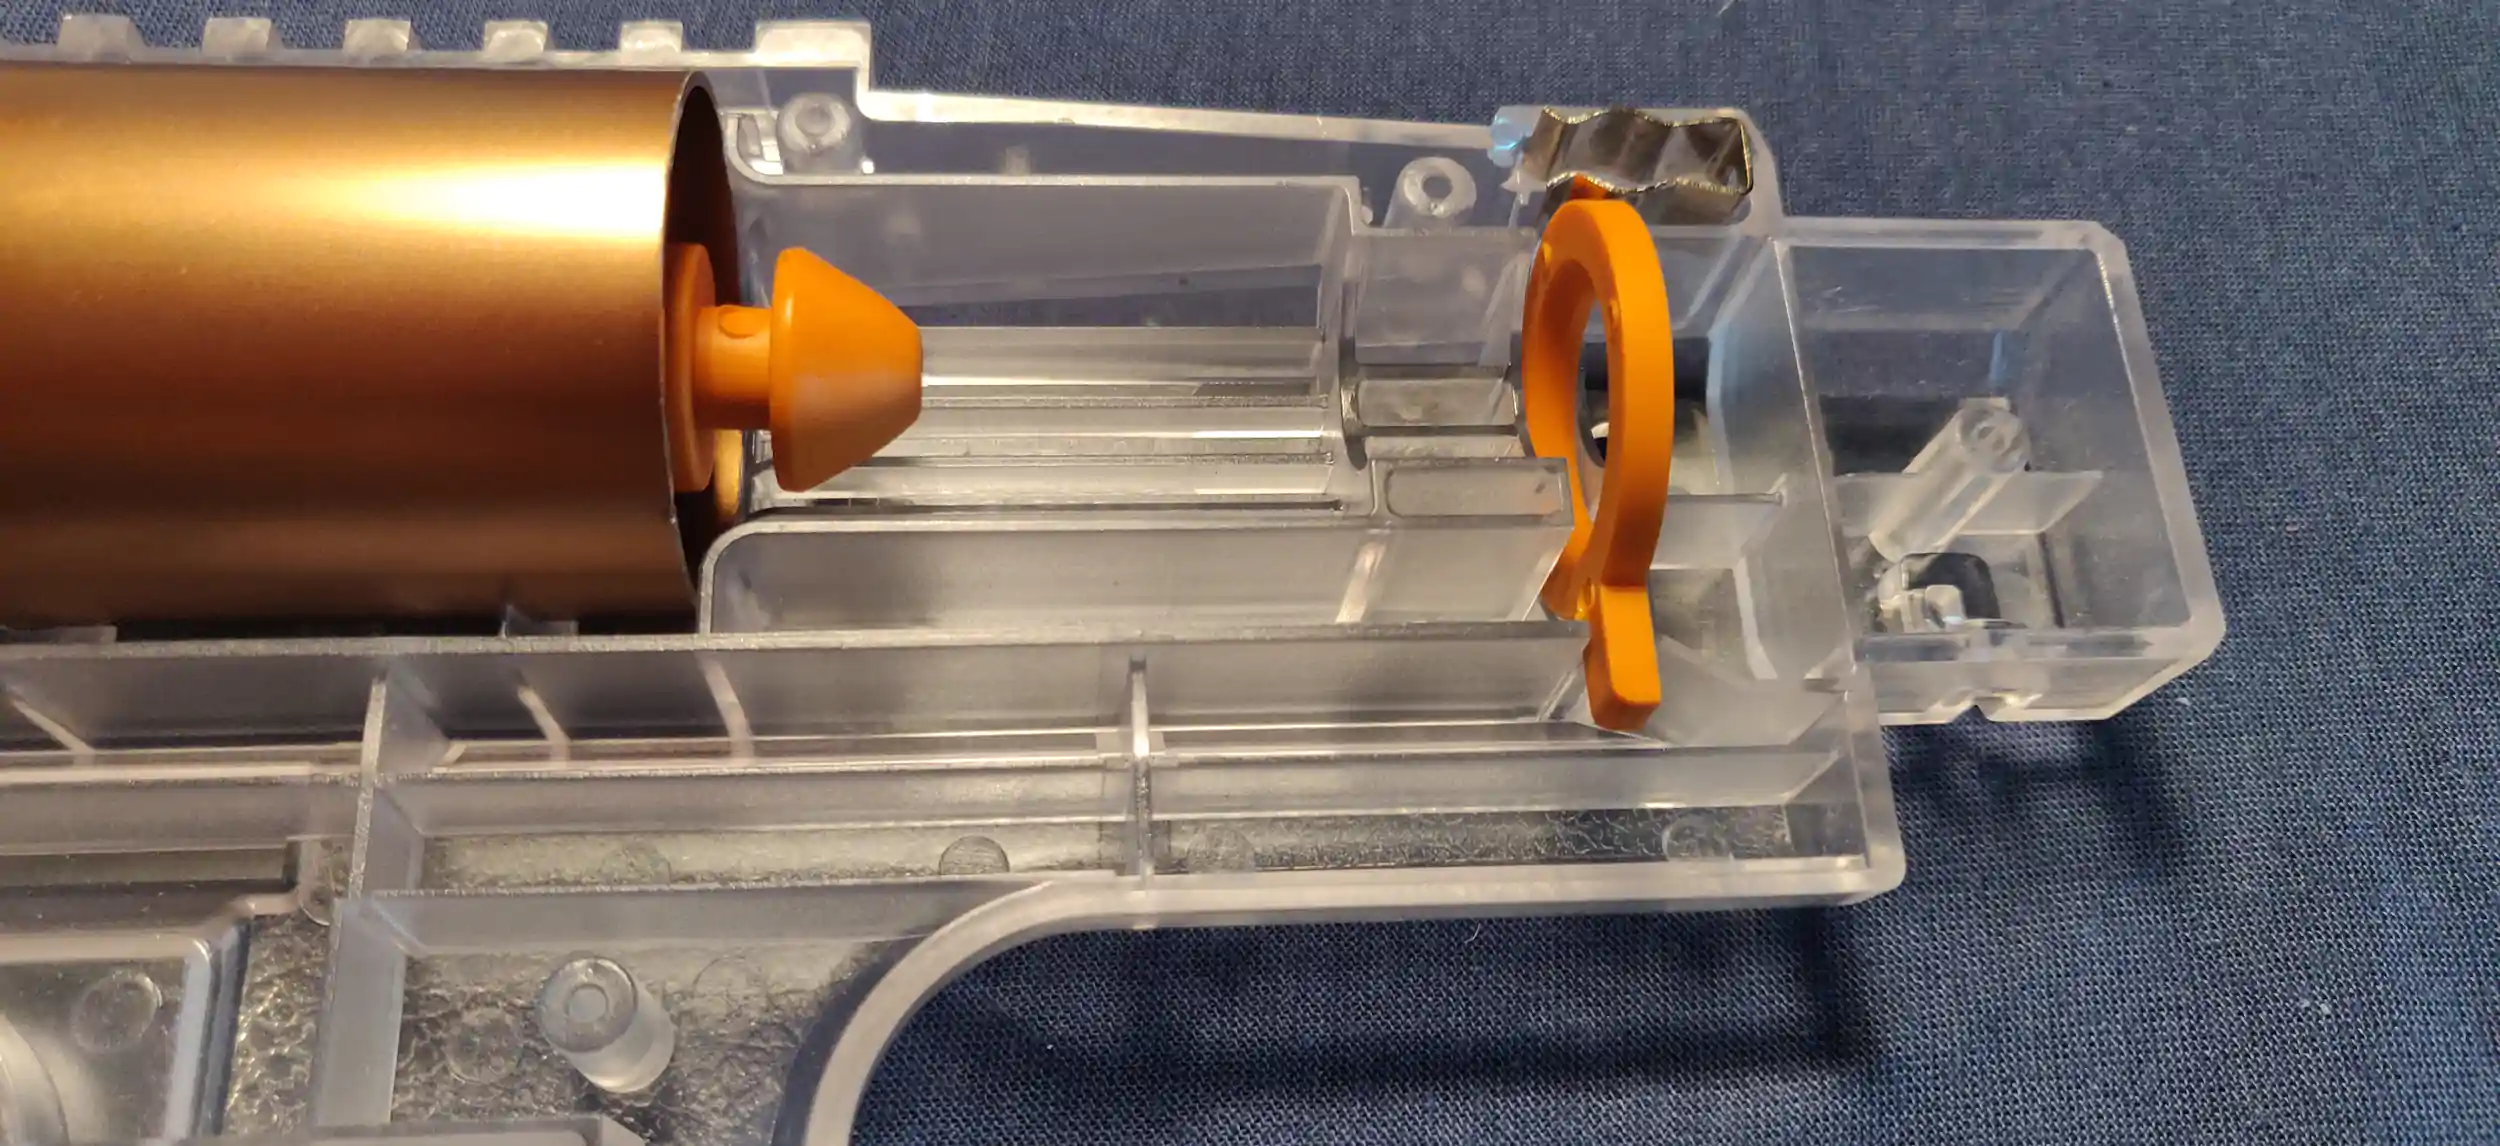
Put the O-rings on the plunger and the breech.
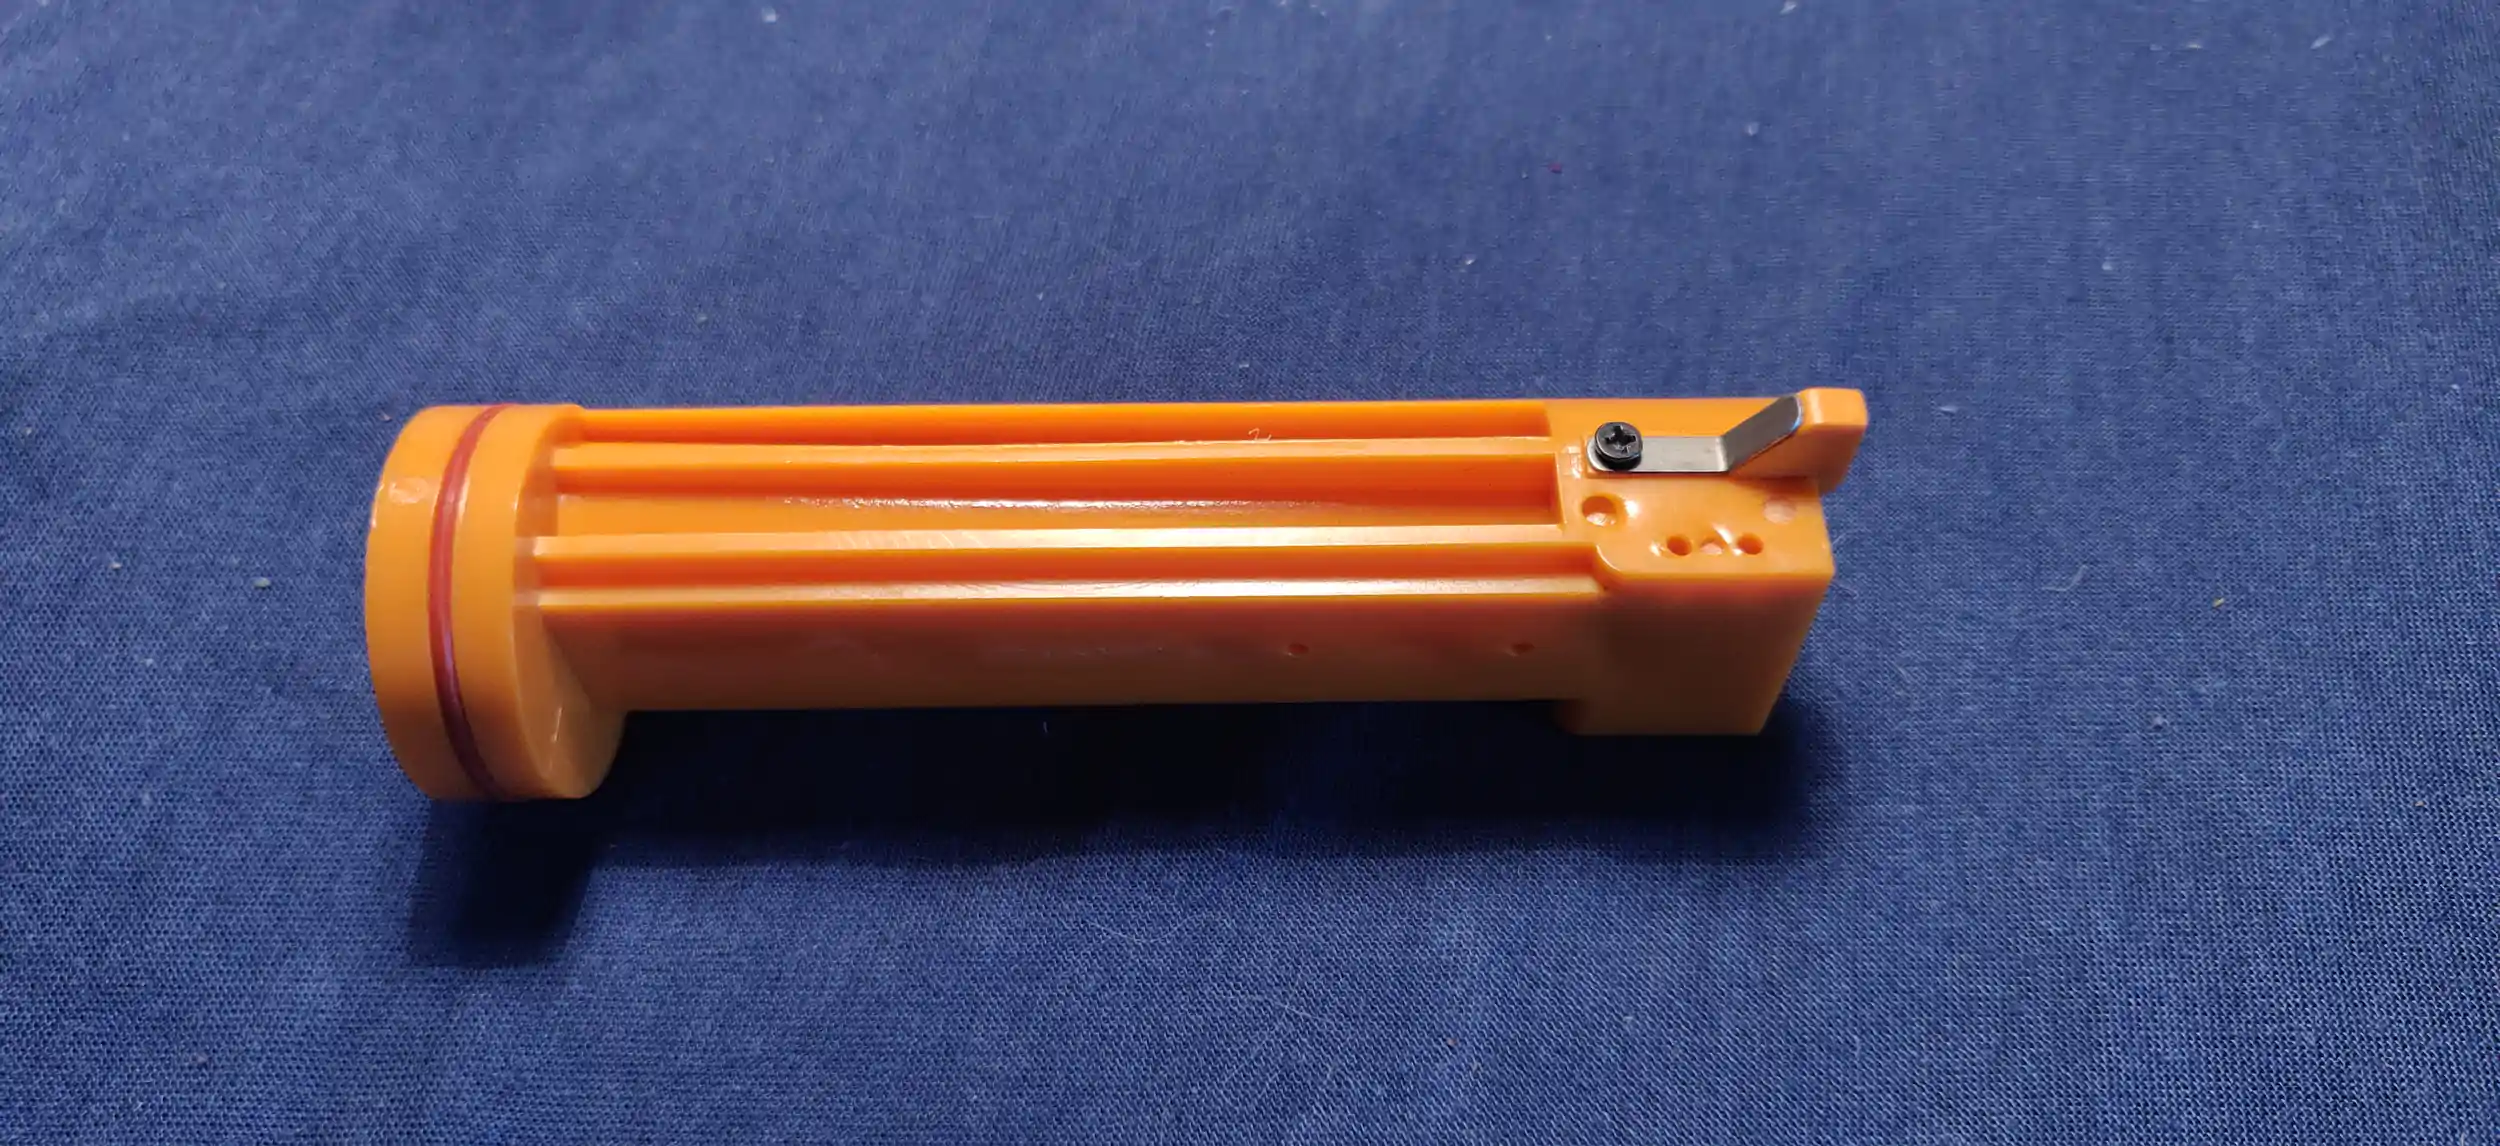
Screw the shell extractor and the metal protector plate onto the breech with the black pointy screw (#1).
Take note of the orientation of the breech. Both sides have a slot where the extractor would fit, but only one side works.

Take the right half of the body and insert the shell lifter spring. The shell lifter spring should be flush with the top of the shell, rather than all the way down.
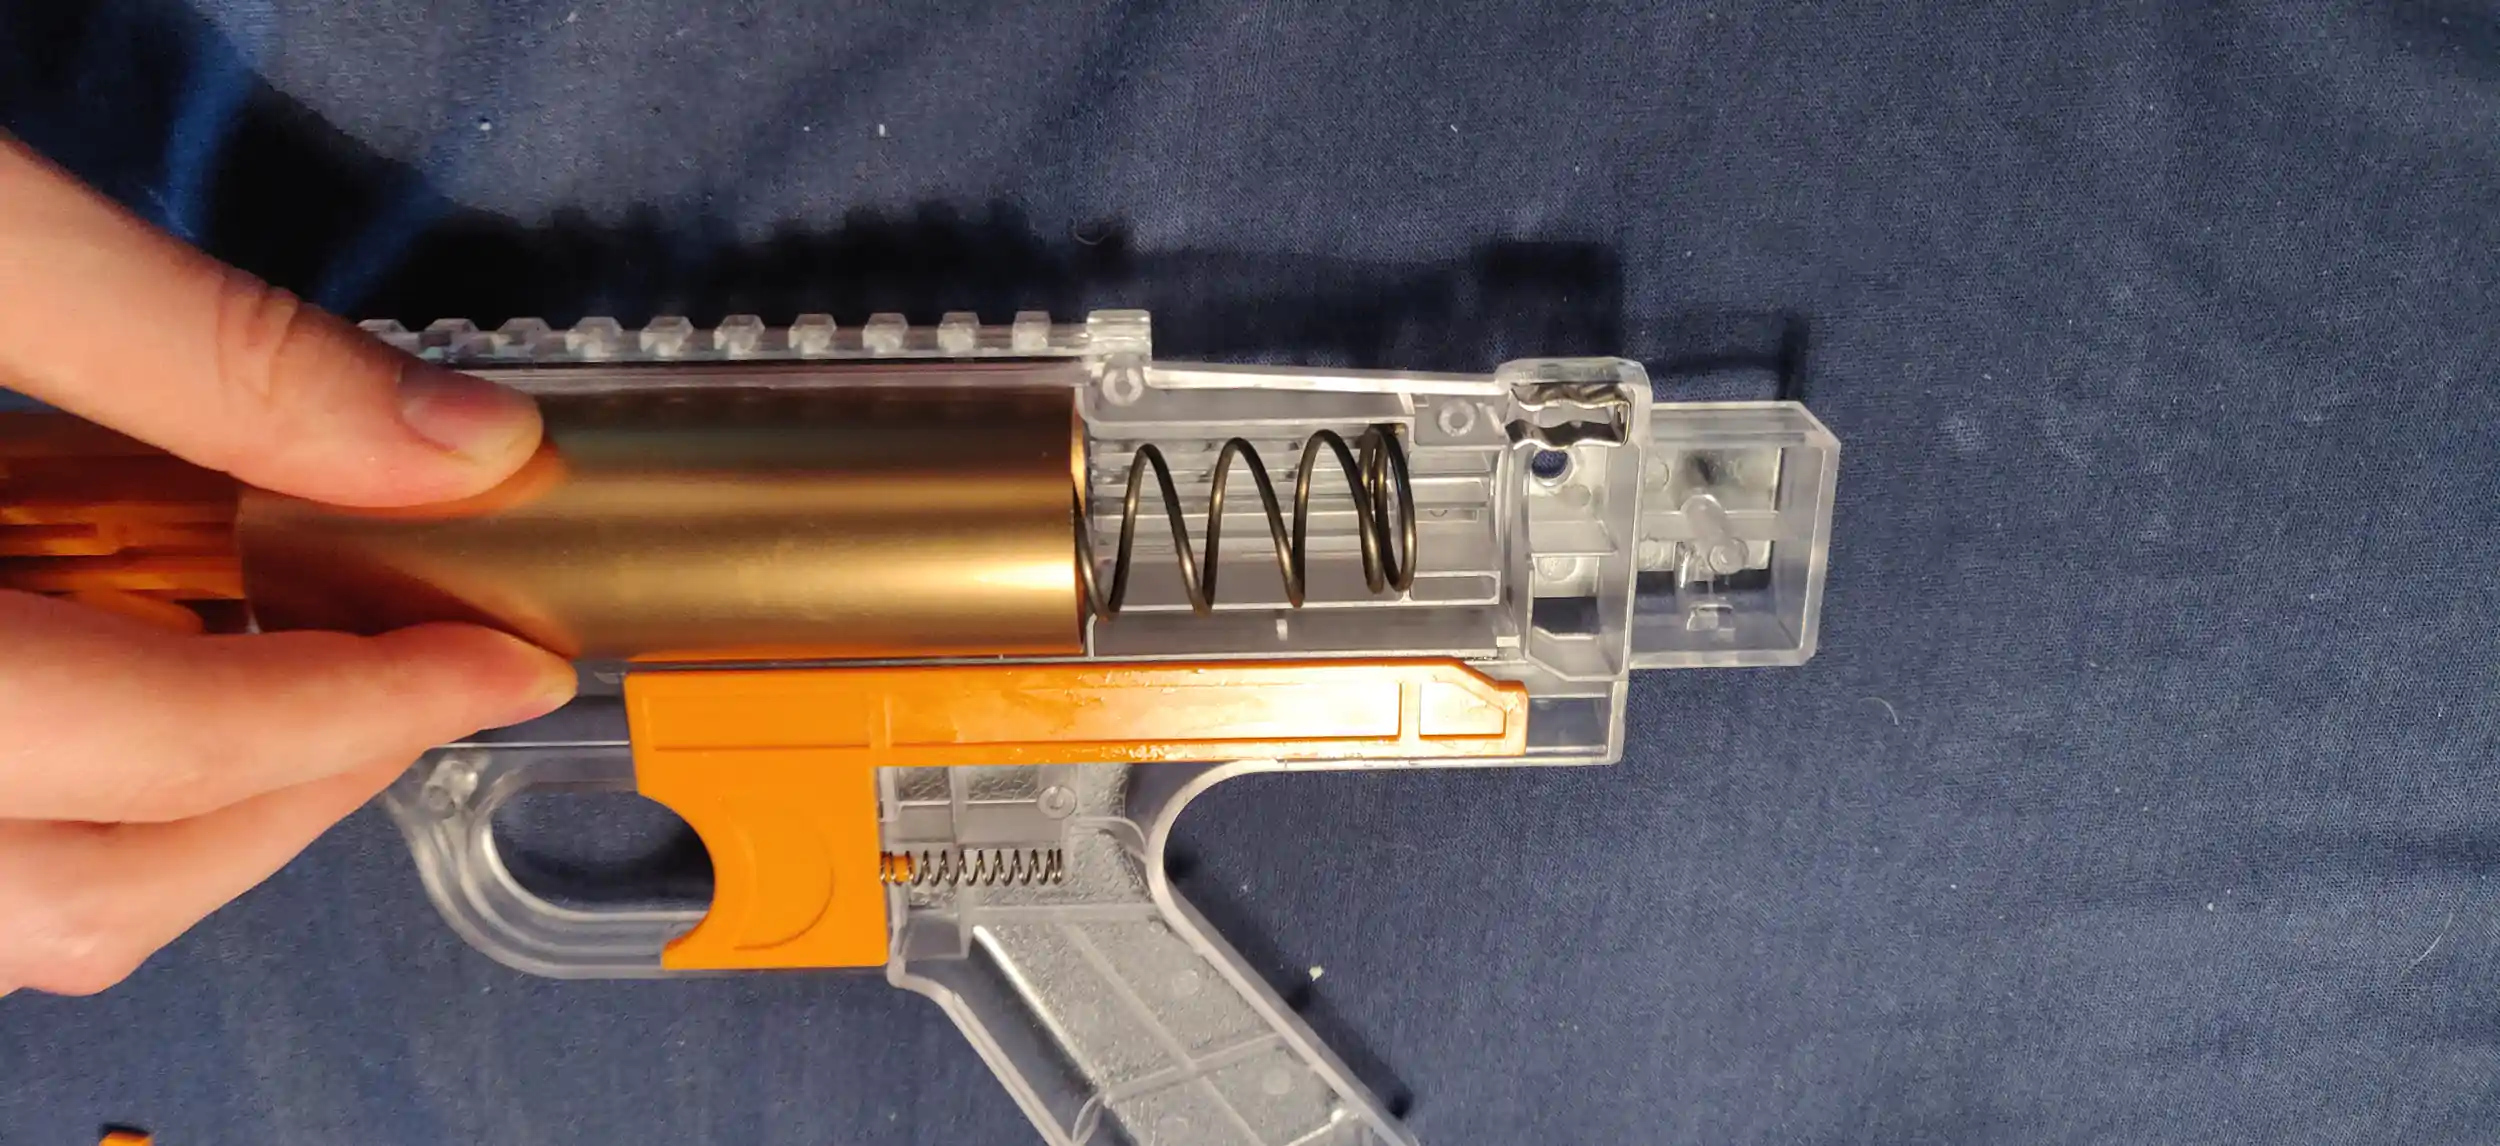
Take the plunger tube and the breech. Apply generous silicon grease to the entire inside of the plunger tube. The breech should be able to slide in and out smoothly.
Next, take the shell lifter and stick it at the bottom of the breech. Insert the combination into the right half off the body.
Insert the plunger rod behind in the plunger tube.
Don't forget to insert the breach seal into the breach like I did.
If you fire without a shell, this seal has a high chance of coming off.
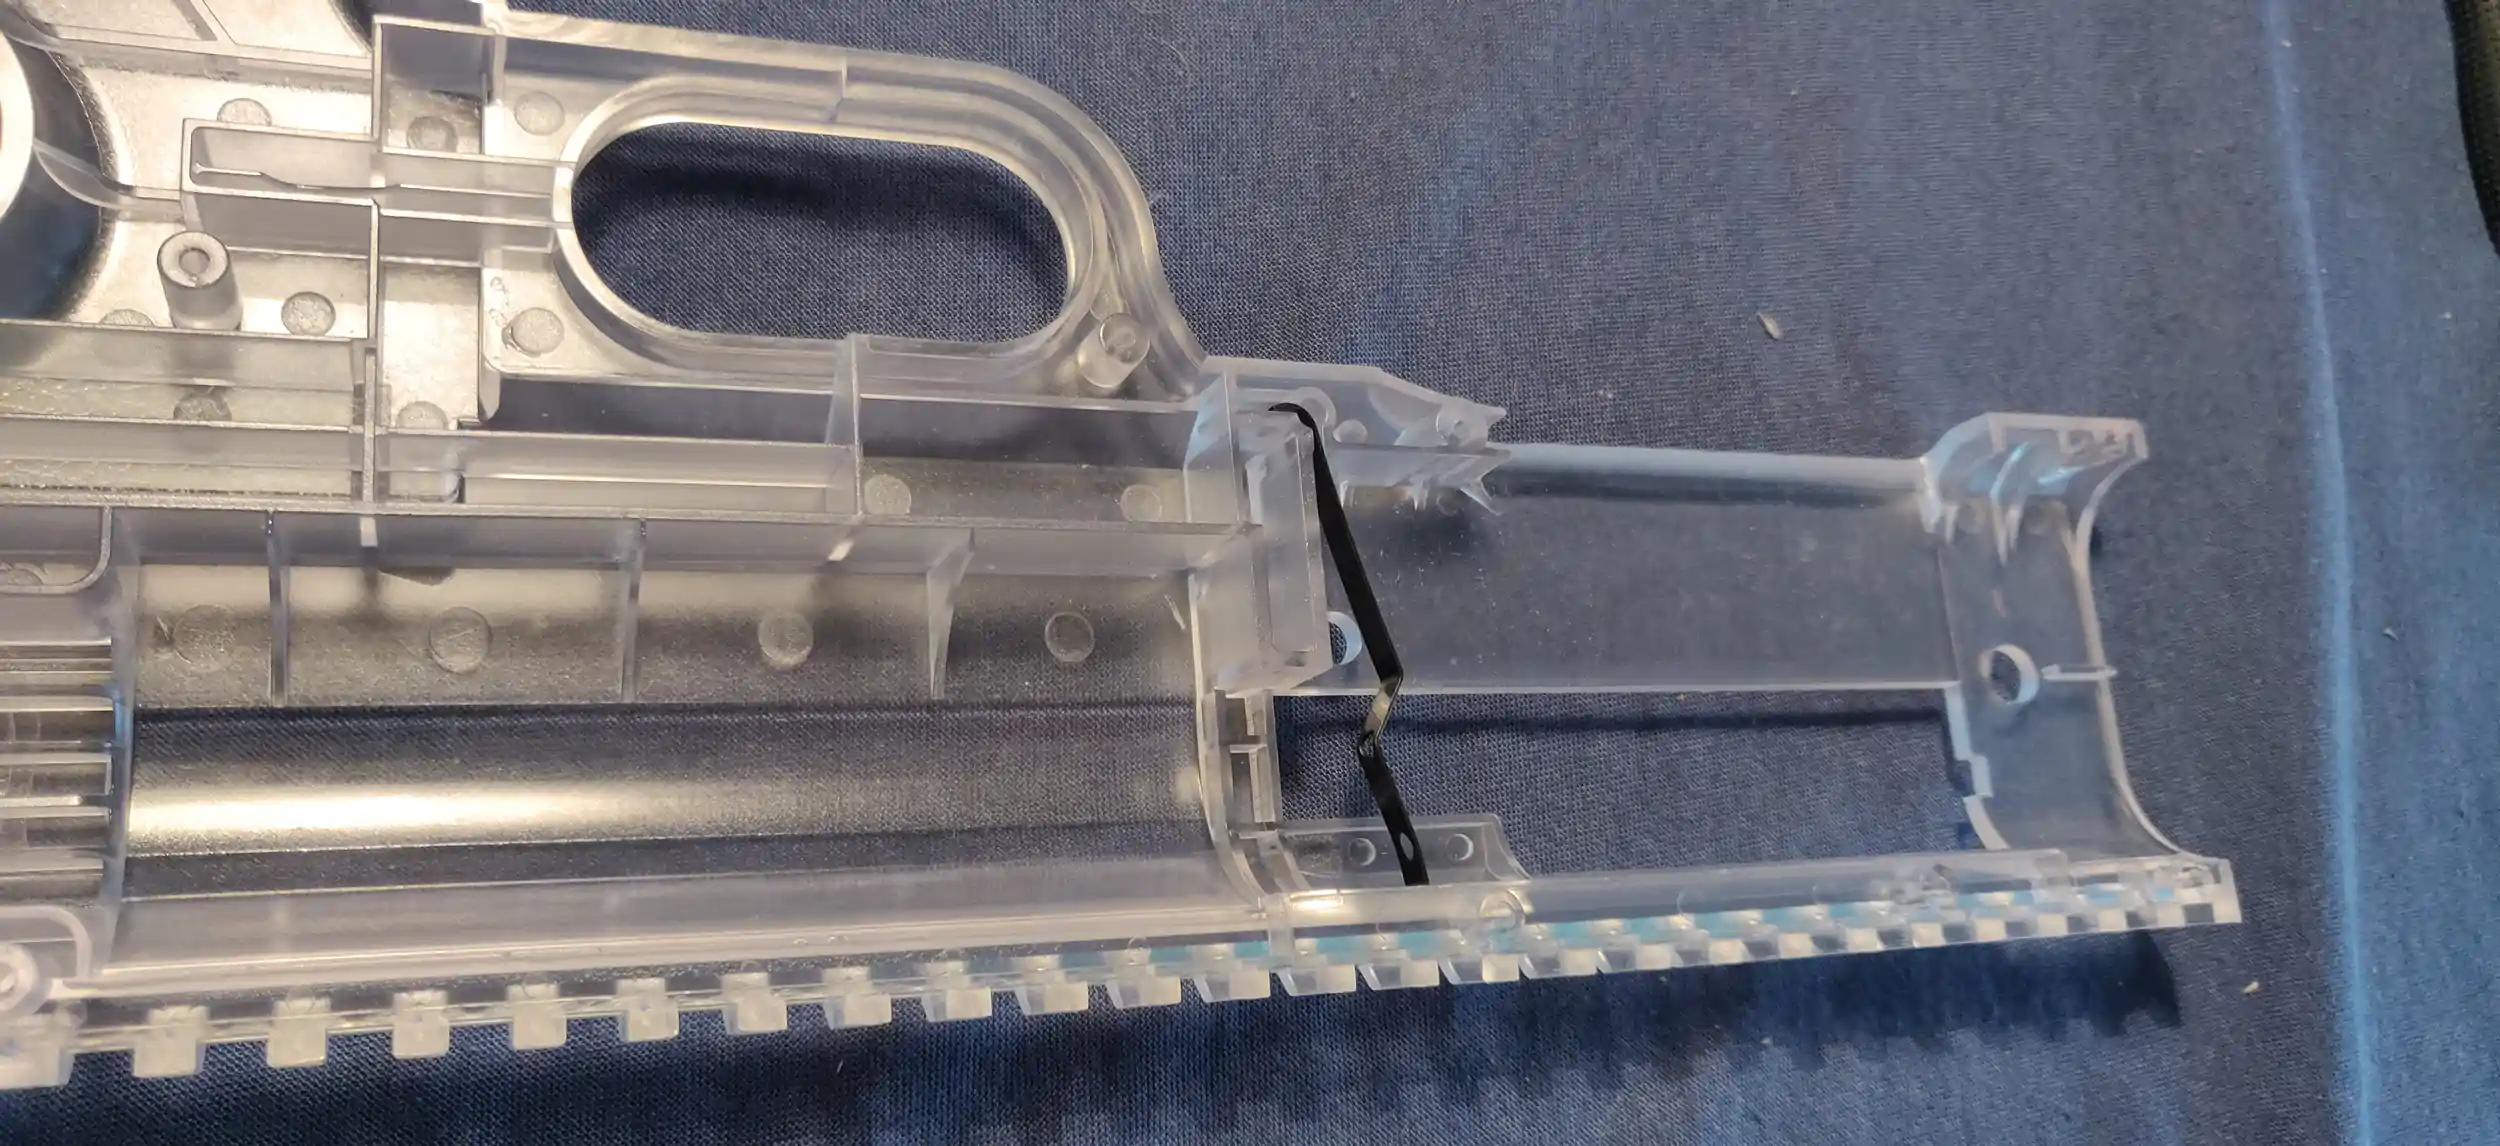
The shell catcher is going to sit on the left half of the body. Apply some lube where the shell catcher and the body touch, then insert it into the hole.
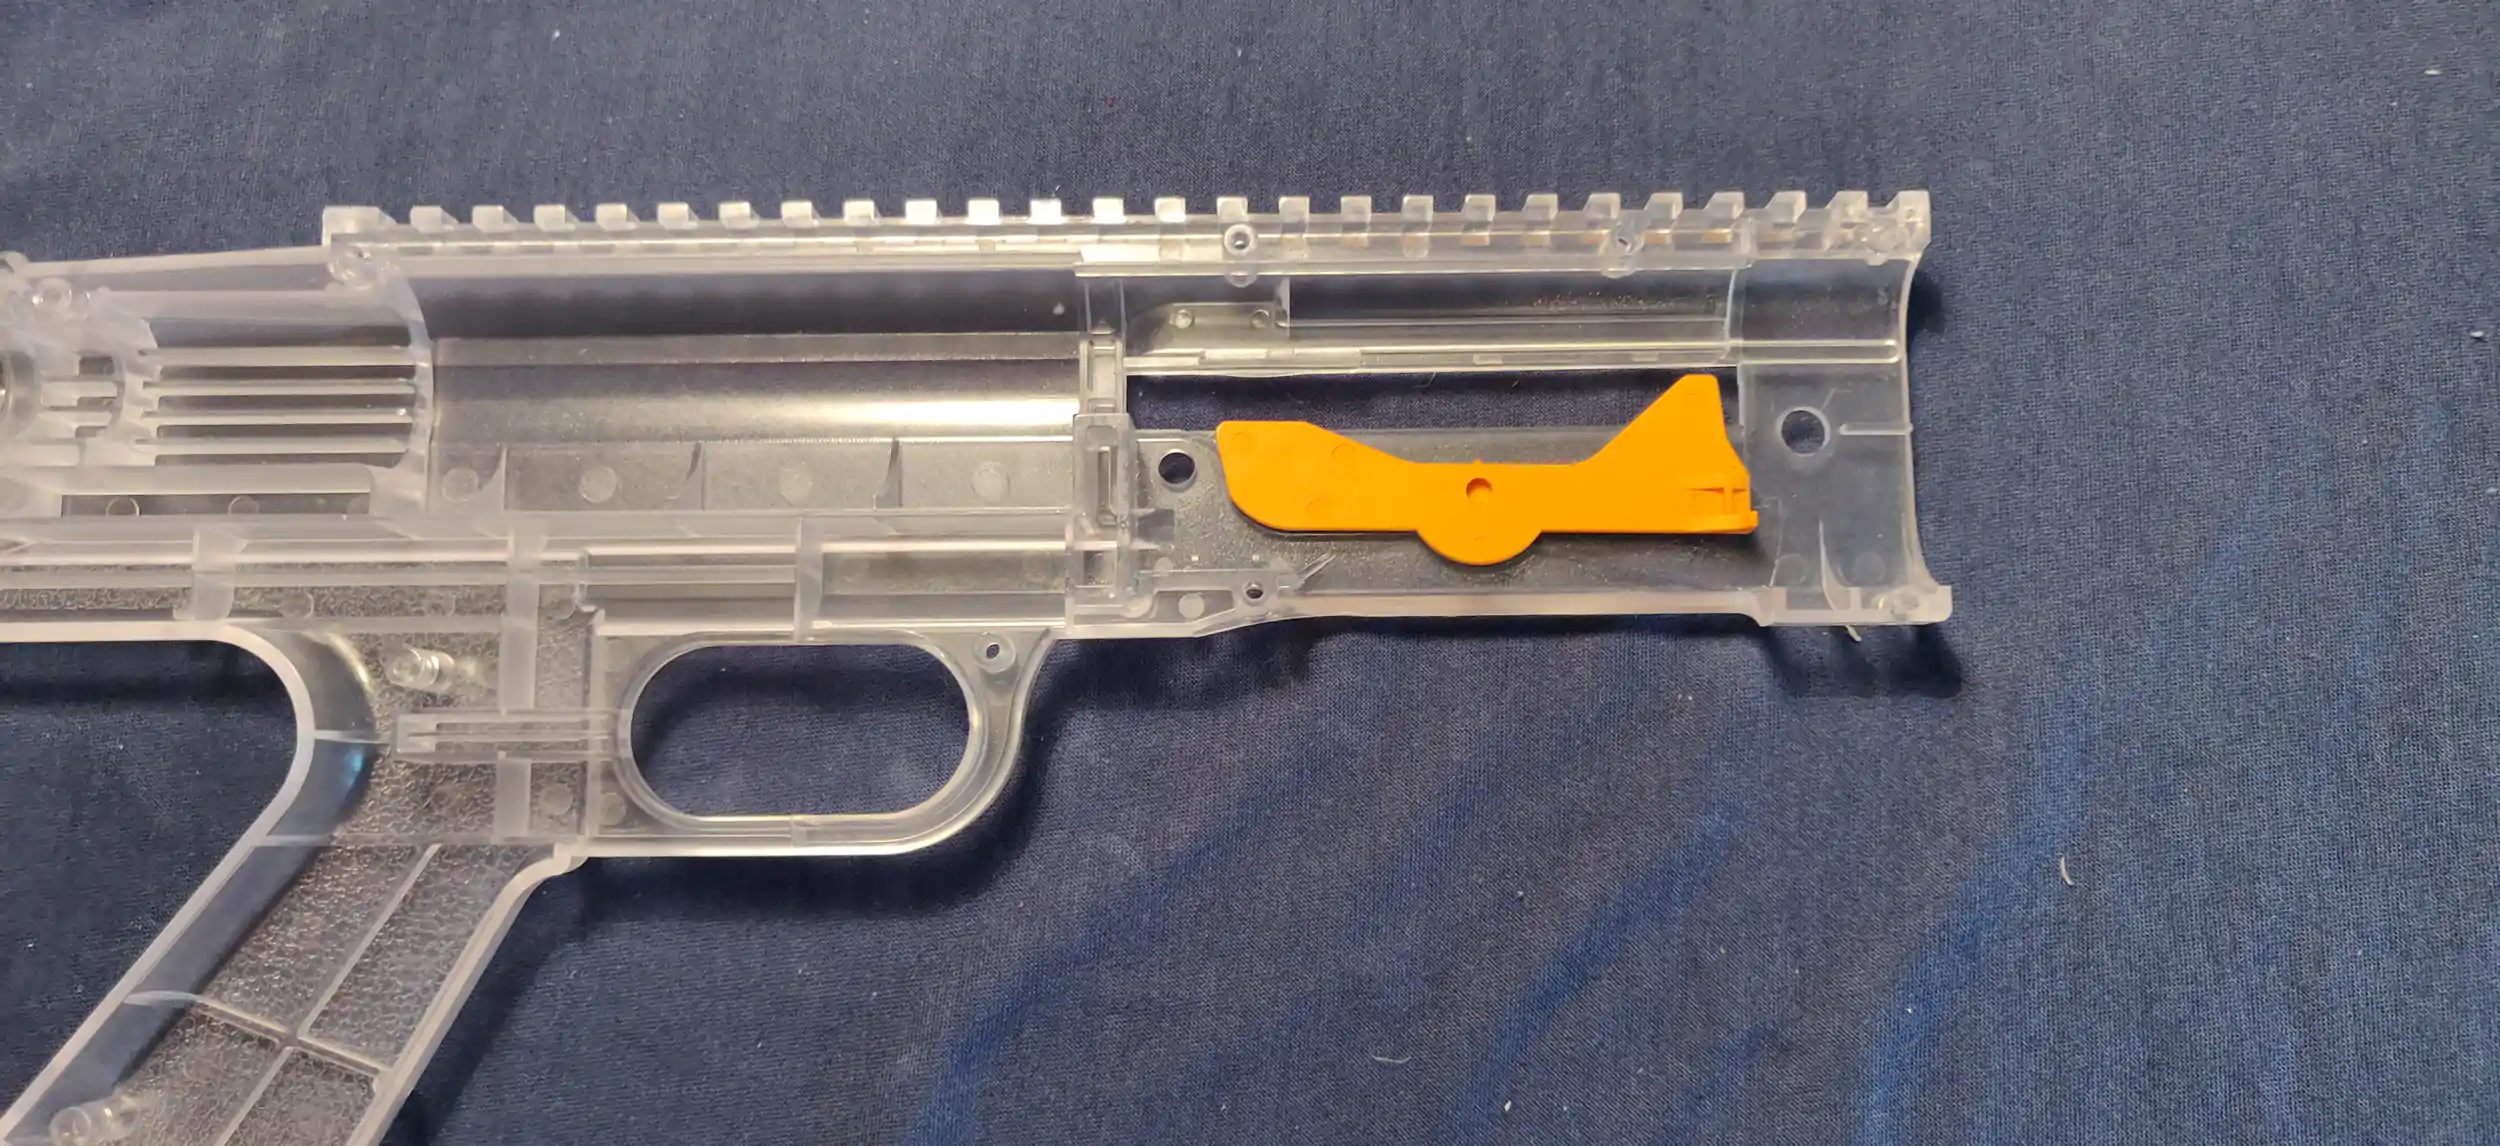
Trigger and catch
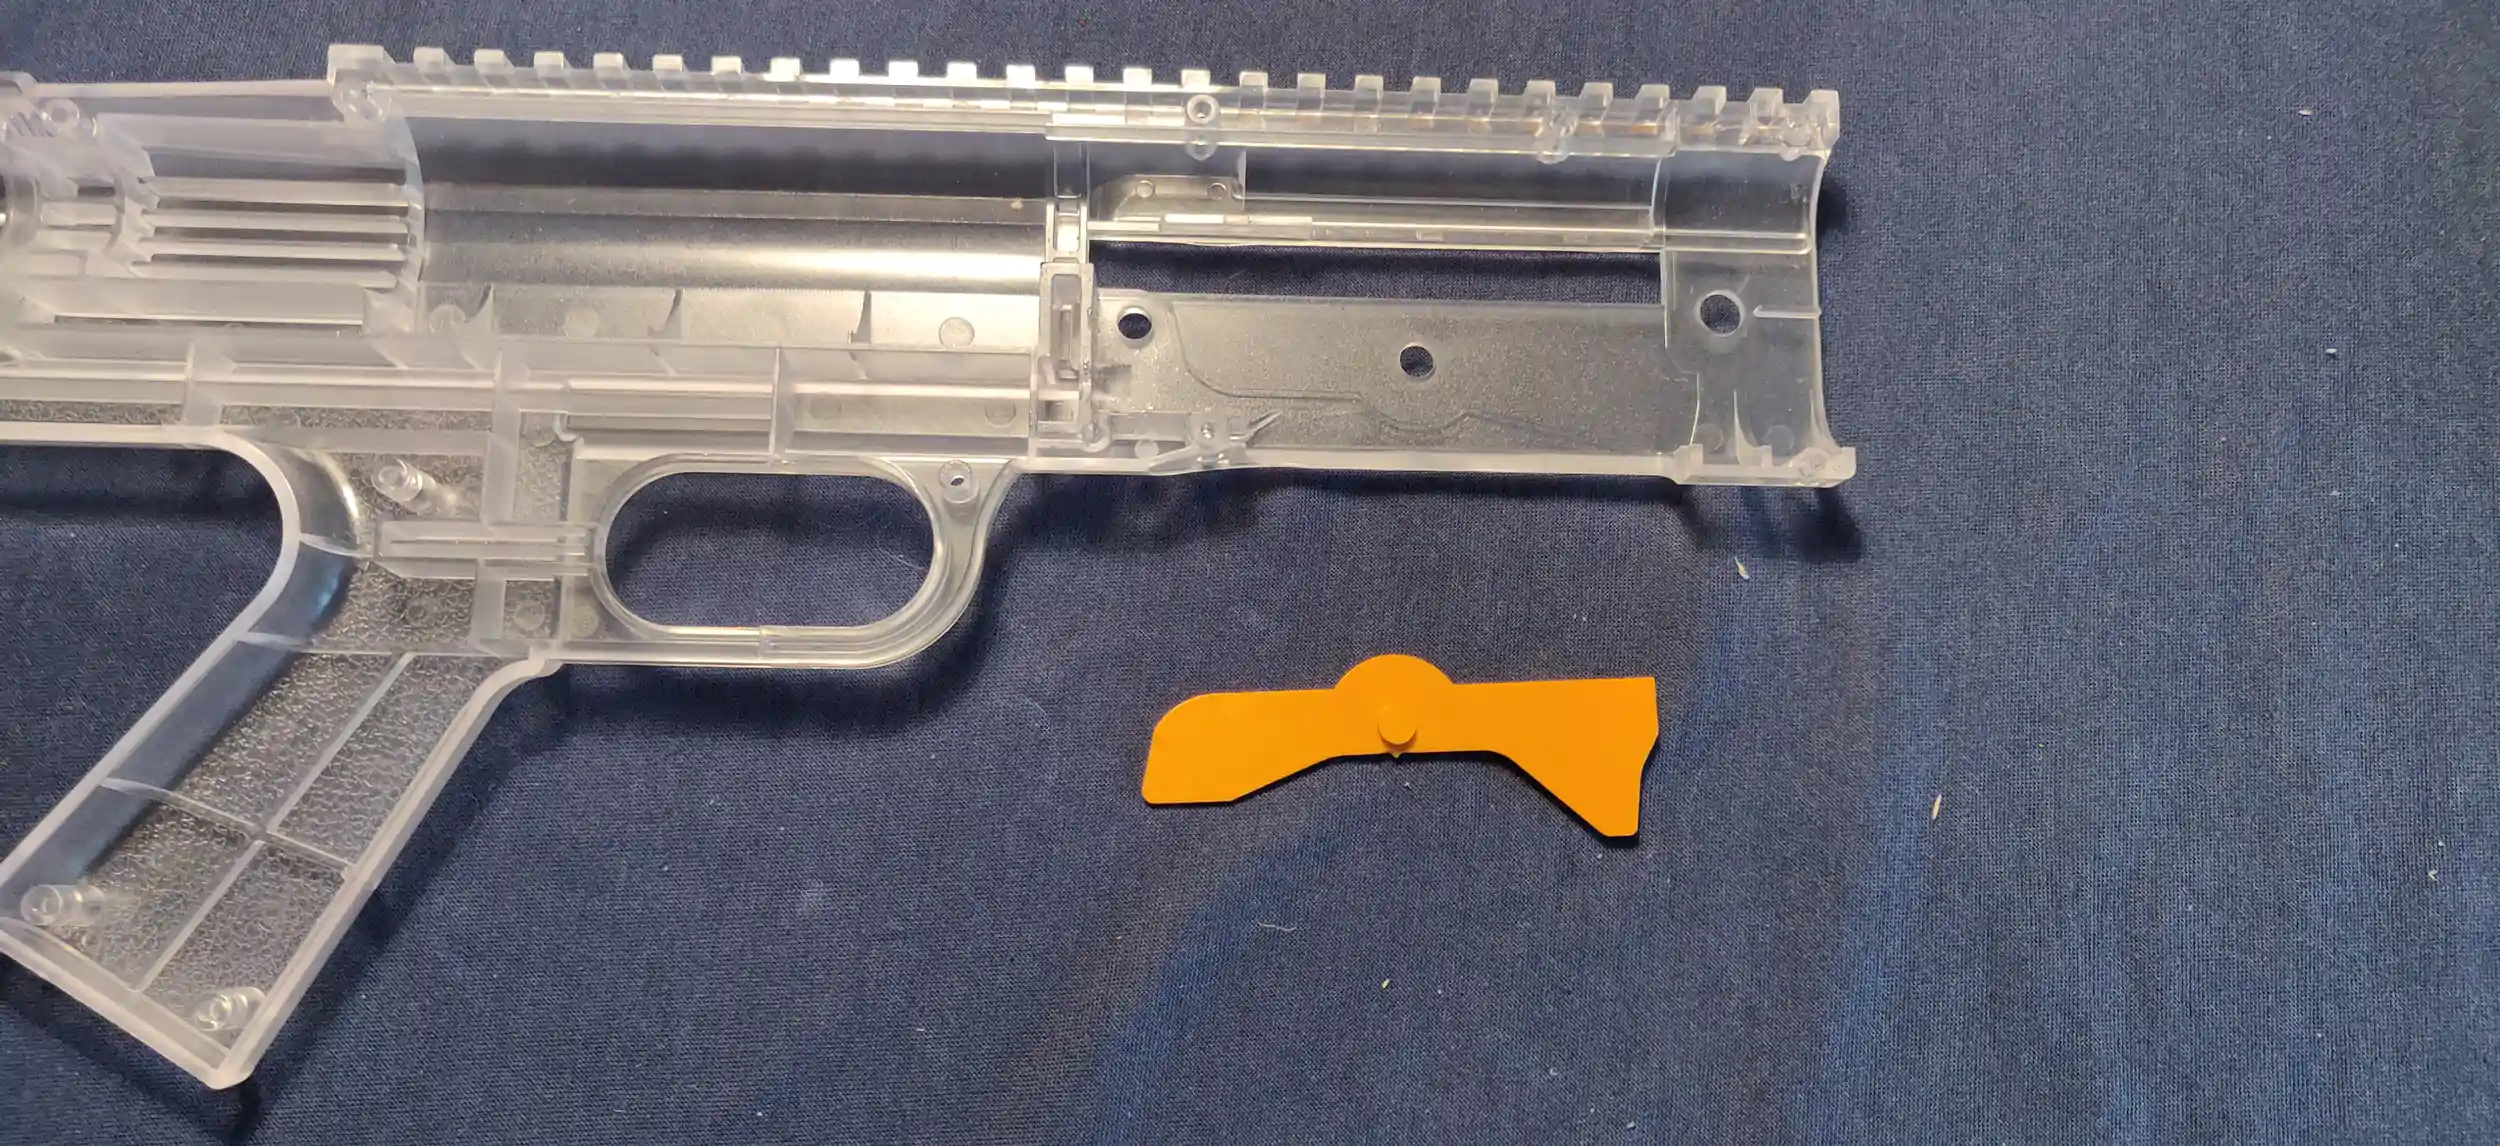
Insert the catch and catch spring.
The rounded side of the catch should be facing towards the plunger and trigger.
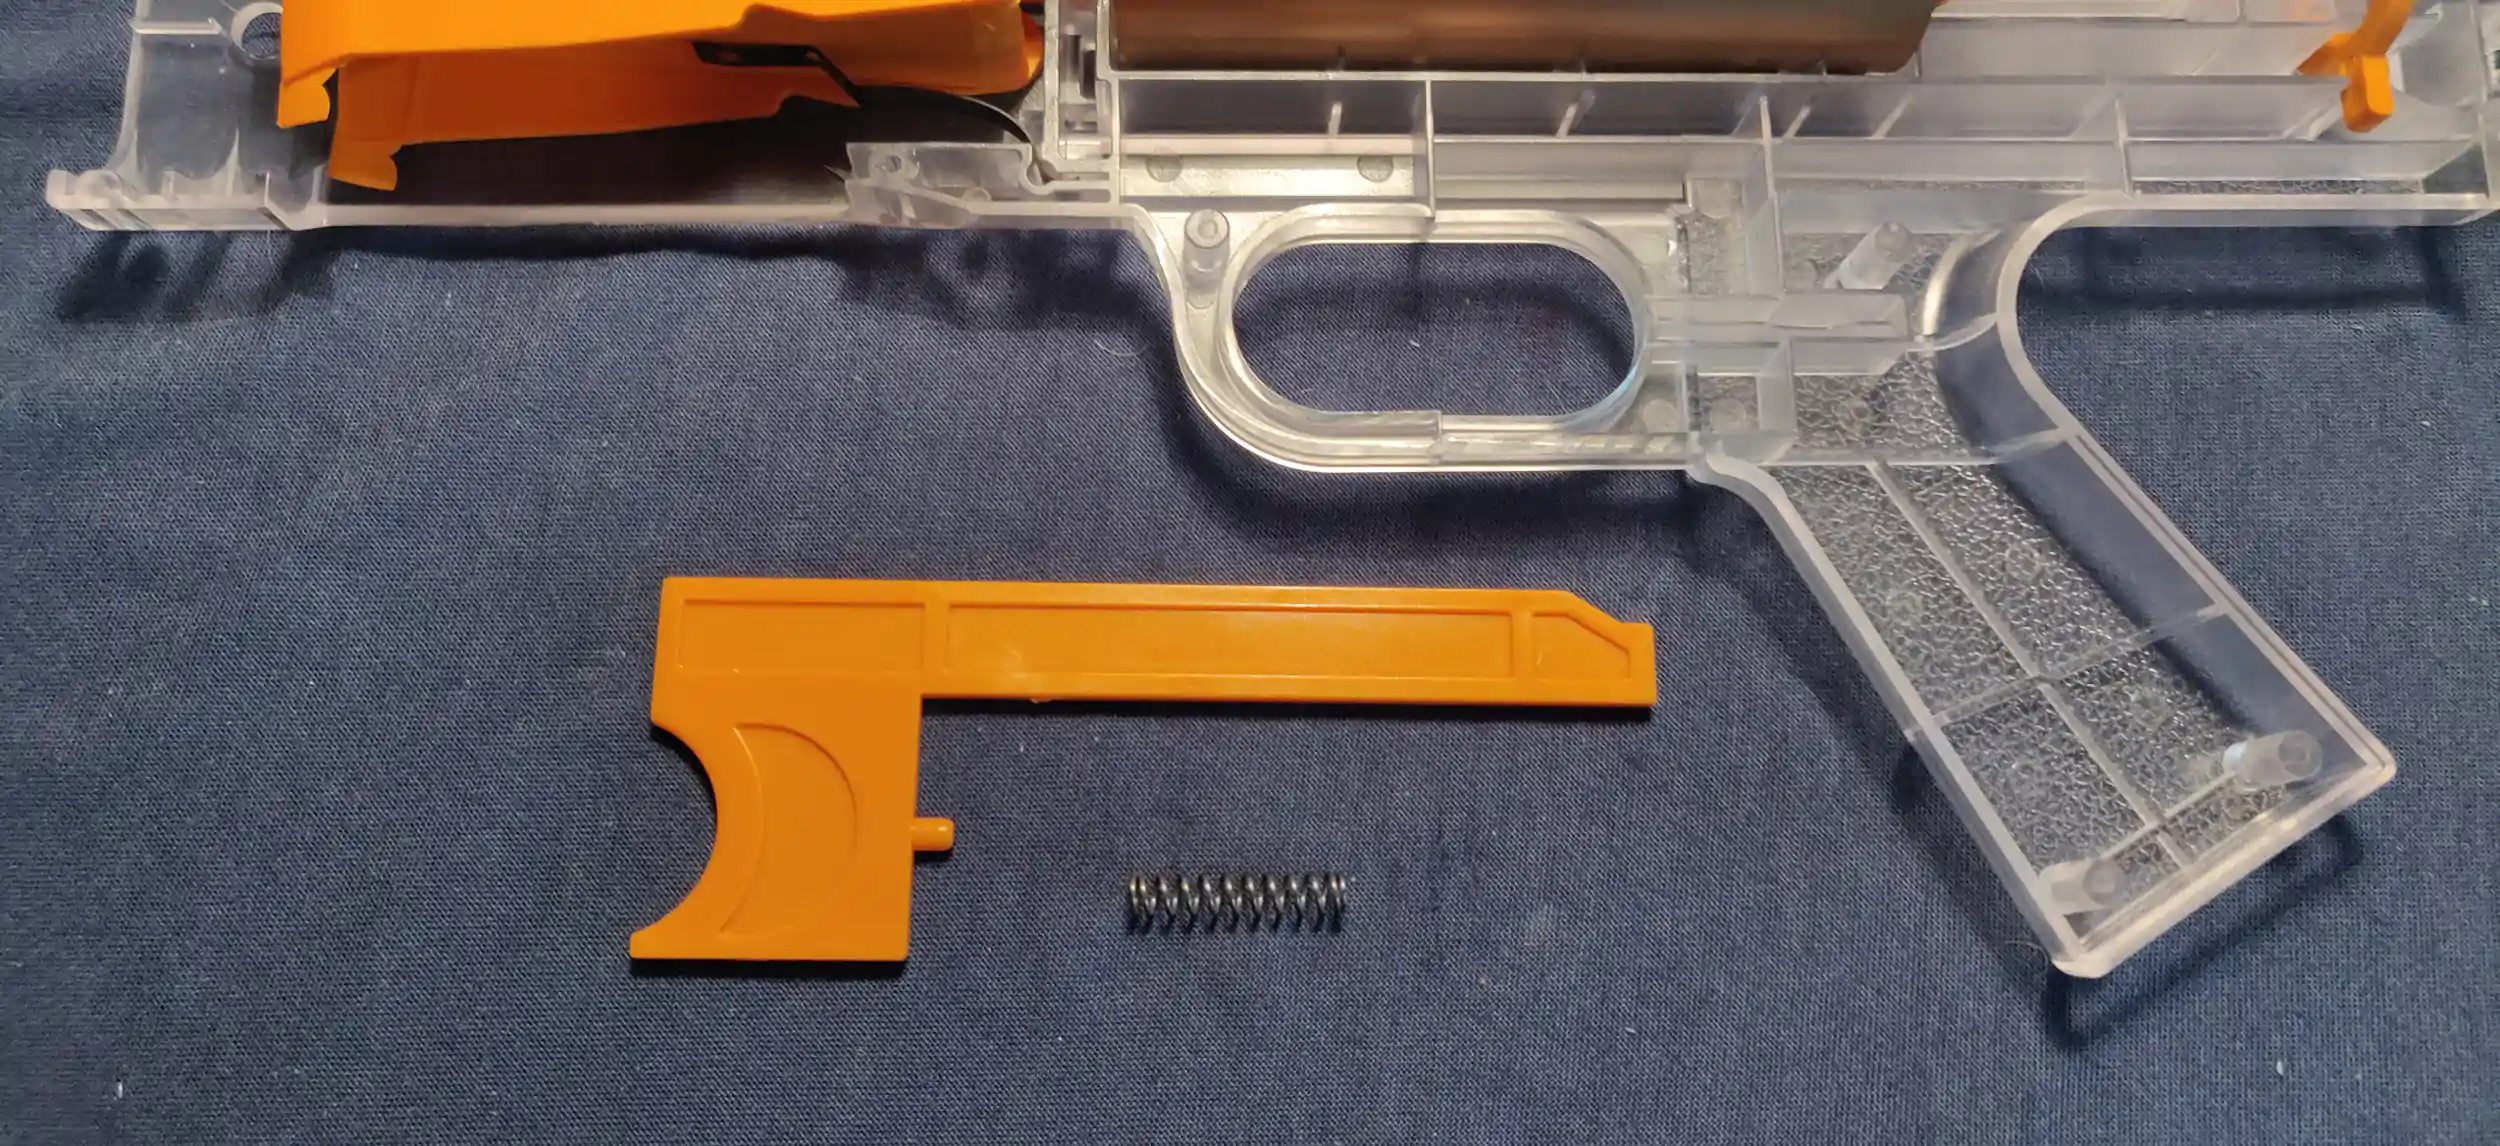
Next are the trigger and trigger spring. Remove any rough edges with the utility knife. Attach the trigger spring to the trigger. Lube the edges that make contact with the body.
Closing the body
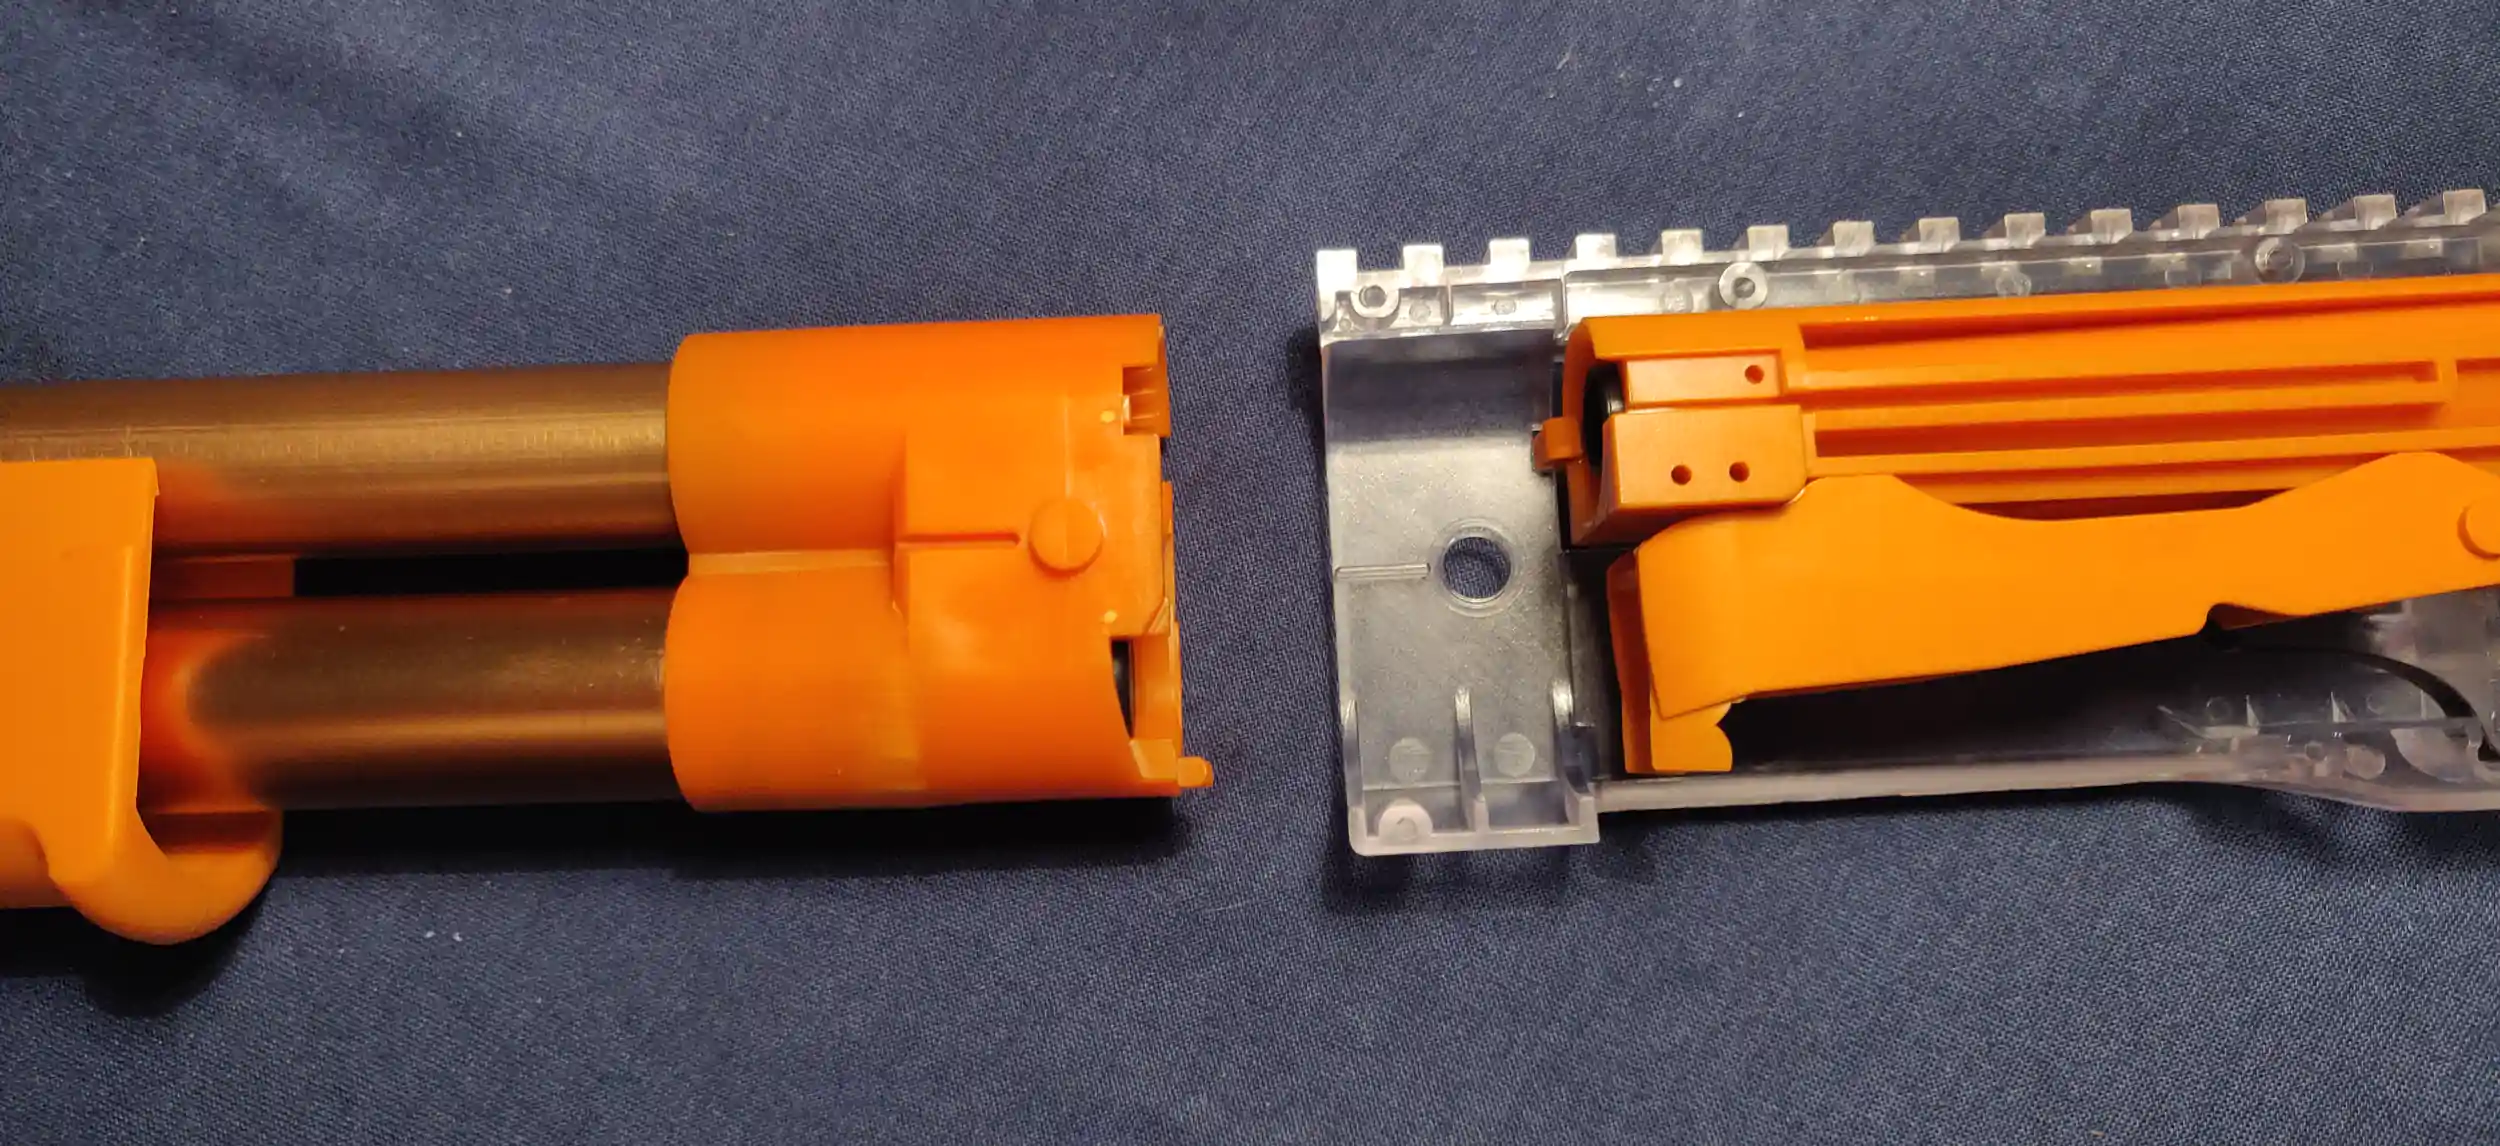
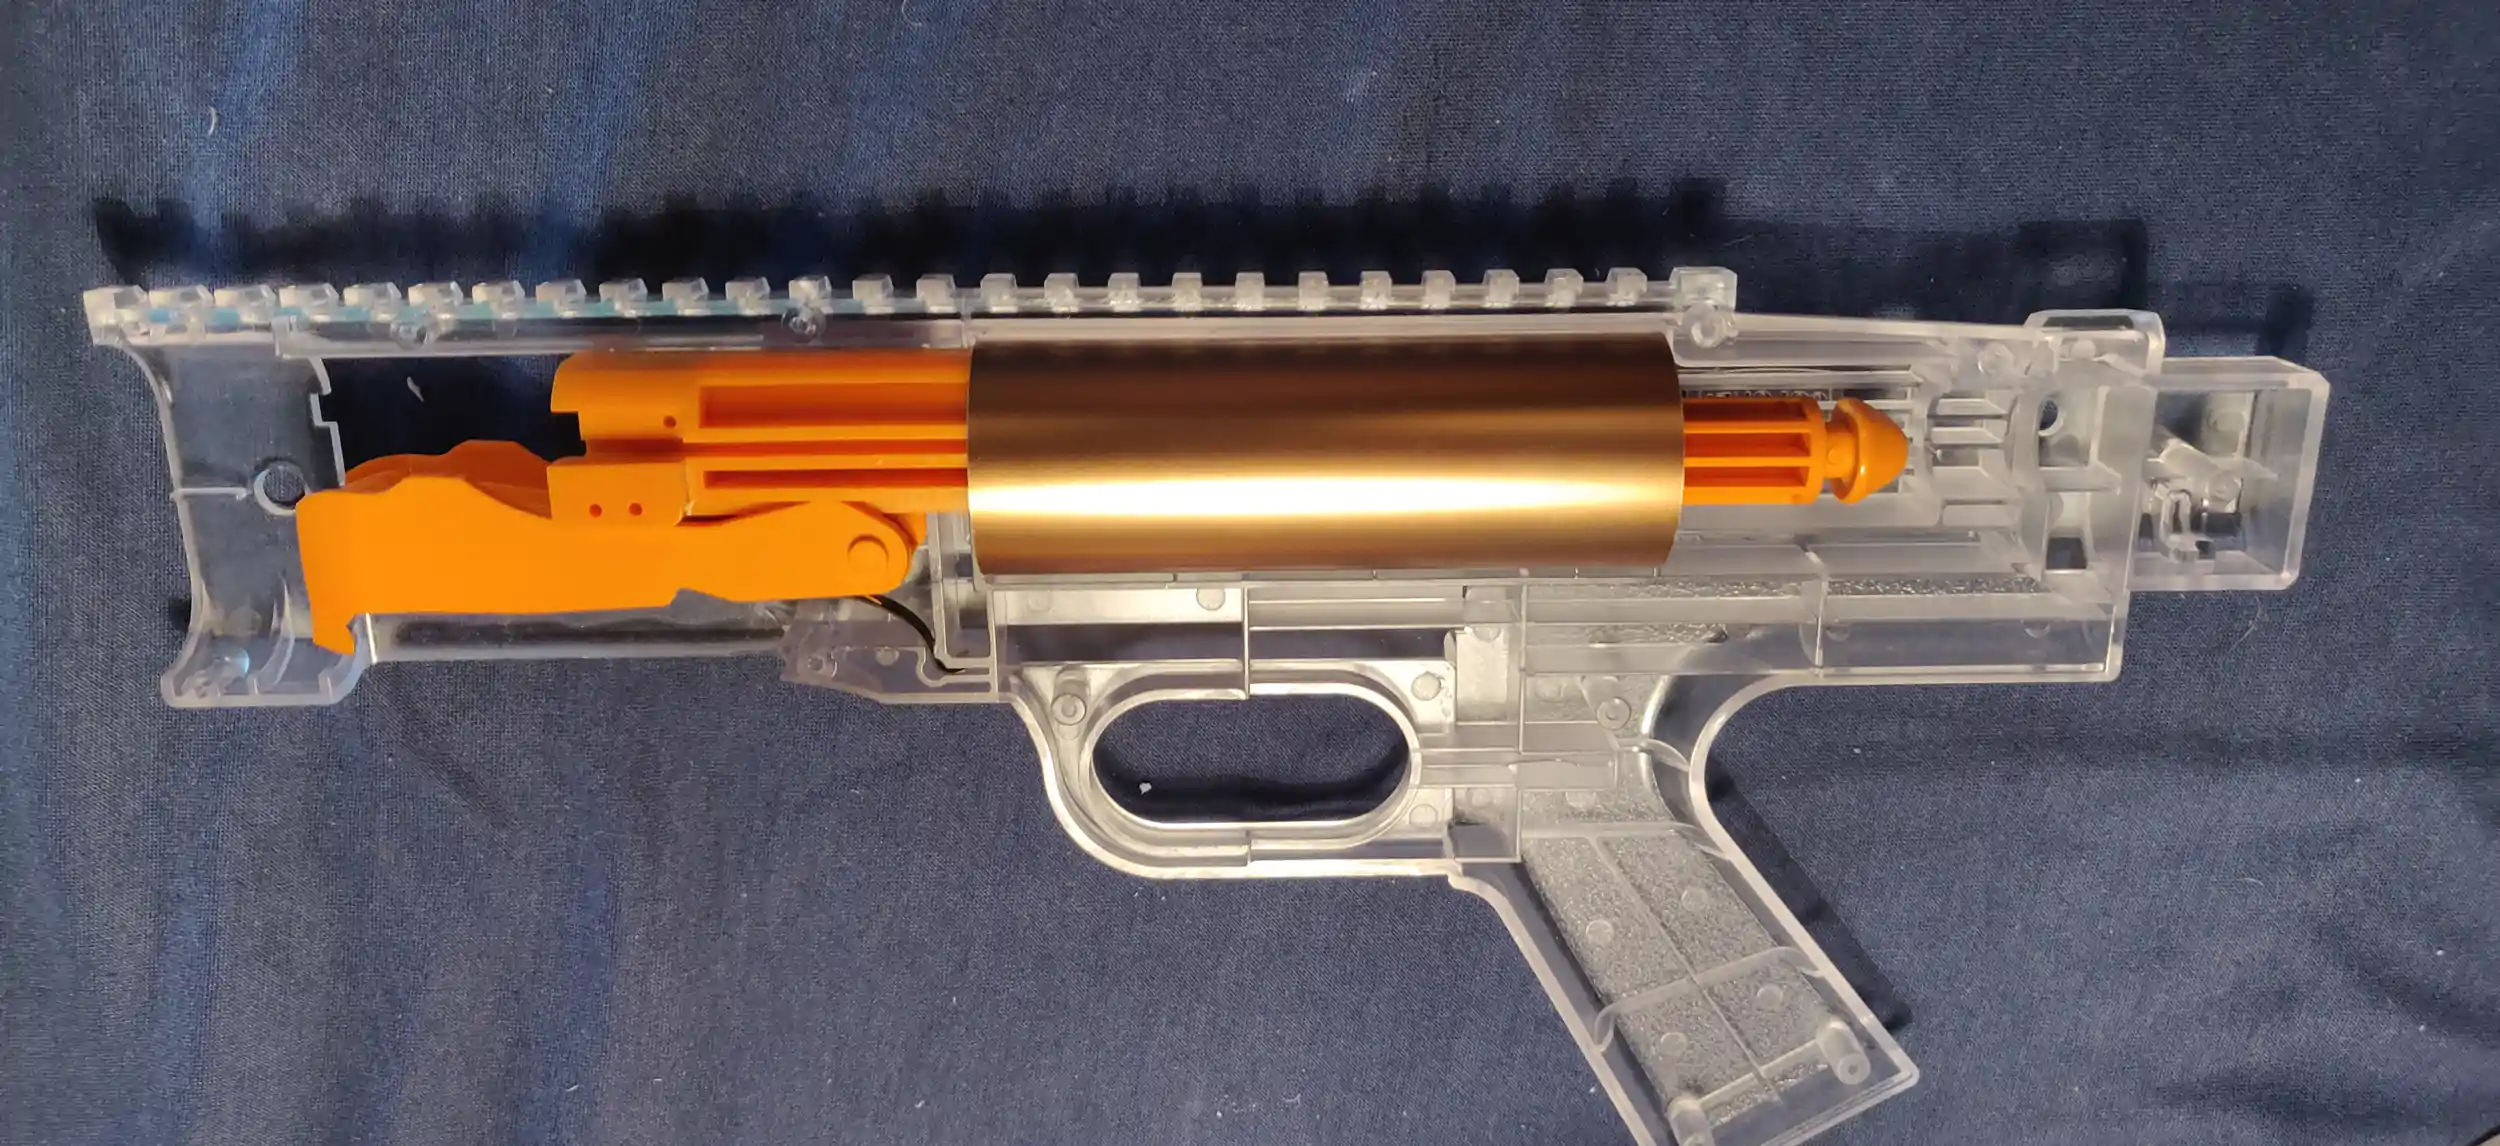
Insert the notches of the barrel unit into the holes in the body.
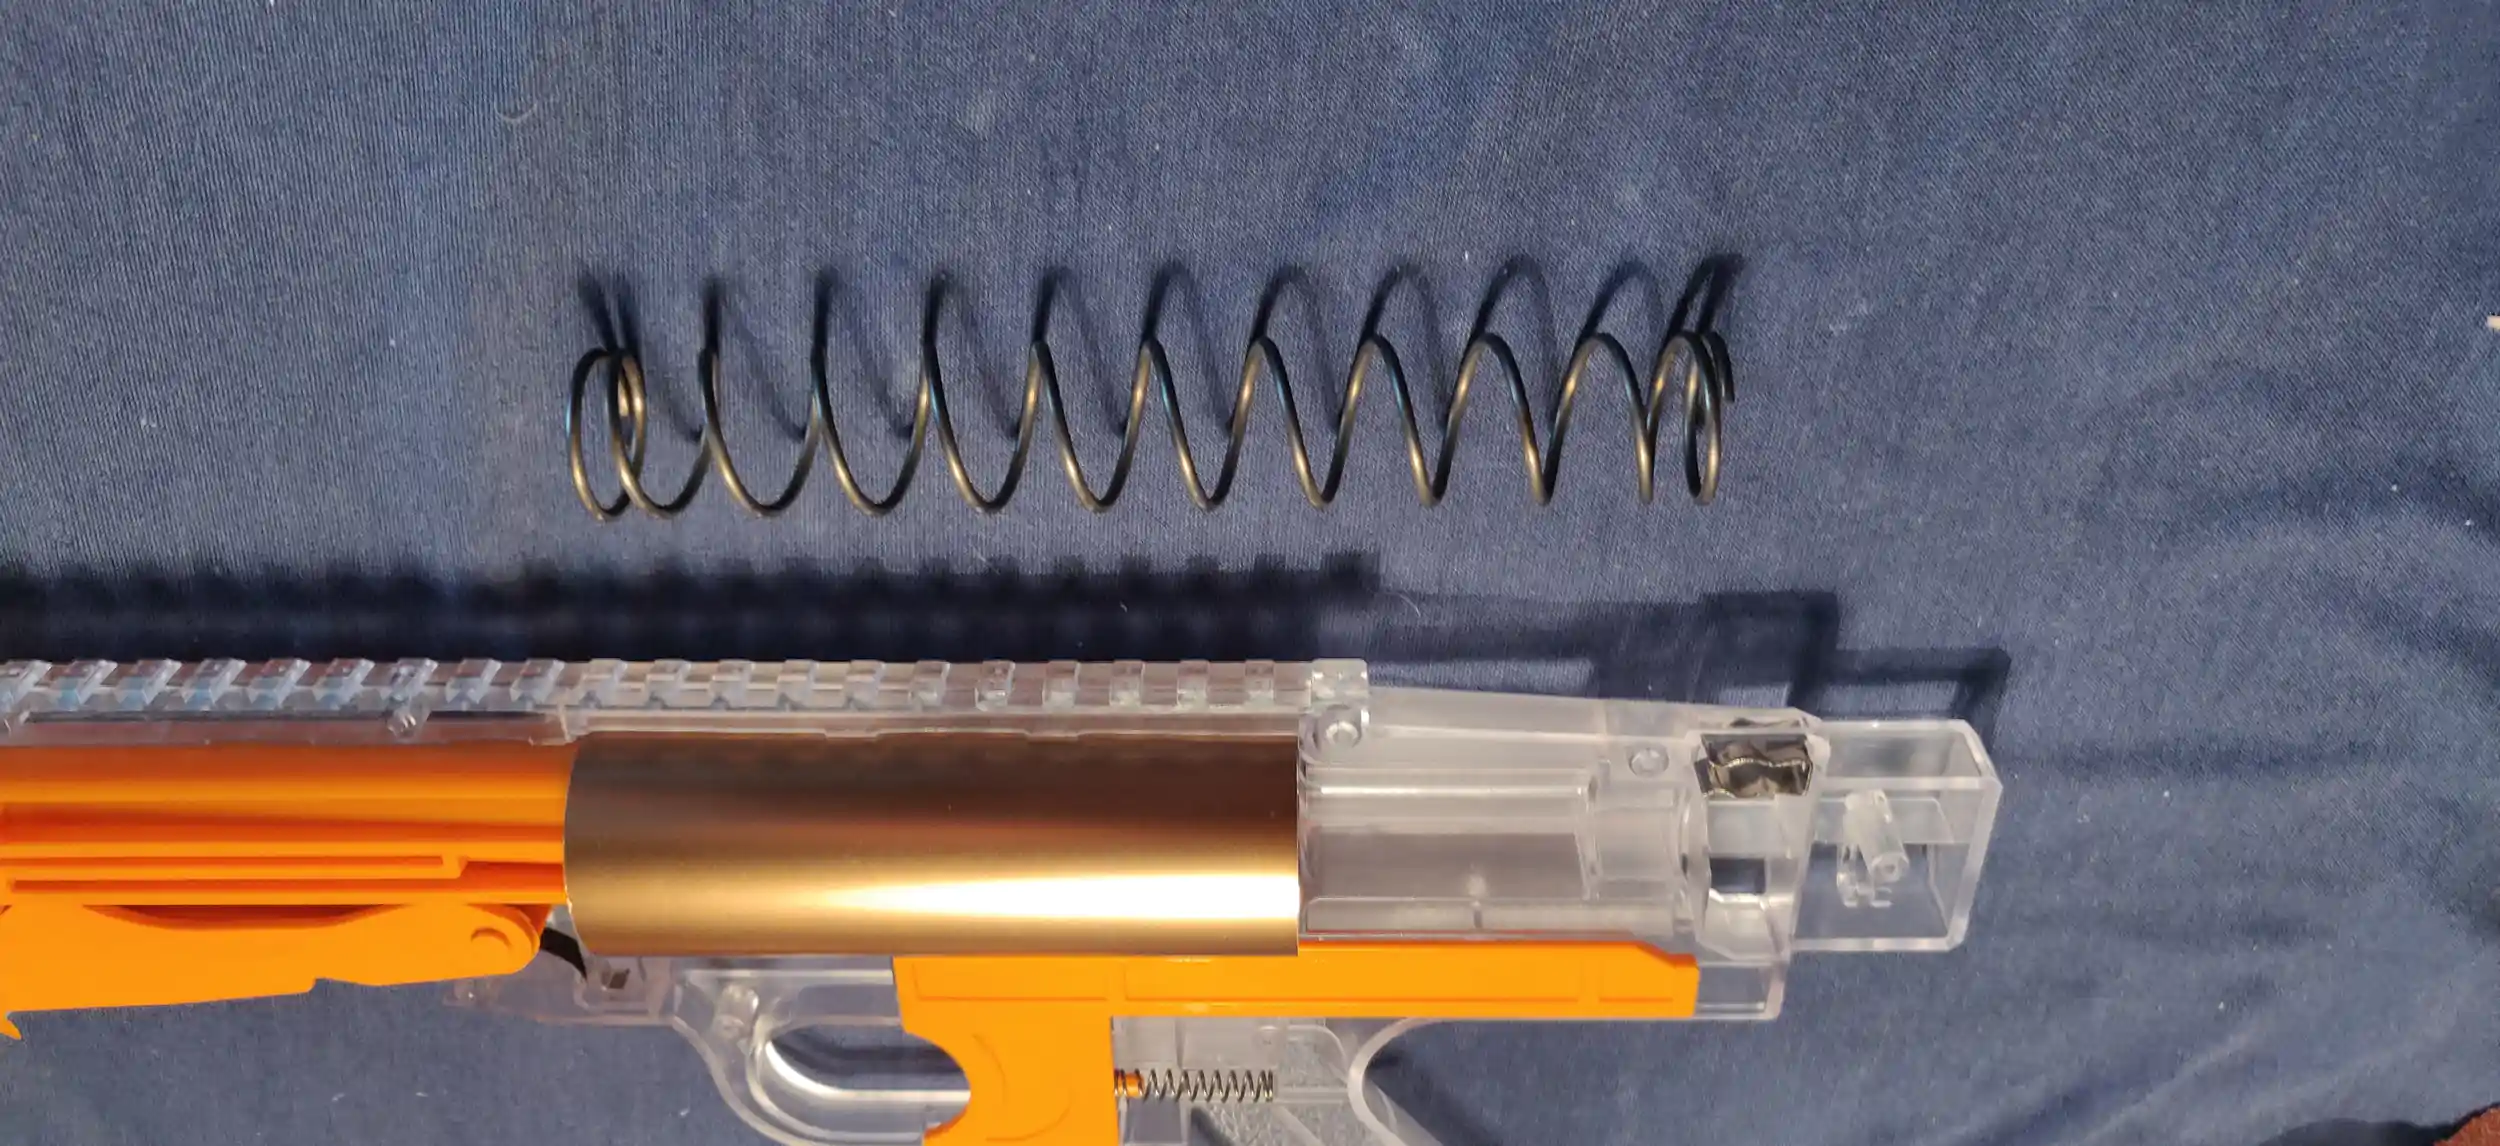
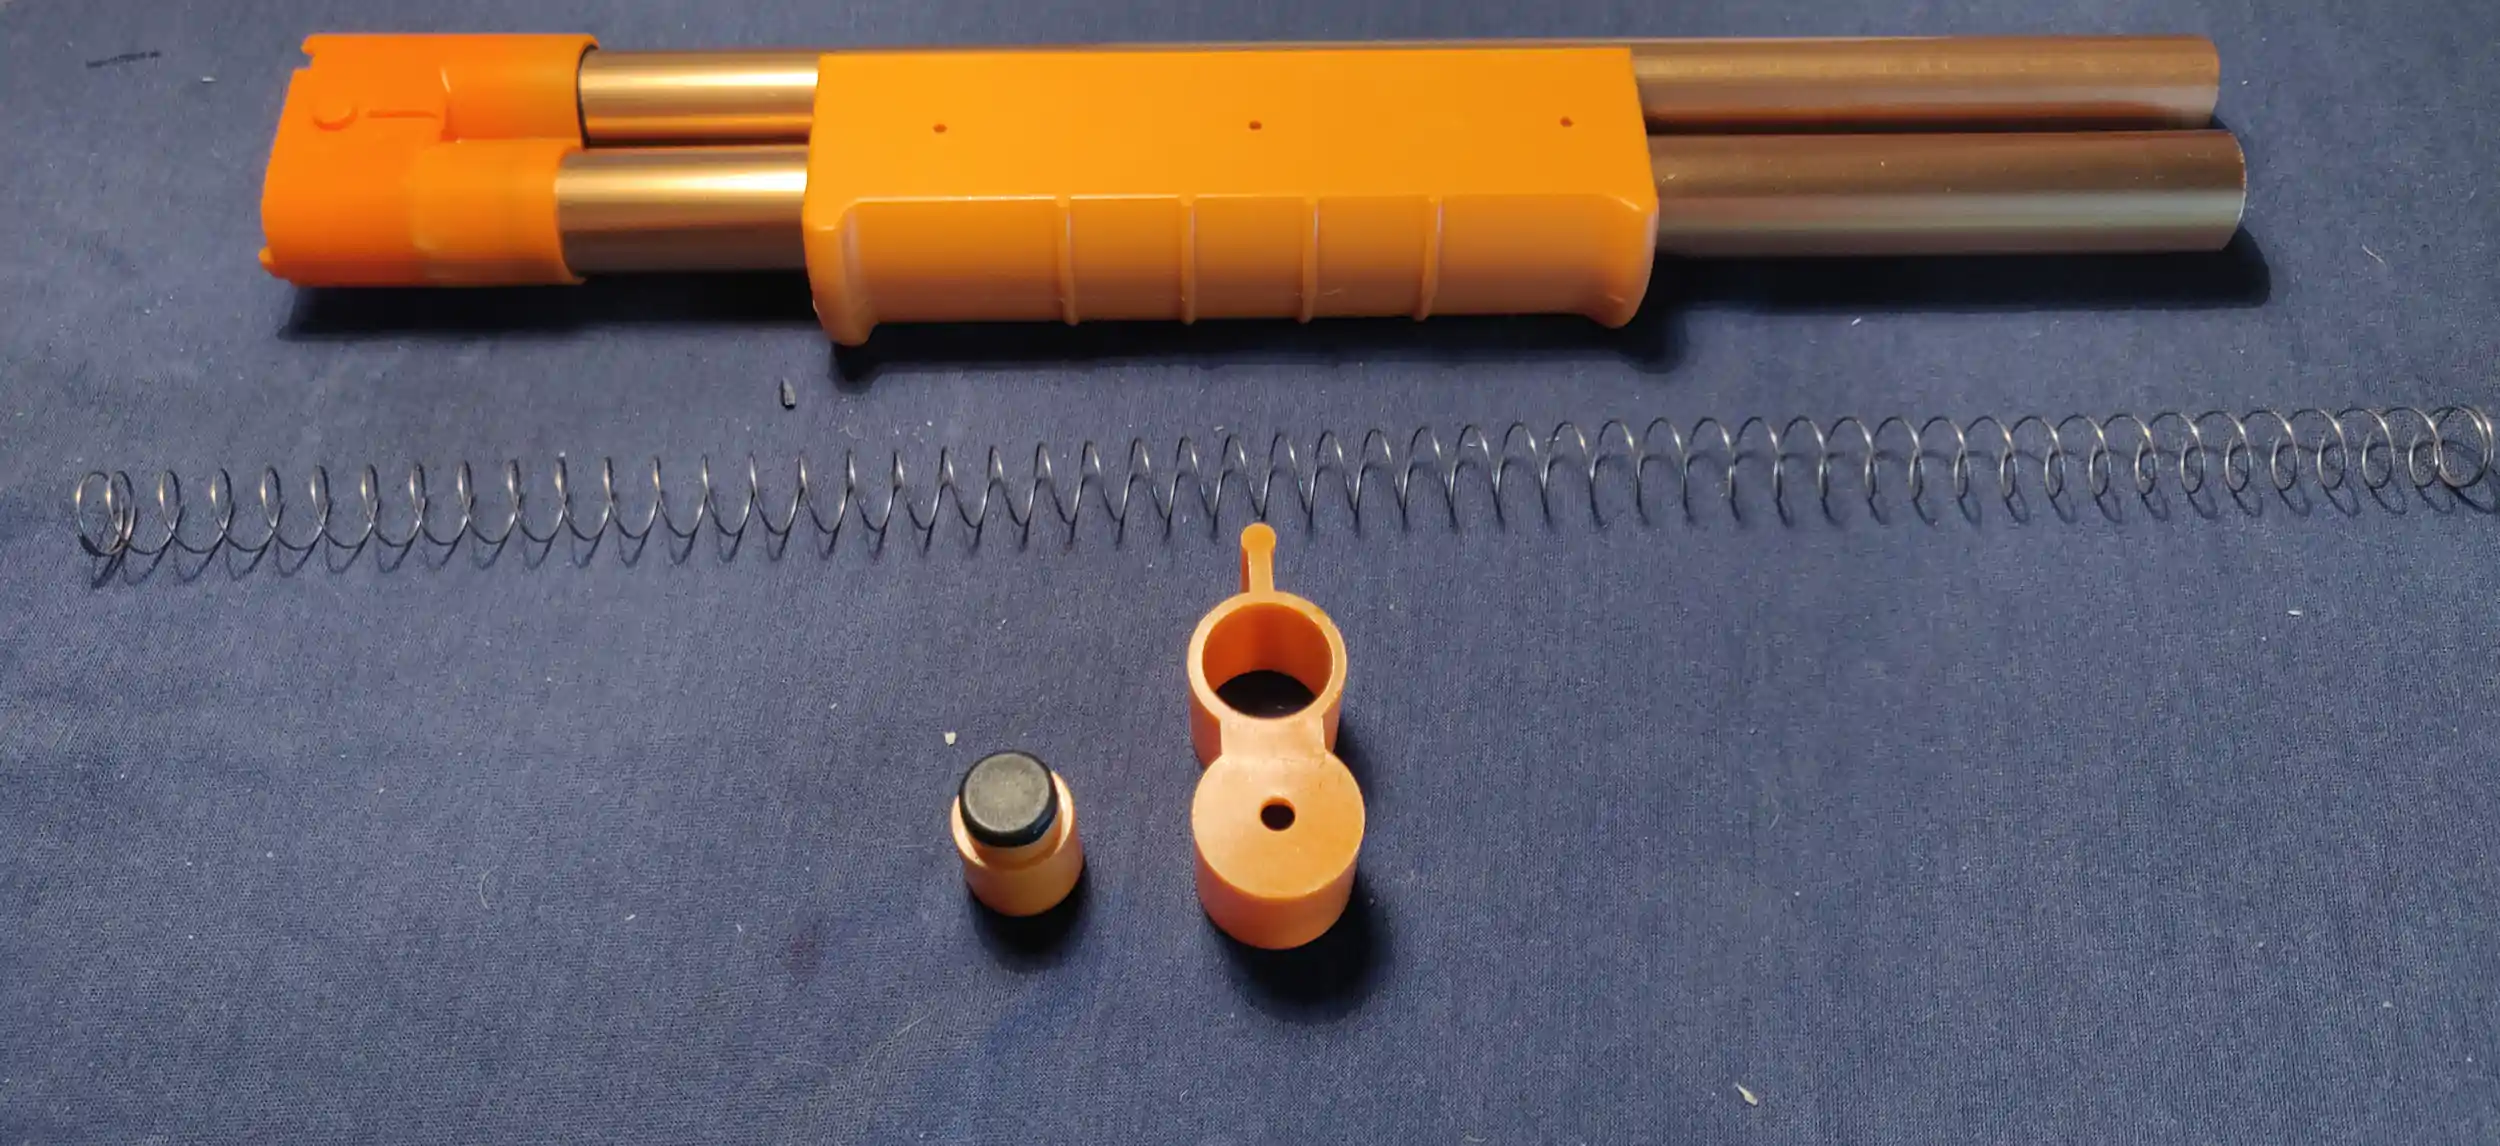
Take the firefly, left half of the body, priming bar, main spring and black screws (#3).
Carefully insert the main spring into the plunger tube. Hold onto the spring because it will jump out when you let go.
You might find it it easier to accomplice if you temporarily remove the plunger catch.
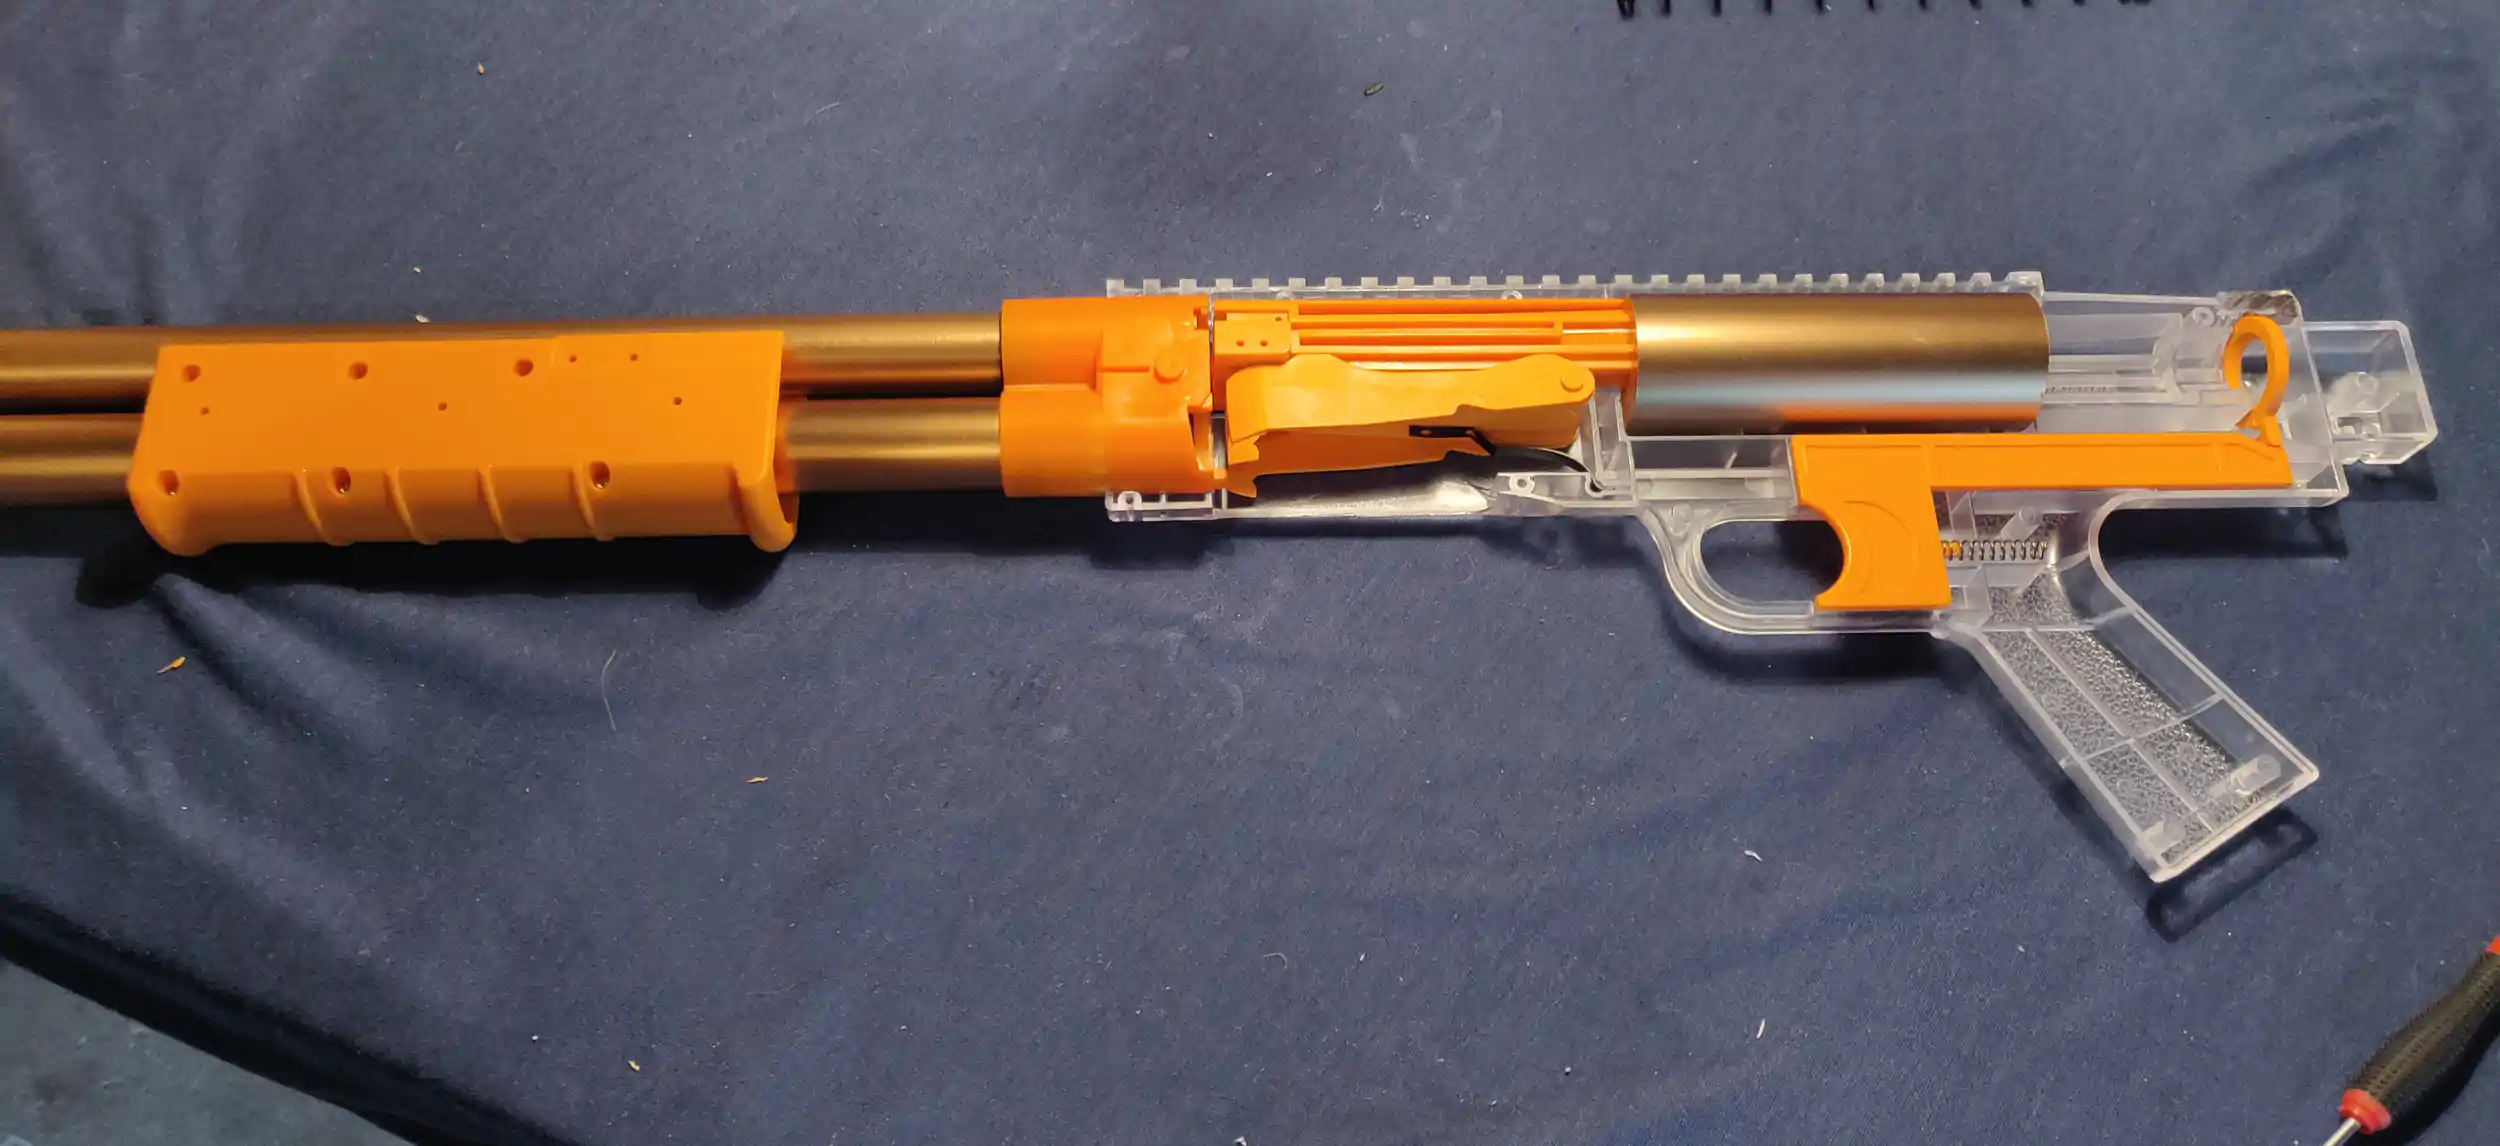
Now close the body. Use the priming bar as a tool to hold the spring in place. Once closed, check that the shell catcher, trigger and the barrel unit are still in place.
The body can now be screwed shut with the black screws (#3). It is recommended to lube the thread of the screws so they swill go in easier and are less likely to strip.
Once the body is fully closed, the priming bar can be attached. Sand away any rough edges, especially on the right corner where the bar touches the body. Apply some lube where the bar slides against the body.
Take the short silver screws (#2) and screw the priming bar to the pump grip and breech.
Your Firefly is now ready for use!